Sample project
- 3 minutes to read
To make the adoption of Dynamic Image API easier, we have created a sample app and published its source code to GitHub. This app is written with ASP.NET MVC (.NET Core). If you are not a C# developer and would prefer an application for your technology stack, feel free to drop us an email at info@aurigma.com. We are considering porting it to most popular platforms and your feedback will help us to prioritize them!
This topic describes how you can run the sample project and start using Dynamic Image in your solution.
Prerequisites
- A deployed Customer's Canvas instance, either the cloud or on-premises version.
- Visual Studio Code.
Tip
If you prefer, you may use Visual Studio instead. However, this topic contains the instructions for VS Code only.
Getting the source code
You can either clone or download the sample project from the following GitHub repository:
https://github.com/aurigma/CCHSample-DynamicImage-dotnet
You may just use the command line:
git clone https://github.com/aurigma/CCHSample-DynamicImage-dotnet.git
Running the sample application
1. Open the project
To open the sample project, at the command prompt, navigate to the project folder and type:
code .
2. Define the settings of Customer's Canvas
Before you proceed, you need to know some information about your Customer's Canvas account, such as your tenant ID and Dynamic Image version. In addition, you need to register a client app in Settings -> External Apps, give it permissions, and copy its Client ID and Client Secret.
Then you may either add them to the appsettings.config or set them up as secret to avoid committing your code repository. The latter approach is described below.
First, in the project folder, run:
dotnet user-secrets init
After that, run the following commands one by one to add your settings:
dotnet user-secrets set "CustomersCanvas:ApiUrl" "https://api.customerscanvashub.com/"
dotnet user-secrets set "CustomersCanvas:IdentityProviderUrl" "https://customerscanvashub.com"
dotnet user-secrets set "CustomersCanvas:TenantId" "<YOUR TENANT ID>"
dotnet user-secrets set "CustomersCanvas:DynamicImageVersion" "<YOUR VERSION>"
dotnet user-secrets set "CustomersCanvas:ClientId" "<EXTERNAL APP CLIENT ID>"
dotnet user-secrets set "CustomersCanvas:ClientSecret" "<EXTERNAL APP CLIENT SECRET>"
Tip
If you are using an on-premises version of Customer's Canvas, the ApiUrl and IdentityProviderUrl may be different.
3. Start the application
Type dotnet run to start the project. Unless you configure a different port, it will run at http://localhost:5000.
How it is organized
It consists of two controllers:
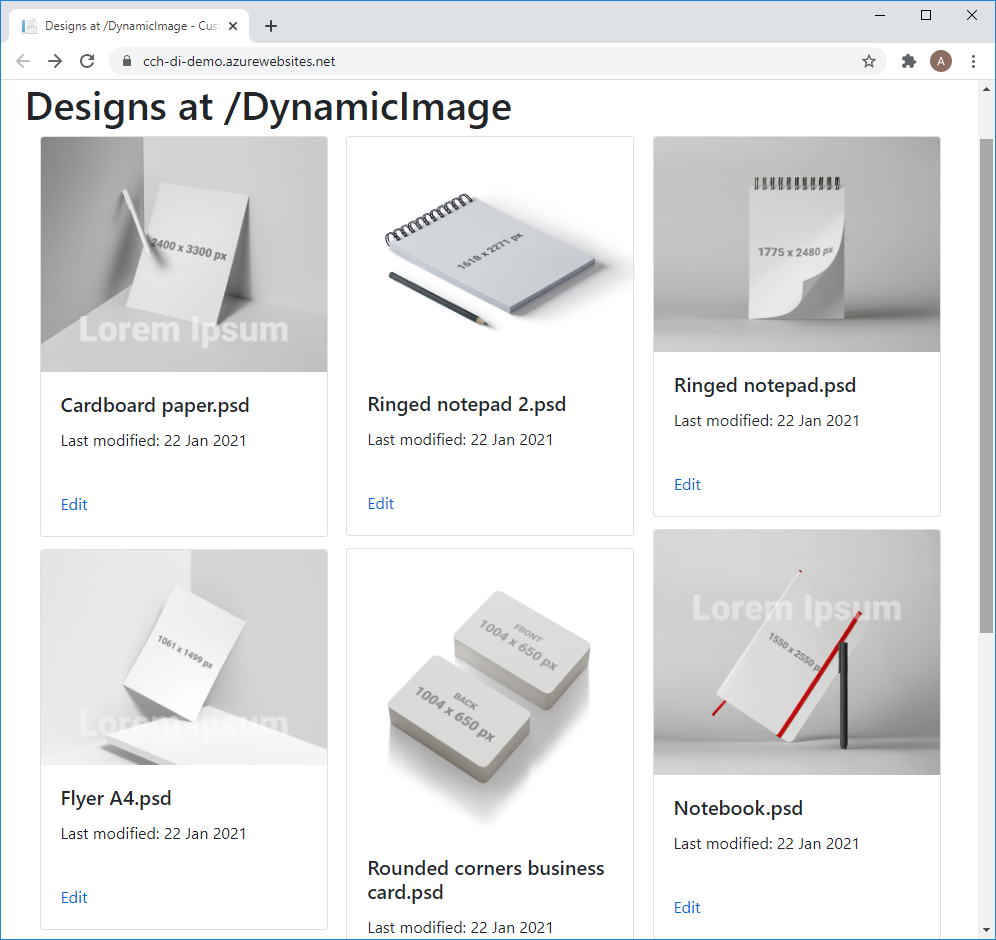
- ImagesController.cs - used to get a list of designs located in the Images asset section, DynamicImage folder. To keep things brief, the folder is hardcoded. Feel free to change it.
- ImagesPreviewController.cs - used to get the preview images for the files in the Images section.

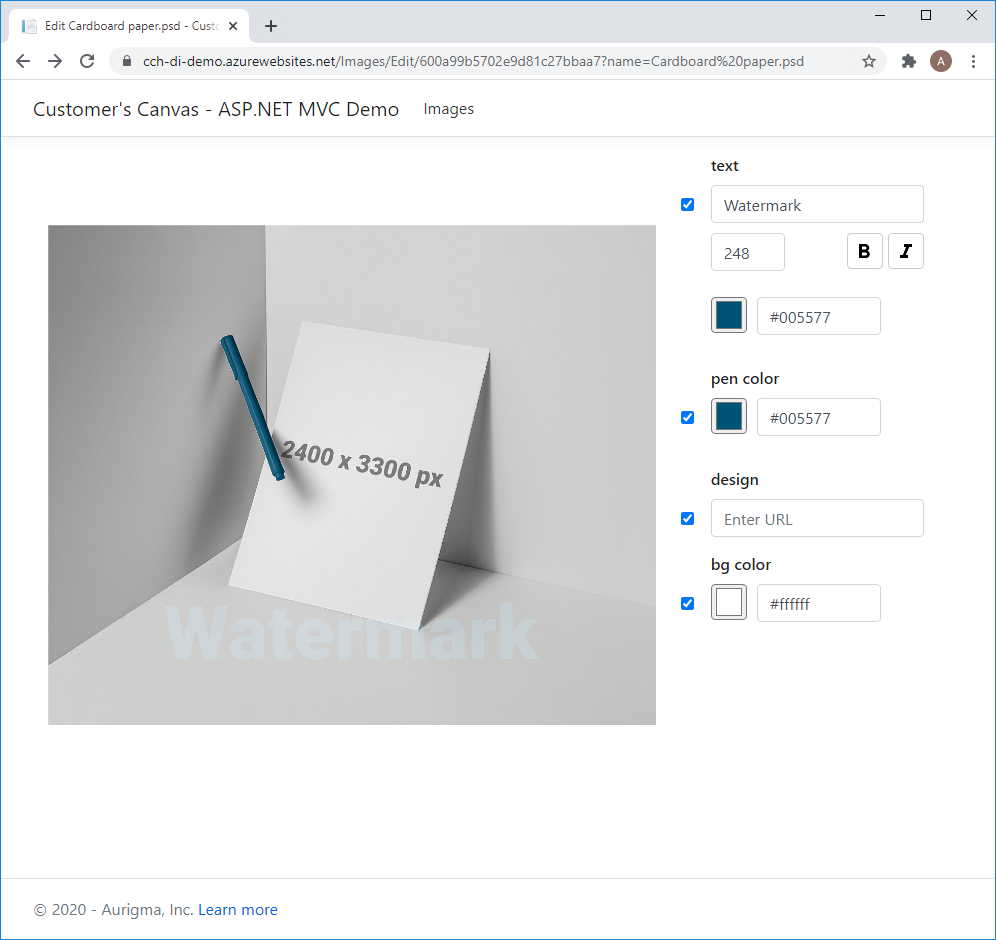
When you click Edit for some of the PSD files, you go to the Views/Images/Edit.cshtml view. Here, you can see how to get a list of layers in the PSD file to build a user interface through the POST ~/api/information/template request and rebuild a preview using the POST ~/api/rendering/preview endpoint.
Note
At this point, there is no Swagger file for the Dynamic Image. You need to use REST API directly through fetch instead of the auto-generated API client.

You may want to check out the Dynamic Image API and Asset Storage API reference while examining the sample app. Also, see the C# API Client Tutorial for a better understanding of how to work with the API clients.