Image editor
- 2-3 minutes to read
The Design Editor has a built-in image editor that allows for manipulating raster images in JPG, PNG, TIF, GIF, and BMP formats. Using the Image Editor, you can:
Editing images
Your users can open the Image Editor from the designer for a specific item, and from galleries, where they can correct images and save modified copies in their private collections.
To edit images in the gallery before adding them to a product:
Switch the Design Editor to the advanced mode by clicking the Switch to advanced editing button. If there is no such a button, then the designer is already in the advanced mode (or this mode is disabled).
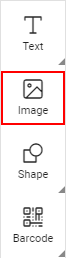
In the toolbox, click the Image button.
In the gallery, select an image and click the Edit button.
To edit images and the content of image placeholders in already loaded products, open the Image Editor:
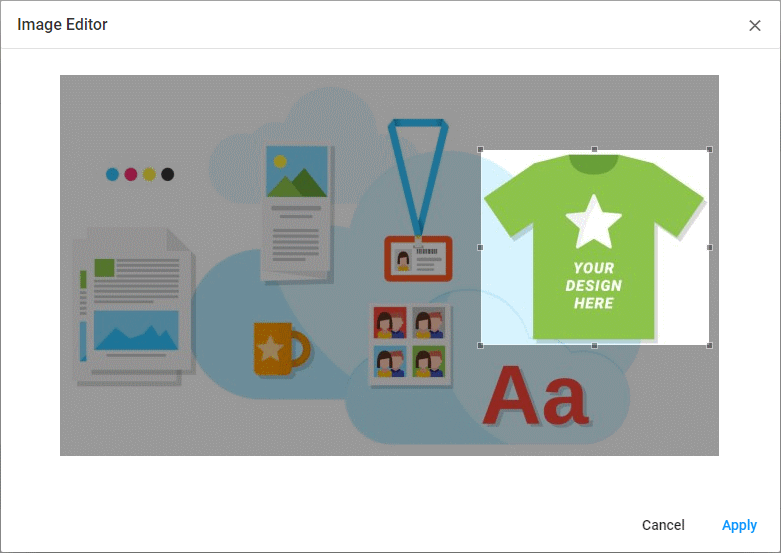
Right-click an image on the canvas or click the corresponding image layer in the Object Inspector to see the Item menu.

Click Edit image.
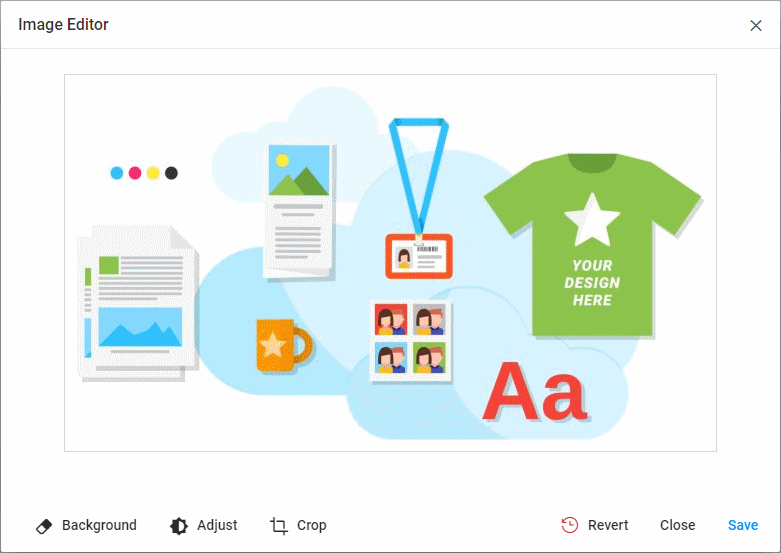
To start editing images, you can click the Background, Adjust, or Crop buttons. The Revert button discards your changes. Save allows for saving the edited image in the gallery.
Erasing the background
In the Image Editor, the Background button navigates to an edit mode where you can erase a single color or a color range, i.e. make them transparent. For example, this feature may be useful when you upload a logo without a transparent background, like a white background or green screen. Also, you can use this feature to make some parts of an image transparent for other purposes.
In this mode, when you move the cursor over the image, it becomes a crosshair pointing at the pixel to be erased. To remove a color, click the image. You can select the Contiguous option to remove the background only in an enclosed area of the same color. To remove the selected color from the whole image, clear Contiguous. Also, you can move the Tolerance slider to adjust how strongly colors may differ from the selected color.
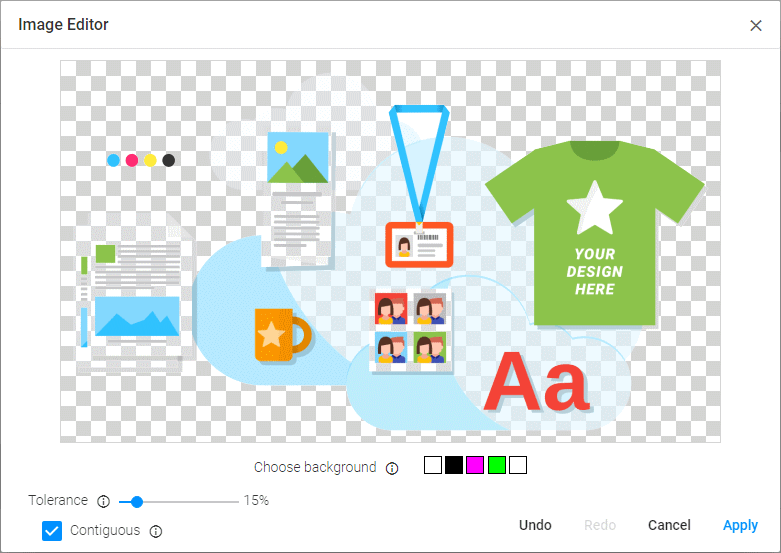
When you erase a color, it turns transparent. By default, transparent image areas are displayed as checkered areas in the Image Editor. If your image is too light and does not contrast strongly against the checkered area, then you can select a different highlight. In the Choose Background group, click another highlight color: white, black, magenta, lime, or a contrast color. This highlight does not affect the edited image and appears only in the preview.
Adjusting image colors
The Design Editor allows for changing:
- Brightness
- Contrast
- Hue
- Saturation
To adjust these settings in the Image Editor, use the corresponding sliders.
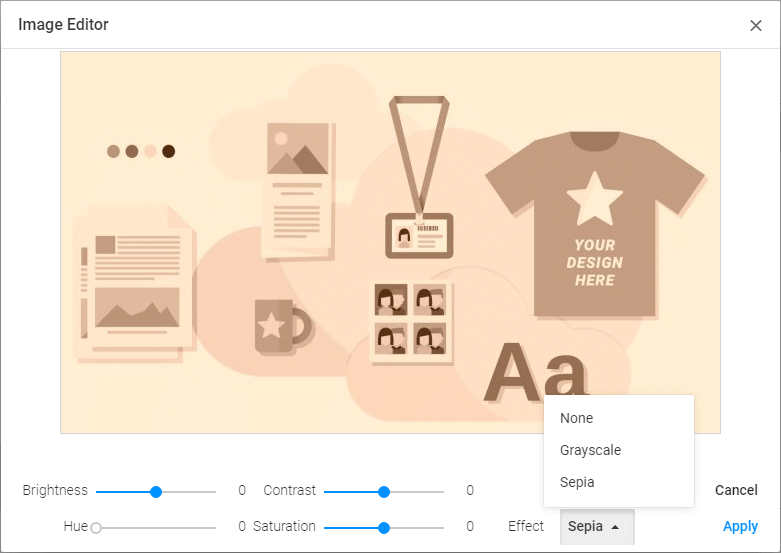
Also, you can apply the grayscale and sepia effects to your images using the Effect menu.
Cropping images
When you need to accent a single fragment or just remove extra margins, you can crop your images. In the crop mode, a bounding rectangle appears to define an image fragment.