Data schemas
- Last updated on February 29, 2024
- •
- 5 minutes to read
Such workflows as variable data printing may require you to think of a design not only as a set of graphic elements but also as a tool for data entry applications. There are other narrower tasks like form prefill, text field options, field validation, and linked placeholders, which also require data processing tools.
From this point, the process of creating a template can be considered as a description of a data schema, and design editing can be considered as a process of entering data into a form.
These processes can be implemented through a data schema mechanism when you create data schemas and configure design fields in your Customer's Canvas account.
Design elements vs. data fields
All elements on the canvas can be divided into two groups:
- Design elements
- Data fields
For example, let's look at an ID card:
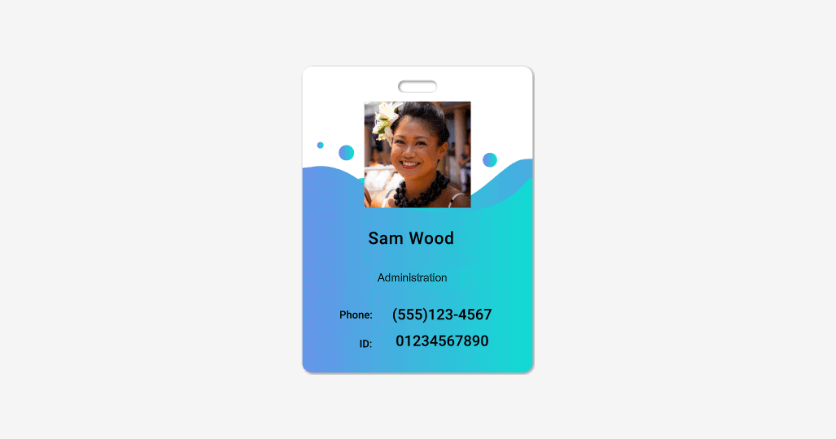
Here, the design elements are the background image and the words Phone: and ID:. Everything else is data: the photo, name, department, phone number, and ID.
A data schema is a description of all fields and the requirements for them. Customer's Canvas supports the following field types:
- Image
- String
- Number
- Variant
For the example of the ID card, we could create a document with the following data fields:
- Photo - a link to the image
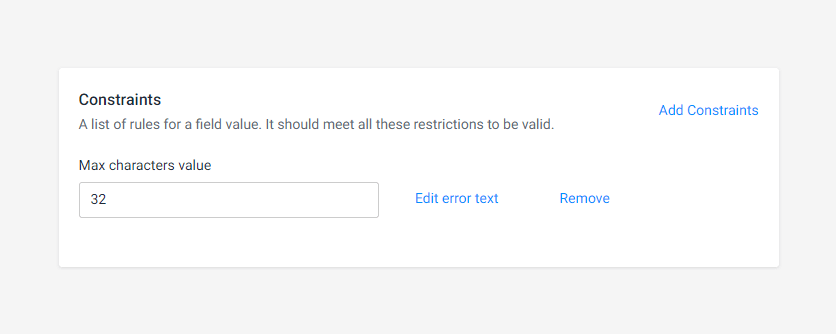
- Name - a string of up to 32 characters (required field)
- Department - an option from the predefined list
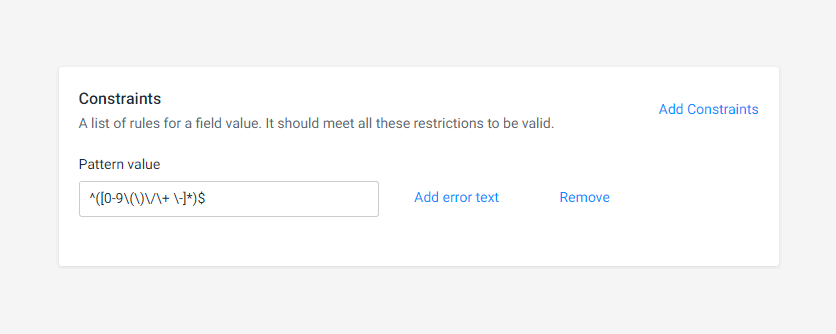
- Phone - a string corresponding to the regex
^([0-9\(\)\/\+ \-]*)$ - ID - a number (required field)
Creating data schemas
In the Data schemas section, you can find the data schemas available in your Customer's Canvas account.
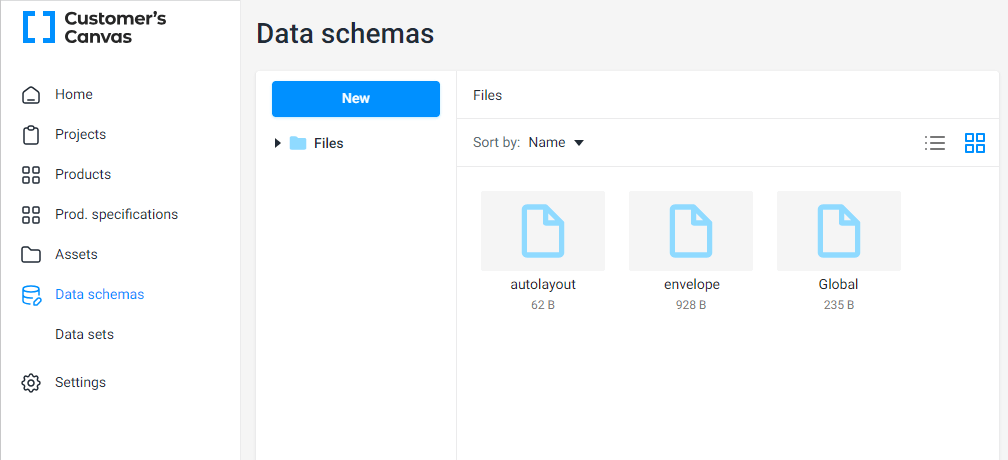
To create a new data schema, click New > Schema. When the New data schema page opens, enter the schema name, and click Add field to start entering the fields.
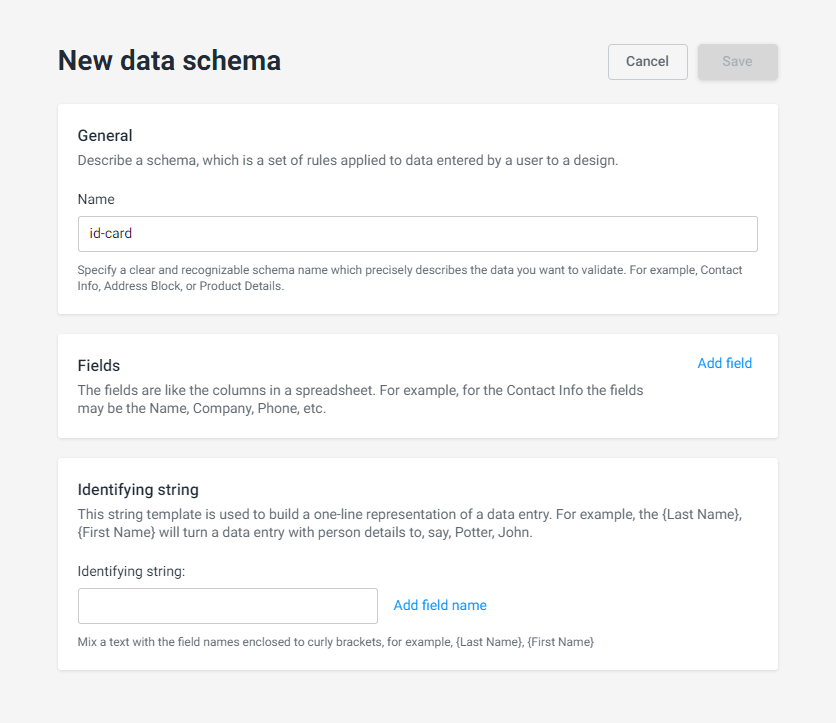
Depending on the entered Field type, a panel of appropriate constraints will be added to the default New field form. For every constraint, you can specify Error text.
Images
To define an image field, fill in the name, type, and text to be displayed for this field in the form. If this field is mandatory, click the Required checkbox.
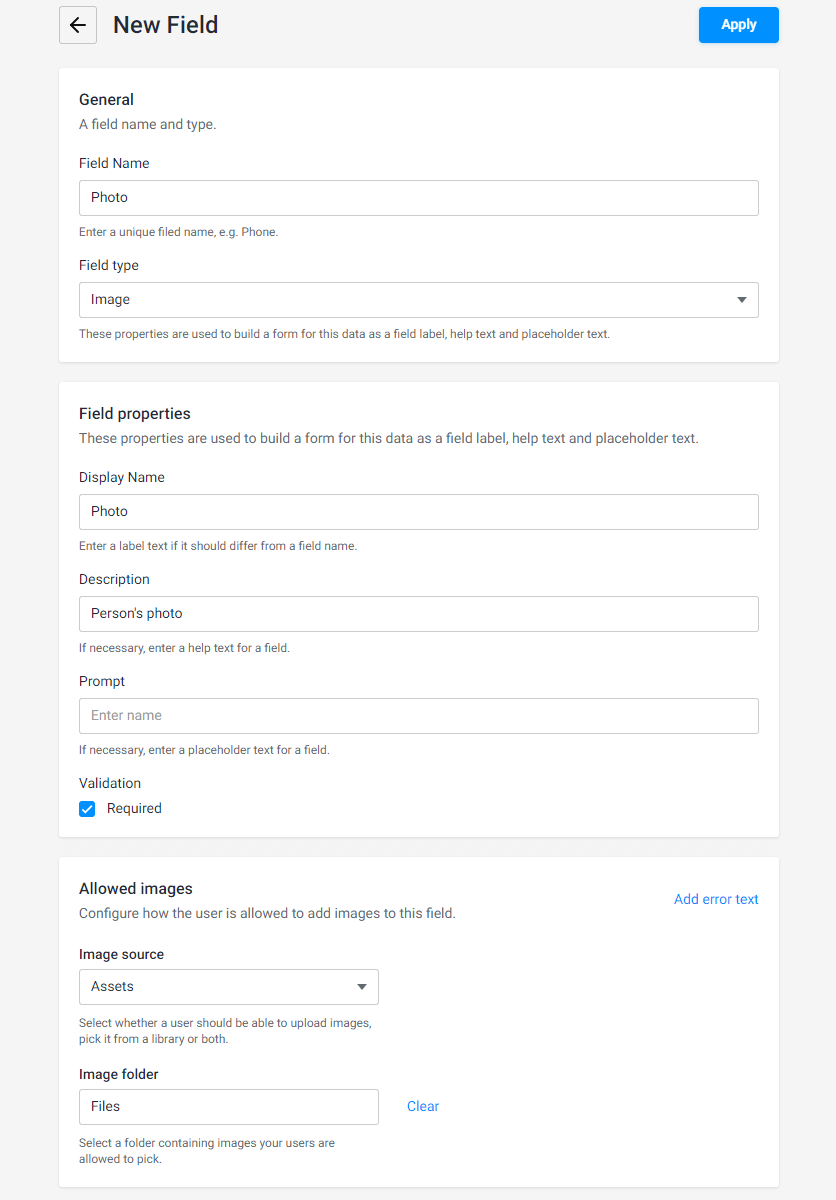
The Allowed images panel only appears for image fields. Here, you can choose whether this image can be selected from uploads or assets. In the latter case, you must also specify a source folder.
After you have finished defining the field, click Apply.
Strings
When defining strings, you can apply one or more constraints of the following set.
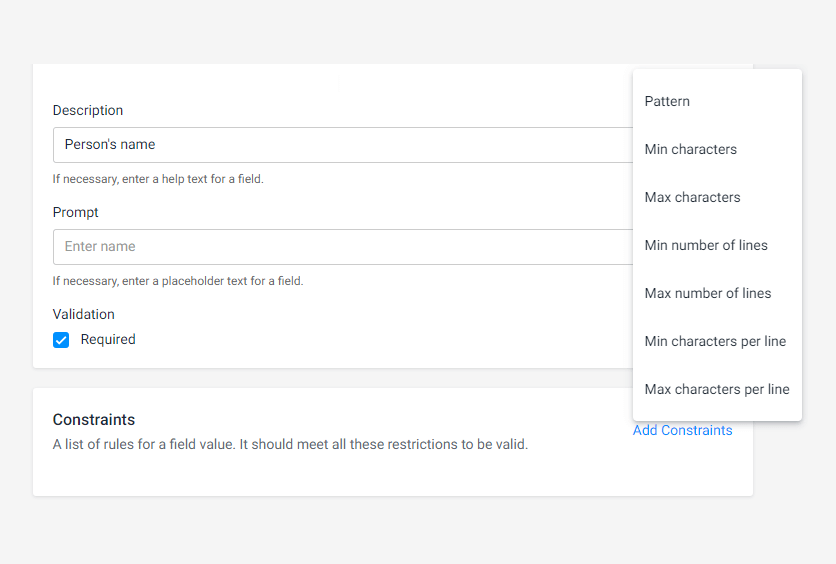
For example, to define a Name field, you can limit the max character number.
To set up the input to match a regular expression, you can specify a pattern. For example, for phone numbers:
Note that you can use a field of the Number type for defining a phone number instead of applying patterns to strings.
Numbers
Numeric fields allow you to define their format.
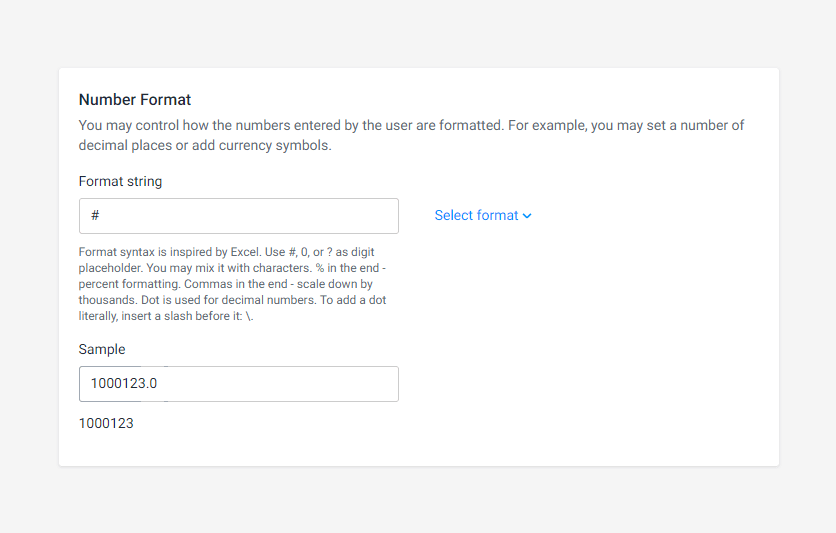
Here, you can test how a number will be formatted in the Sample field.
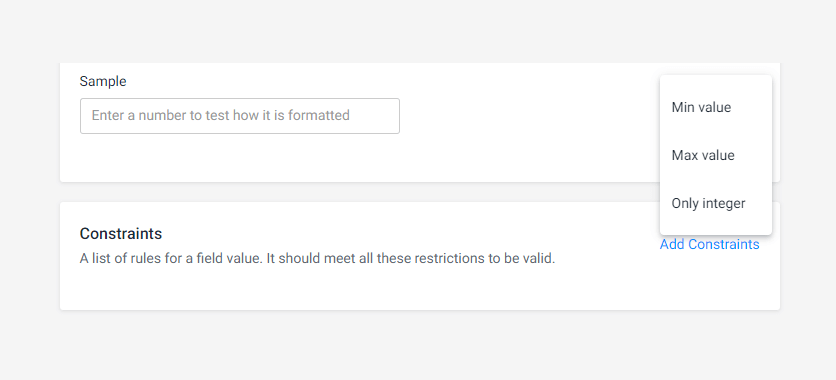
Use constraints to specify if you are expecting a value within limits or only integer values.
Variants
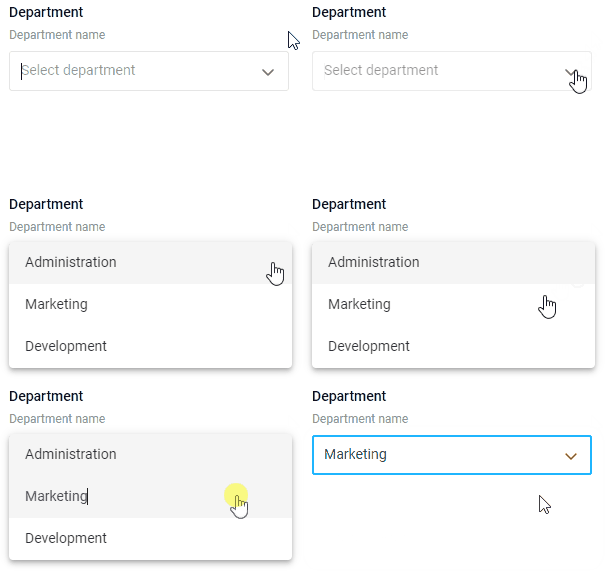
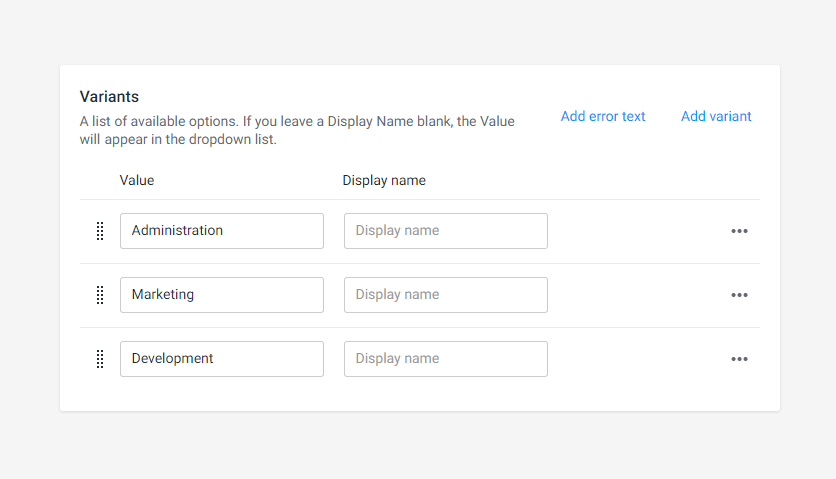
The Variant field type requires you to define a list of available options. This field will be displayed as a drop-down list, and the options will be items in this list.
For example, to define a department name, provide the following options.
Identifying string
The Identifying string is used for a one-line representation of a data entry. This string is used, for example, when the user selects an entry to prefill the design fields. You can mix text with the field names in curly brackets, for example, {ID} - {Name}.
Once defined, you will be allowed to save your new schema as well as define a data set for this schema.
Connecting data schemas to designs
You can link a data schema to a design so that Customer's Canvas can match their fields and perform validations. To do so, right-click a design, hover over the Schema command, click Link with, and select a data schema from your assets.
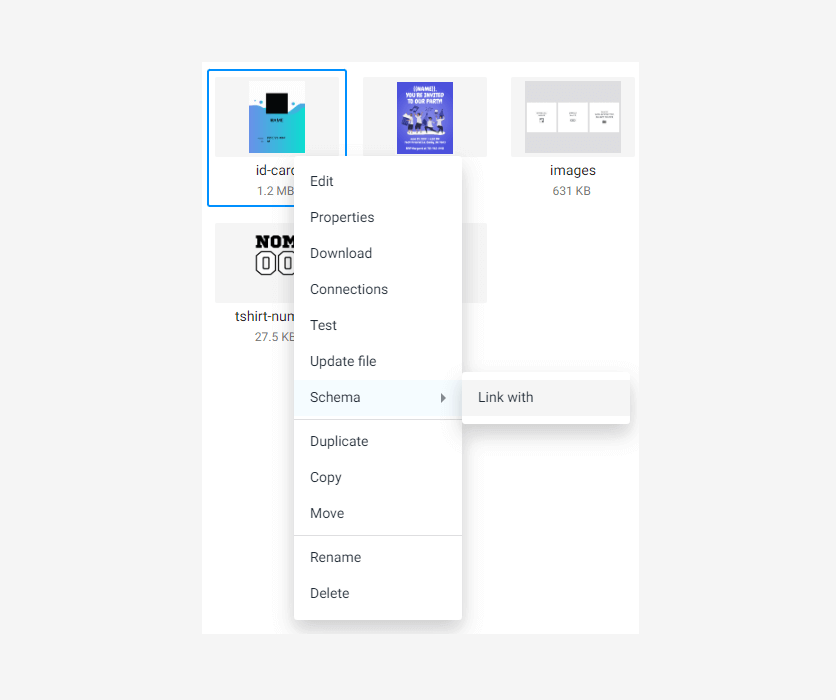
Once linked, you can embed the data schema into the design file in the same way.
Using data schemas
You can apply data schemas to perform a number of validations, both when linking to designs and when working in the editor. In the latter case, a special Data-Driven Editor is used.
Validating design fields
This validation is automatically performed as soon as you have linked a data schema. If validation fails, a red (i) icon appears next to the link icon.

To find out which fields are missing, you can right-click the design thumbnail, click Properties, and then click Errors.
Note
If you ignore this error, it won't let you open the design in the editor and will only display: The design does not match the attached data schema.
Validation in the user editor
Data schemas validate user input in the Data-Driven Editor, similar to how it is done in HTML forms. Your customers are not allowed to continue the order until all the fields are valid. In the editor, invalid values are highlighted in red with an explanation.

Applying a predefined format
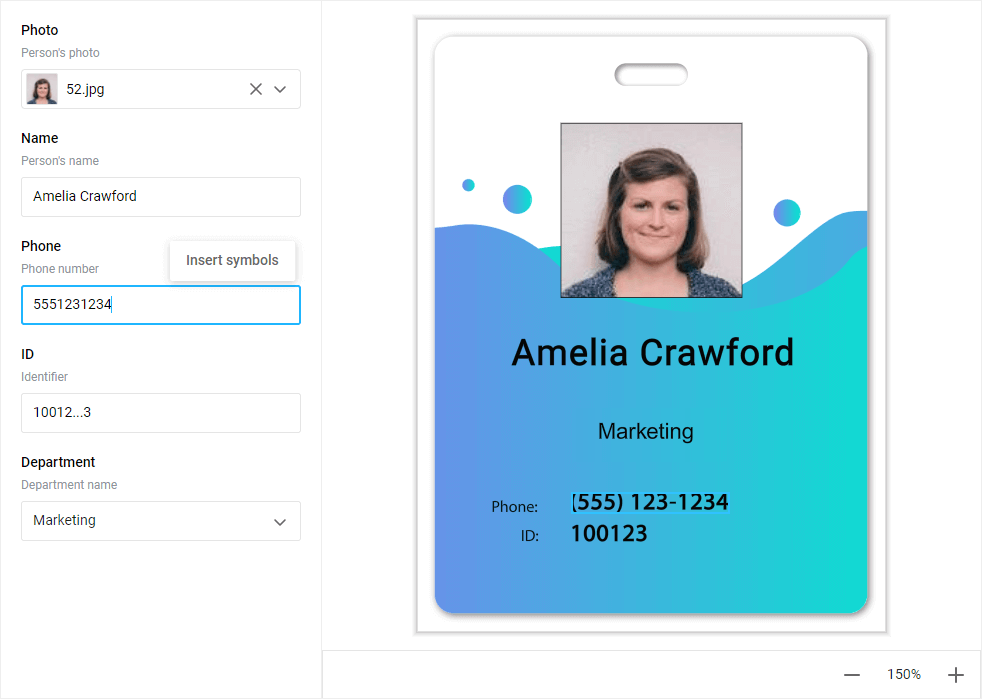
The number format allows you to change the appearance of numeric fields. For example, this is how the phone number and ID can be formatted in the product despite user input.
Selecting variants
Data schemas, namely variant fields, allow you to define lists of values for text elements instead of making customers manually enter them on the canvas. For example, the Department variant will add Administration, Marketing, or Development to the design depending on the customer's selection.
