Importing mockup files
- Last updated on September 9, 2024
- •
- 2-3 minutes to read
The Mockups folder contains graphics for the PIM Module.
You can import mockups as follows:
- Go to the Mockups section of your Assets.
- Upload files either by clicking New > Import or by dragging them from your computer to the file manager.
When import is successfully completed, you will see a confirmation. If it fails for some reason, you will see an error message. For PSD files, the failure could occur due to missing fonts or external files, but could also be the result of some unexpected problem. In this case, please contact our support team and send the original PSD file that caused the problem so that we can troubleshoot it.
Note
Unlike designs, PSD files with mockups are not converted to our internal format, but are used directly. However, not all Photoshop functions are supported in mockups either. If the Customer's Canvas does not recognize some elements or features, they will not be rendered.
The PIM Module supports mockups created in Adobe Photoshop in the PSD format. They can be one of the following types or a combination of them:
ThumbnailEditorPreview
Let's consider these types in detail.
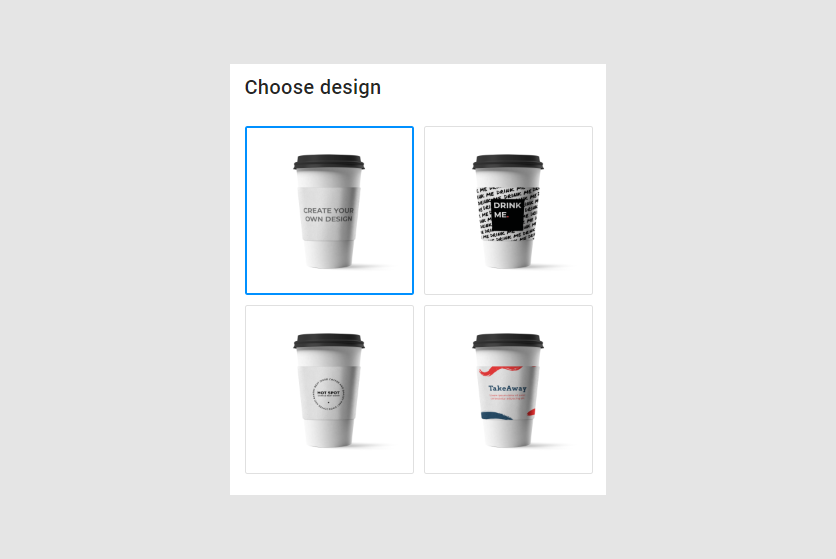
Thumbnail
The thumbnail mockup is a product miniature. It appears at the initial step, where you select a product variant, or at the same step with the Design Editor.
The recommended size for this mockup is between500 x 500 and 600 x 600 pixels.
In the thumbnail mockup, you can draw the product in perspective or apply transformations to show the design on a realistic representation of a product.
Editor
The editor mockup is a sketch of a product displayed in the Design Editor. The size of this mockup depends on the physical size of the print area. The measurement units may be in, cm, or mm. This mockup helps you place the design in the right location and adjust the size of the uploaded image or shape.

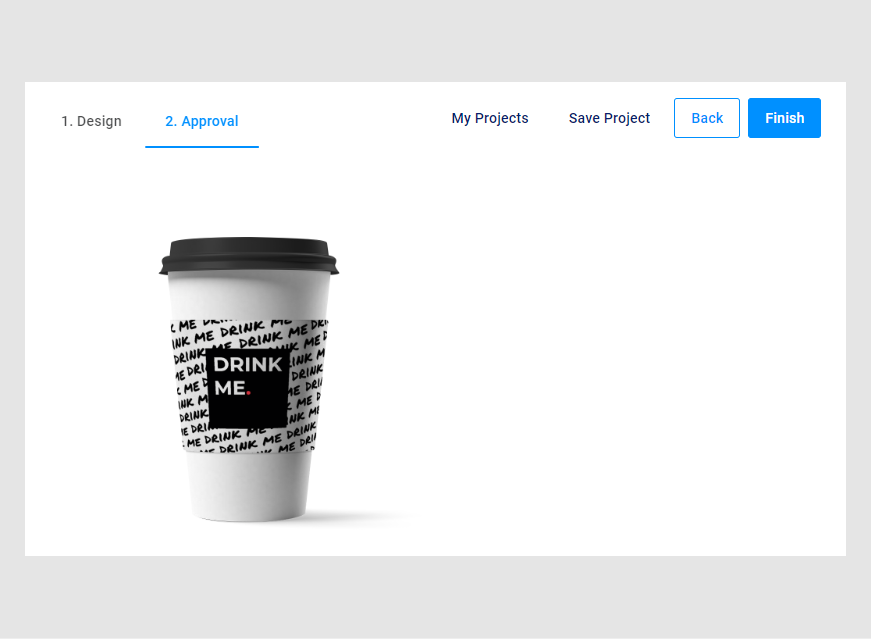
Preview
The preview mockup is used to display the personalization results at the Approval step. This mockup usually shows the product in perspective so that the design applied to it looks as realistic as possible.
Tip
Creating mockups is available only in Photoshop, in the PSD format. To learn how to create mockups for the PIM module, read the Overview section.
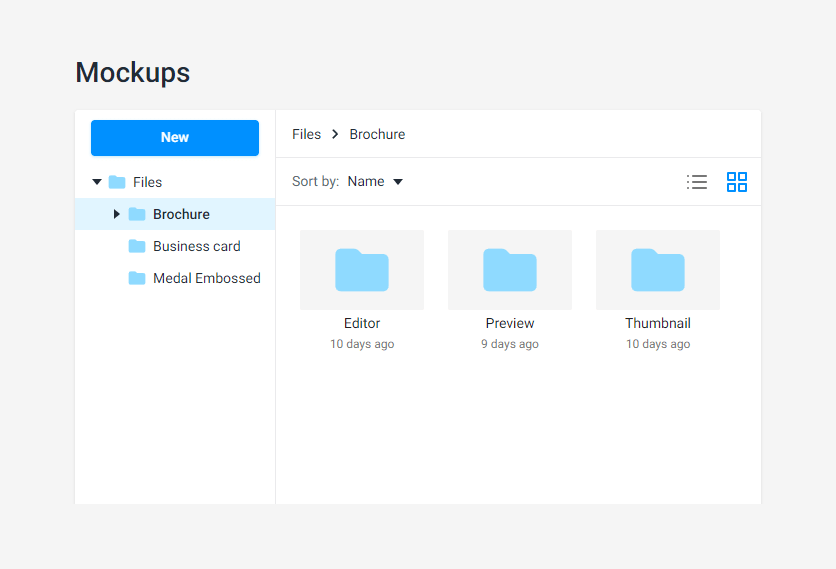
Folder hierarchy
Here you will see how you can organize a folder hierarchy for mockups.
To separate one product from another, create a folder for each product.
For example, you may have a product like a bottle sleeve and two mockup files for this product: thumbnail and preview. You can put these files in the product folder without creating subfolders. Such hierarchy will allow you to connect them to the product at the same time.
- Sleeves
Thumbnail.psdPreview.psd
Let's consider another example. You may want to add wedding invitations to your products and may have a lot of thumbnails, editor, and preview mockups prepared for this product. In this case, create a separate subfolder for every mockup type.
- Wedding Invitation
- Thumbnail
Curved.psdRounded.psd
- Editor
Craft paper.psdRegular paper.psd
- Preview
Curved.psdRounded.psd
- Thumbnail