Creating design elements
- 4-5 minutes to read
In this topic, you can find guidance for designers on creating templates in Adobe InDesign.
Working with Layers and Frames
In InDesign, the layers are arranged in the same way as in Adobe Illustrator, where a layer represents a container for design elements. To configure the behavior of these elements in Customer's Canvas, you can assign names and markers to them. In InDesign, you can work in one layer, but you can also organize as many layers as you want. The Design Editor does not display these layers, only the objects inside them.
| Layers in InDesign | Layers in the Design Editor |
|---|---|
 |
 |
There are two frame types in InDesign: graphic frame and text frame. All design elements are created in one of these frames. When you create empty frames, their type will be determined automatically depending on what objects they contain.
Images
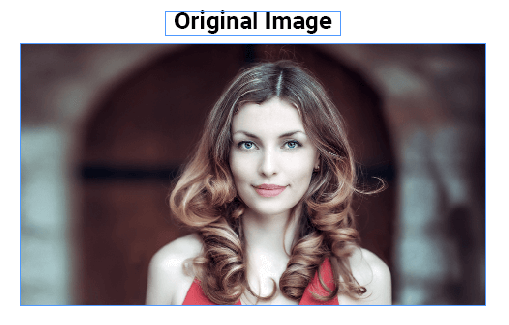
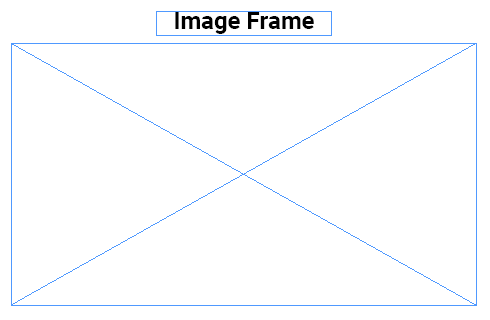
To add an image to your design, you can just drag it to a page. In this case, InDesign will allow you to choose the size of the inserted image while maintaining the original aspect ratio. If you insert an image into an empty area, not into a frame, InDesign will create a frame of the corresponding size for this image:
 |
 |
|---|
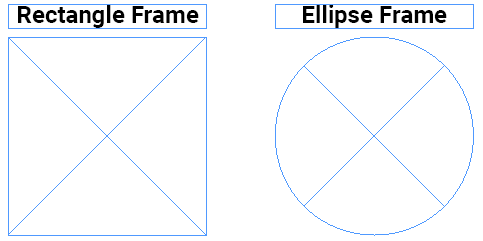
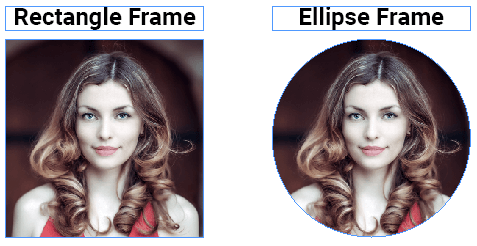
If you have created a frame, for example, using a rectangle or ellipse frame tool, you can drag an image to this frame.
 |
 |
|---|
In this case, the image is also inserted with the original aspect ratio. You can adjust this image to the frame manually or through the Object > Fitting menu.
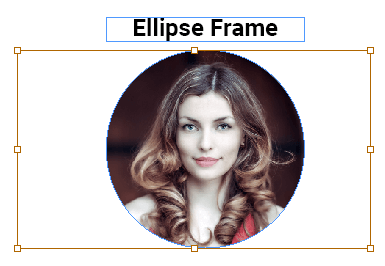
First, double-click the frame with the image to select the frame content. When selected, grips will appear displaying the image size. To adjust the image manually, just pull a grip.
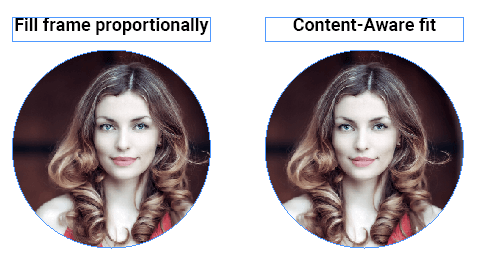
To adjust the image to a predefined position, you can use the following commands in the Object > Fitting menu:
Fill frame proportionally - resizes content to fill the entire frame while maintaining the content proportions.
Fit content proportionally - resizes content to fit a frame while maintaining the content proportions. Despite some extra space appearing, this is a good way to insert logos, barcodes, tags, etc.
Content-Aware fit - automatically fits an image inside the frame based on the image content and frame size. The result is close to Fill frame proportionally, but it puts the object in the center of the image depending on the context and focus of the image.
Fit frame to content - resizes a frame to fit its content.
Fit content to frame - resizes content to fit a frame and allows the content proportions to be changed. If the content and the frame have different proportions, the content will appear stretched.
If you need to copy an image or move it from one frame to another, then double-click the frame with the image, cut (ctrl+x) or copy (ctrl+c) the image, click the frame where you want to insert the image, and then click Edit > Paste Into in the menu (or ctrl+alt+v).
Image Placeholders
You can create image placeholders in the same way as images, but you must add the <PH> marker to their names. To define the desired behavior, you may want to add more markers.
Shapes
You can create simple shapes with the toolbox, for example, by using the Rectangle, Ellipse, or Polygon Tool. You can also use the Pen tool to create arbitrary vector shapes. To design more complex vector objects, you can use Adobe Illustrator and then copy and paste them into InDesign.
If a vector object consists of several elements, then group them (select these elements and click Object > Group or ctrl+g) and place the group in a frame: ctrl+x, create and select a frame, ctrl+alt+v, and click Fit frame to content. The result may look as follows:
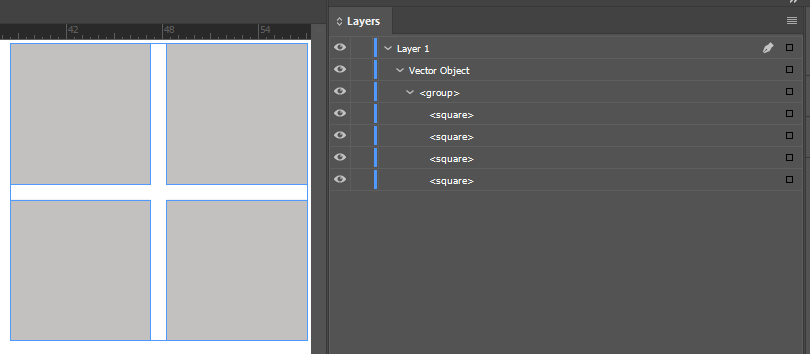
In Customer's Canvas, such an object will be converted to a vector image. If the elements of a vector object remain ungrouped, then the Design Editor will display and render them as separate layers.
Rich Formatted Text
To create rich formatted text, use the Type Tool. If you have prepared a frame for your text, click that frame. Otherwise, select the desired area, and this tool will create a text frame. The Design Editor imports such text as rich formatted text.
Bounded Text
You can create bounded text in the same way as rich formatted text, but you must add the <TOS> marker to its name.
Plain Text
You can create plain text in the same way as rich formatted text, but you must add the <RT_false> marker to its name.
Text on a Path
To create text on a path, use the Text on a Path Tool. You can click either a path that you created with the Pen Tool or a shape.
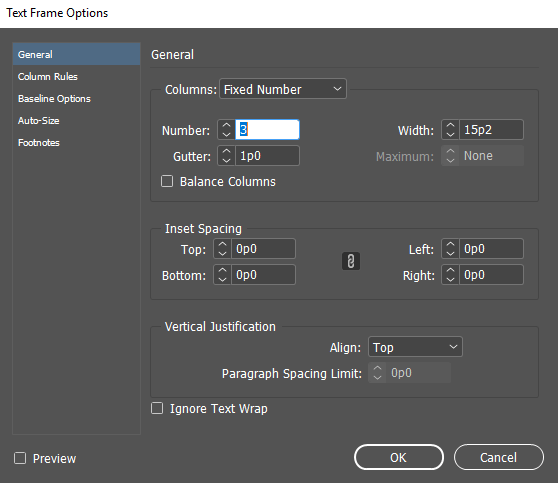
Multicolumn Text
Multicolumn text can be either rich formatted, bounded, or plain. After you have created a text frame, click Object > Text Frame Options (or ctrl+b) to configure columns.
Saving IDML Files
Since Customer's Canvas only works with .idml files, save your design file in this format.
Documents with Embedded Images
It's recommended to embed all images into your design. You can perform this as follows:
- In the Links window, select your linked images.
- Right-click the selection.
- Click Embed link.
After that, save your design: navigate to File > Save As (or ctrl+shift+S) and select the IDML format.
Documents with Linked Images
You can save your design with linked images by packaging. Read the How to package idml files article, to learn how to create a package.