Importing AI graphics to IDML templates
- Last updated on December 29, 2023
- •
- 1 minute to read
You can import AI graphics to the Design Editor as either raster items or a group of shapes. In this topic, you will learn how to import AI graphics within InDesign templates to the Design Editor.
A vector layer
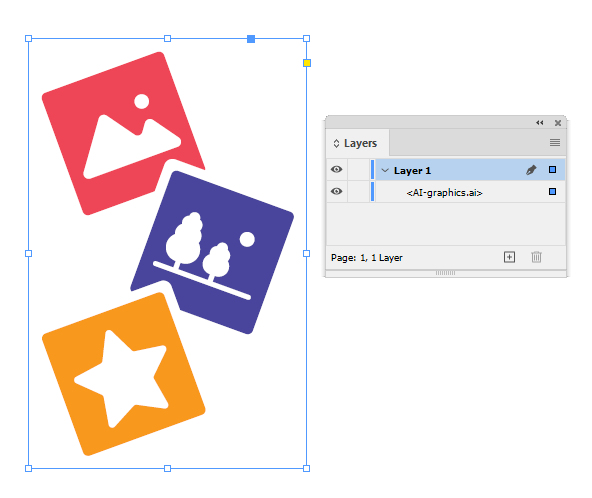
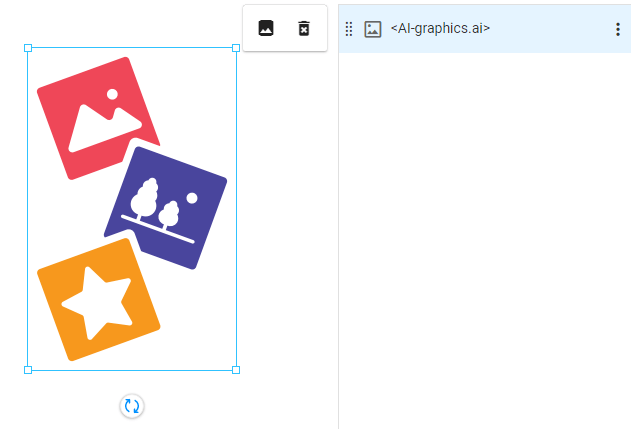
Elements from the AI file will be combined into a single image in the Design Editor if they are loaded into the InDesign template as one file. But they will still retain their format (vector or raster).
To add an AI image to an IDML template so that it appears in the Design Editor as a single layer:
In Adobe Illustrator, create a few shapes and save a file in the AI format by clicking File > Save.
In InDesign, click File > Place.
When the dialog box opens, select the Show Import Options checkbox and click Open.
In the Place PDF dialog box, select the Show Preview checkboxes.
In the Crop To box, select Bounding Box (All layers), and then select the Transparent Background checkboxes.
InDesign places the file as a vector image on a single layer.
Click Window > Links, right-click the element, and select Embed Link.

Save the IDML file.
Now, if you upload this IDML file to Customer's Canvas and open it in the Design Editor, this template will have one layer. You can only scale, manipulate, and delete this layer.

A group of shapes
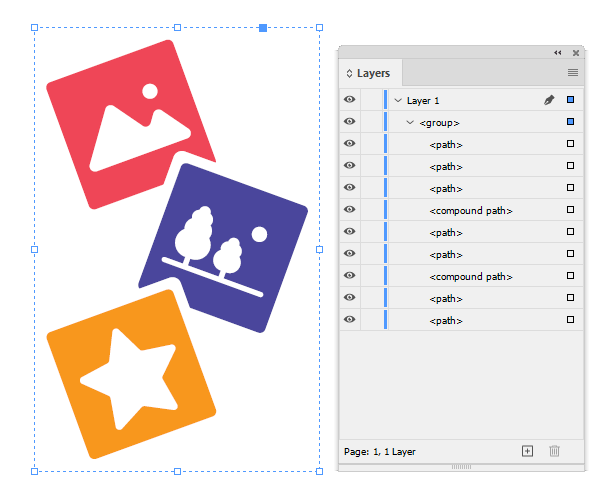
To add an AI image to an IDML template so that it appears in the Design Editor as a group of shapes:
In Adobe Illustrator, add several shapes and select them (for example, using
Ctrl+A).Click Edit > Copy or use
Сtrl+С.In Adobe InDesign, click Edit > Paste or use
Ctrl+V.
Save the IDML file.
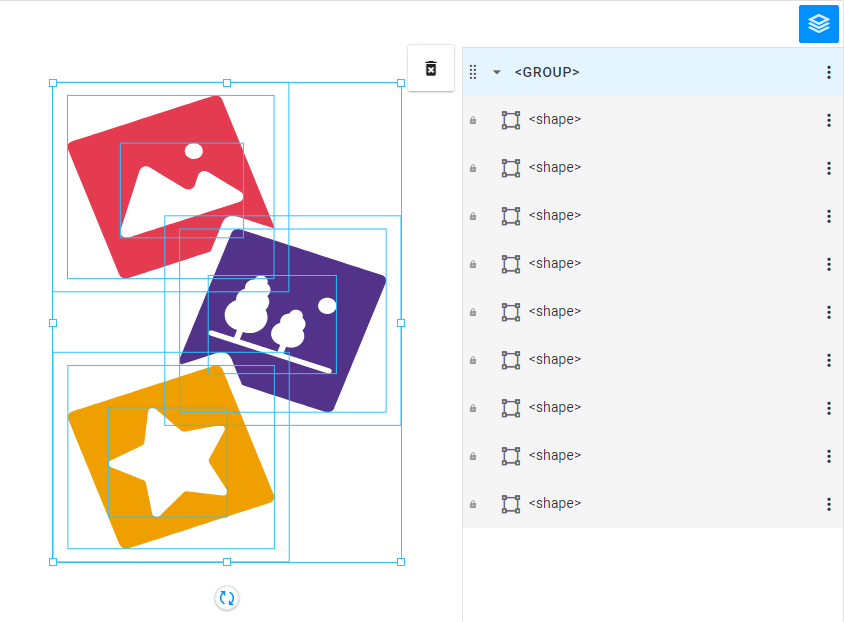
Now, if you upload this file to Customer's Canvas and open it in Design Editor, every shape will appear in a separate layer. You can rotate, scale, and select a color for a single shape.
