Stroke and Shadow Text Effects
- Less than a minute to read
It is quite easy to create these effects in Photoshop by using the Add a layer style command:  . Let us go through the process of creating a PSD template with stroke and shadow text effects.
Create a new template in Photoshop.
On the Tools panel, click Type Tool.

Click where you want to place a text, and enter some text. Click Done in the Options panel when you are finished.

On the Layers tab, click Add a layer style, and then click Stroke.
In the Layer Style dialog box, click Ok to set default stroke settings.
Repeat steps 2 - 5 for a shadow effect.
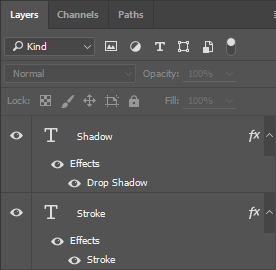
Now, the Layers tab looks as follows:

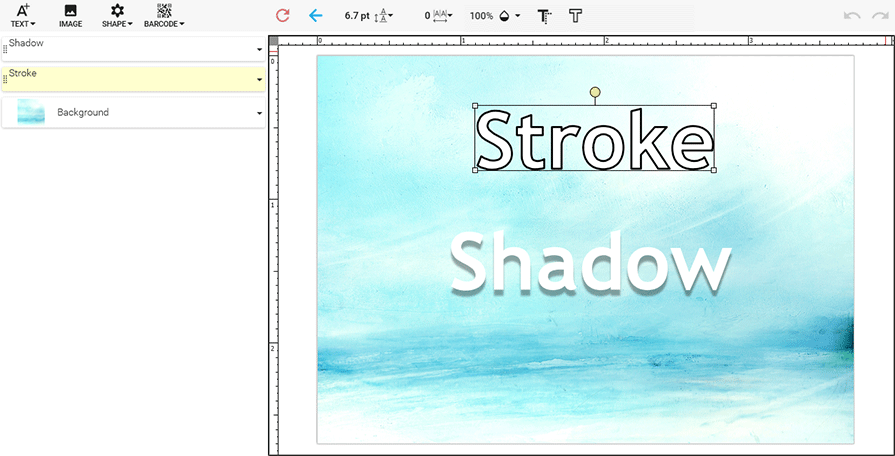
Save the template and open it in the Design Editor.

In the editor, you can edit these effects by using the Stroke and Shadow buttons.
Note
The Design Editor shows the Inside and Outside strokes in the Center position.
Unlike Photoshop, the Design Editor uses the angle of the shadow rather than the angle of the light source.