Text Wrapping
- 1 minute to read
This topic dwells on the text wrapping feature that allows for controlling how images (shapes) and text areas are combined:
- Text wraps around an image or the image is put above/behind the text without changing its layout.
- Text is wrapped inside a shape.
Wrapping Text Around an Image
You can add the <TWM> marker to an image layer name to configure how all underlying text areas wrap around the image. Let us create a PSD template that utilizes this wrapping feature. Add an image layer and a paragraph text layer to the template and insert the <TWM_xxx> marker into the name of the image layer. The result should look as follows in Photoshop:
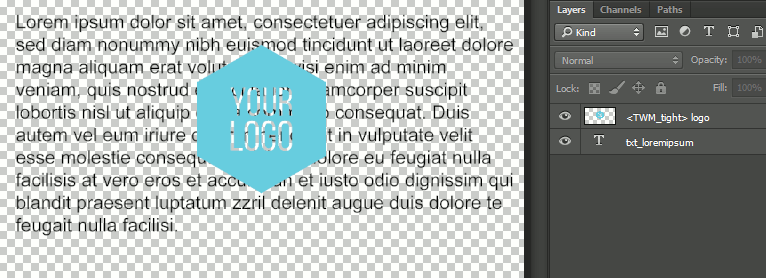
Depending on the <TWM_xxx> marker value, the template loaded into the editor may look as follows:
<TWM_square>: text wraps around the image's bounding box. Rotate the image to see how the text wrapping changes.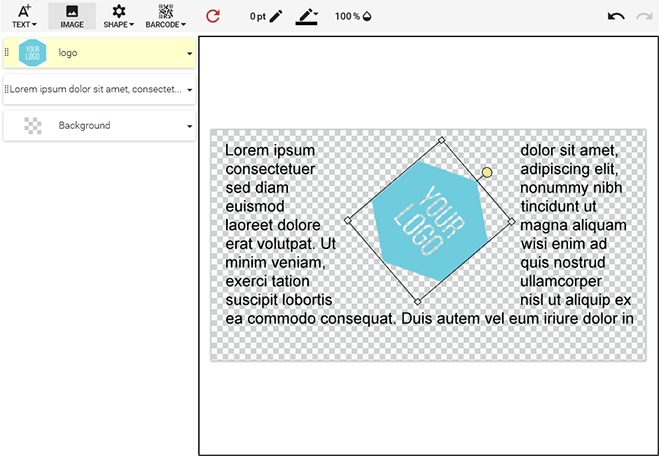
<TWM_tight>: text wraps around the image's shape. Rotate the image to see the difference from the previous variant.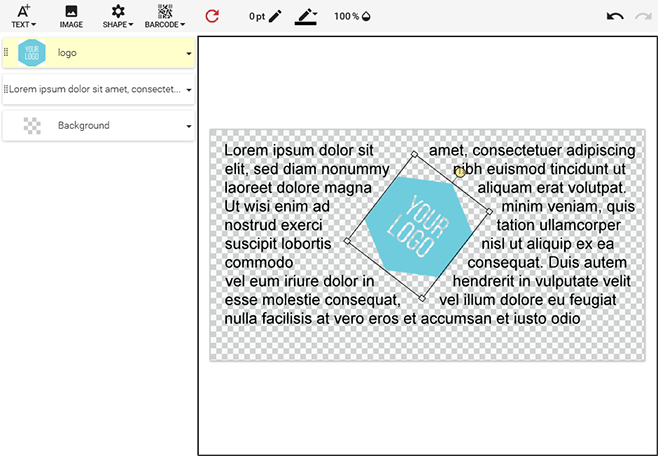
<TWM_none>: no wrapping; image overlays underlying text.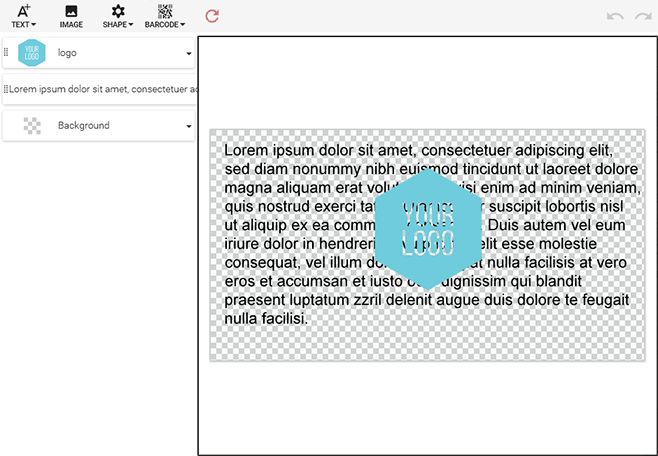
Note
If the text is too big to be displayed in a rich text area, it will be cropped. Rich text areas do not resize automatically when the user is typing in text.
Wrapping Text Inside a Shape
When Design Editor wraps text inside a shape, it replaces the text boundaries with the shape's. The text and the shape must be defined in a PSD template. When the template is loaded into the editor, only the shaped text is displayed, while the shape itself is removed from the product.
Let us see how it works. Create a new PSD template and add a group layer to it. Mark the layer with <PBT> and add a paragraph text layer and a shape to the group. To prevent the text from dividing into columns, use the <TACCC_f> marker.
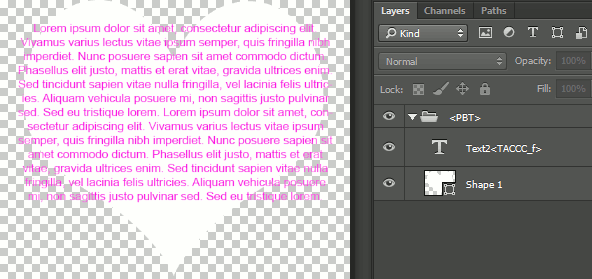
When the template is loaded into the editor, the text is wrapped inside the shape. A user can resize and rotate the shaped text like any other object. Also, the text itself can be changed.
