About Design Editor
- Last updated on January 13, 2025
- •
- 7 minutes to read
The Design Editor application is a crucial part of the Customer's Canvas solution. Moreover, it is possible to use only the Design Editor without the admin panel and backend services. This article explains different scenarios where you may use the Design Editor APIs.
Design Editor structure
This application is not a pure frontend JS app. It has its own backend, which makes it possible using Design Editor even without backend services.
Here, you can find a high-level structure of the Design Editor application:
Where do I get Design Editor?
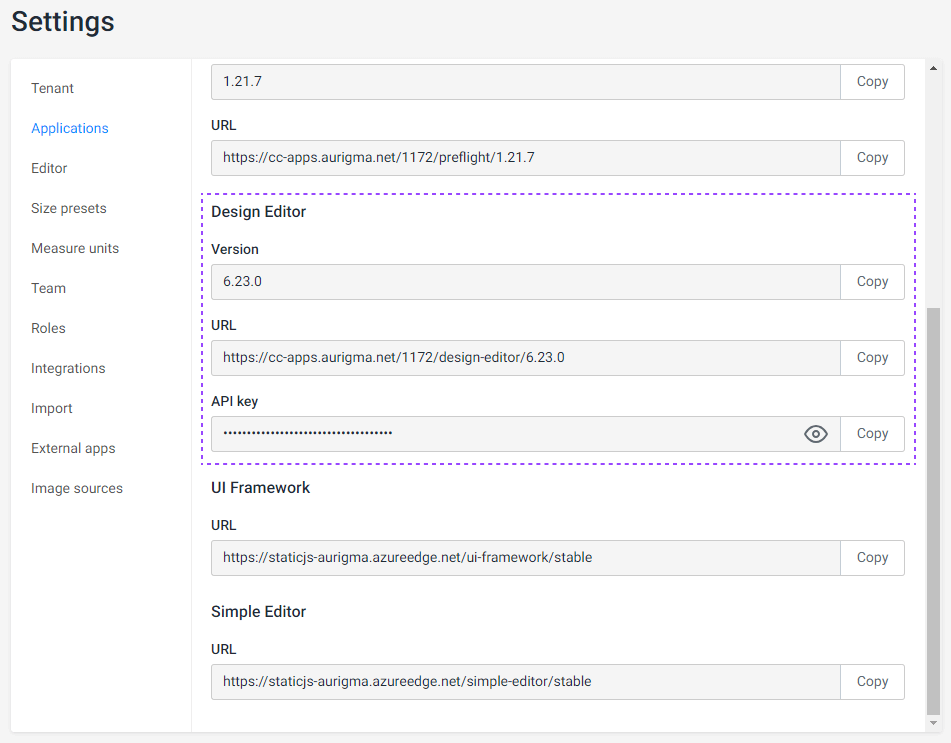
If you have a Customer's Canvas account, you can find a base URL to the Design Editor and its API key at the Settings > Applications section.

You need to know this URL both to embed it to a page and to work with its API.
Important
From time to time, we may upgrade your instance of Design Editor. Therefore, it is not recommended to hardcode this URL in your code for any reason other than educational purposes. For a production code, we recommend you to request this URL through the endpoint GET /api/storefront/v1/tenant-info/applications of the Storefront API.
If you are using it in the standalone mode, you need to install it on your server and configure it yourself. You may find more information about this in the Design Editor documentation.
Editor UI
Let's focus on the frontend part for now.
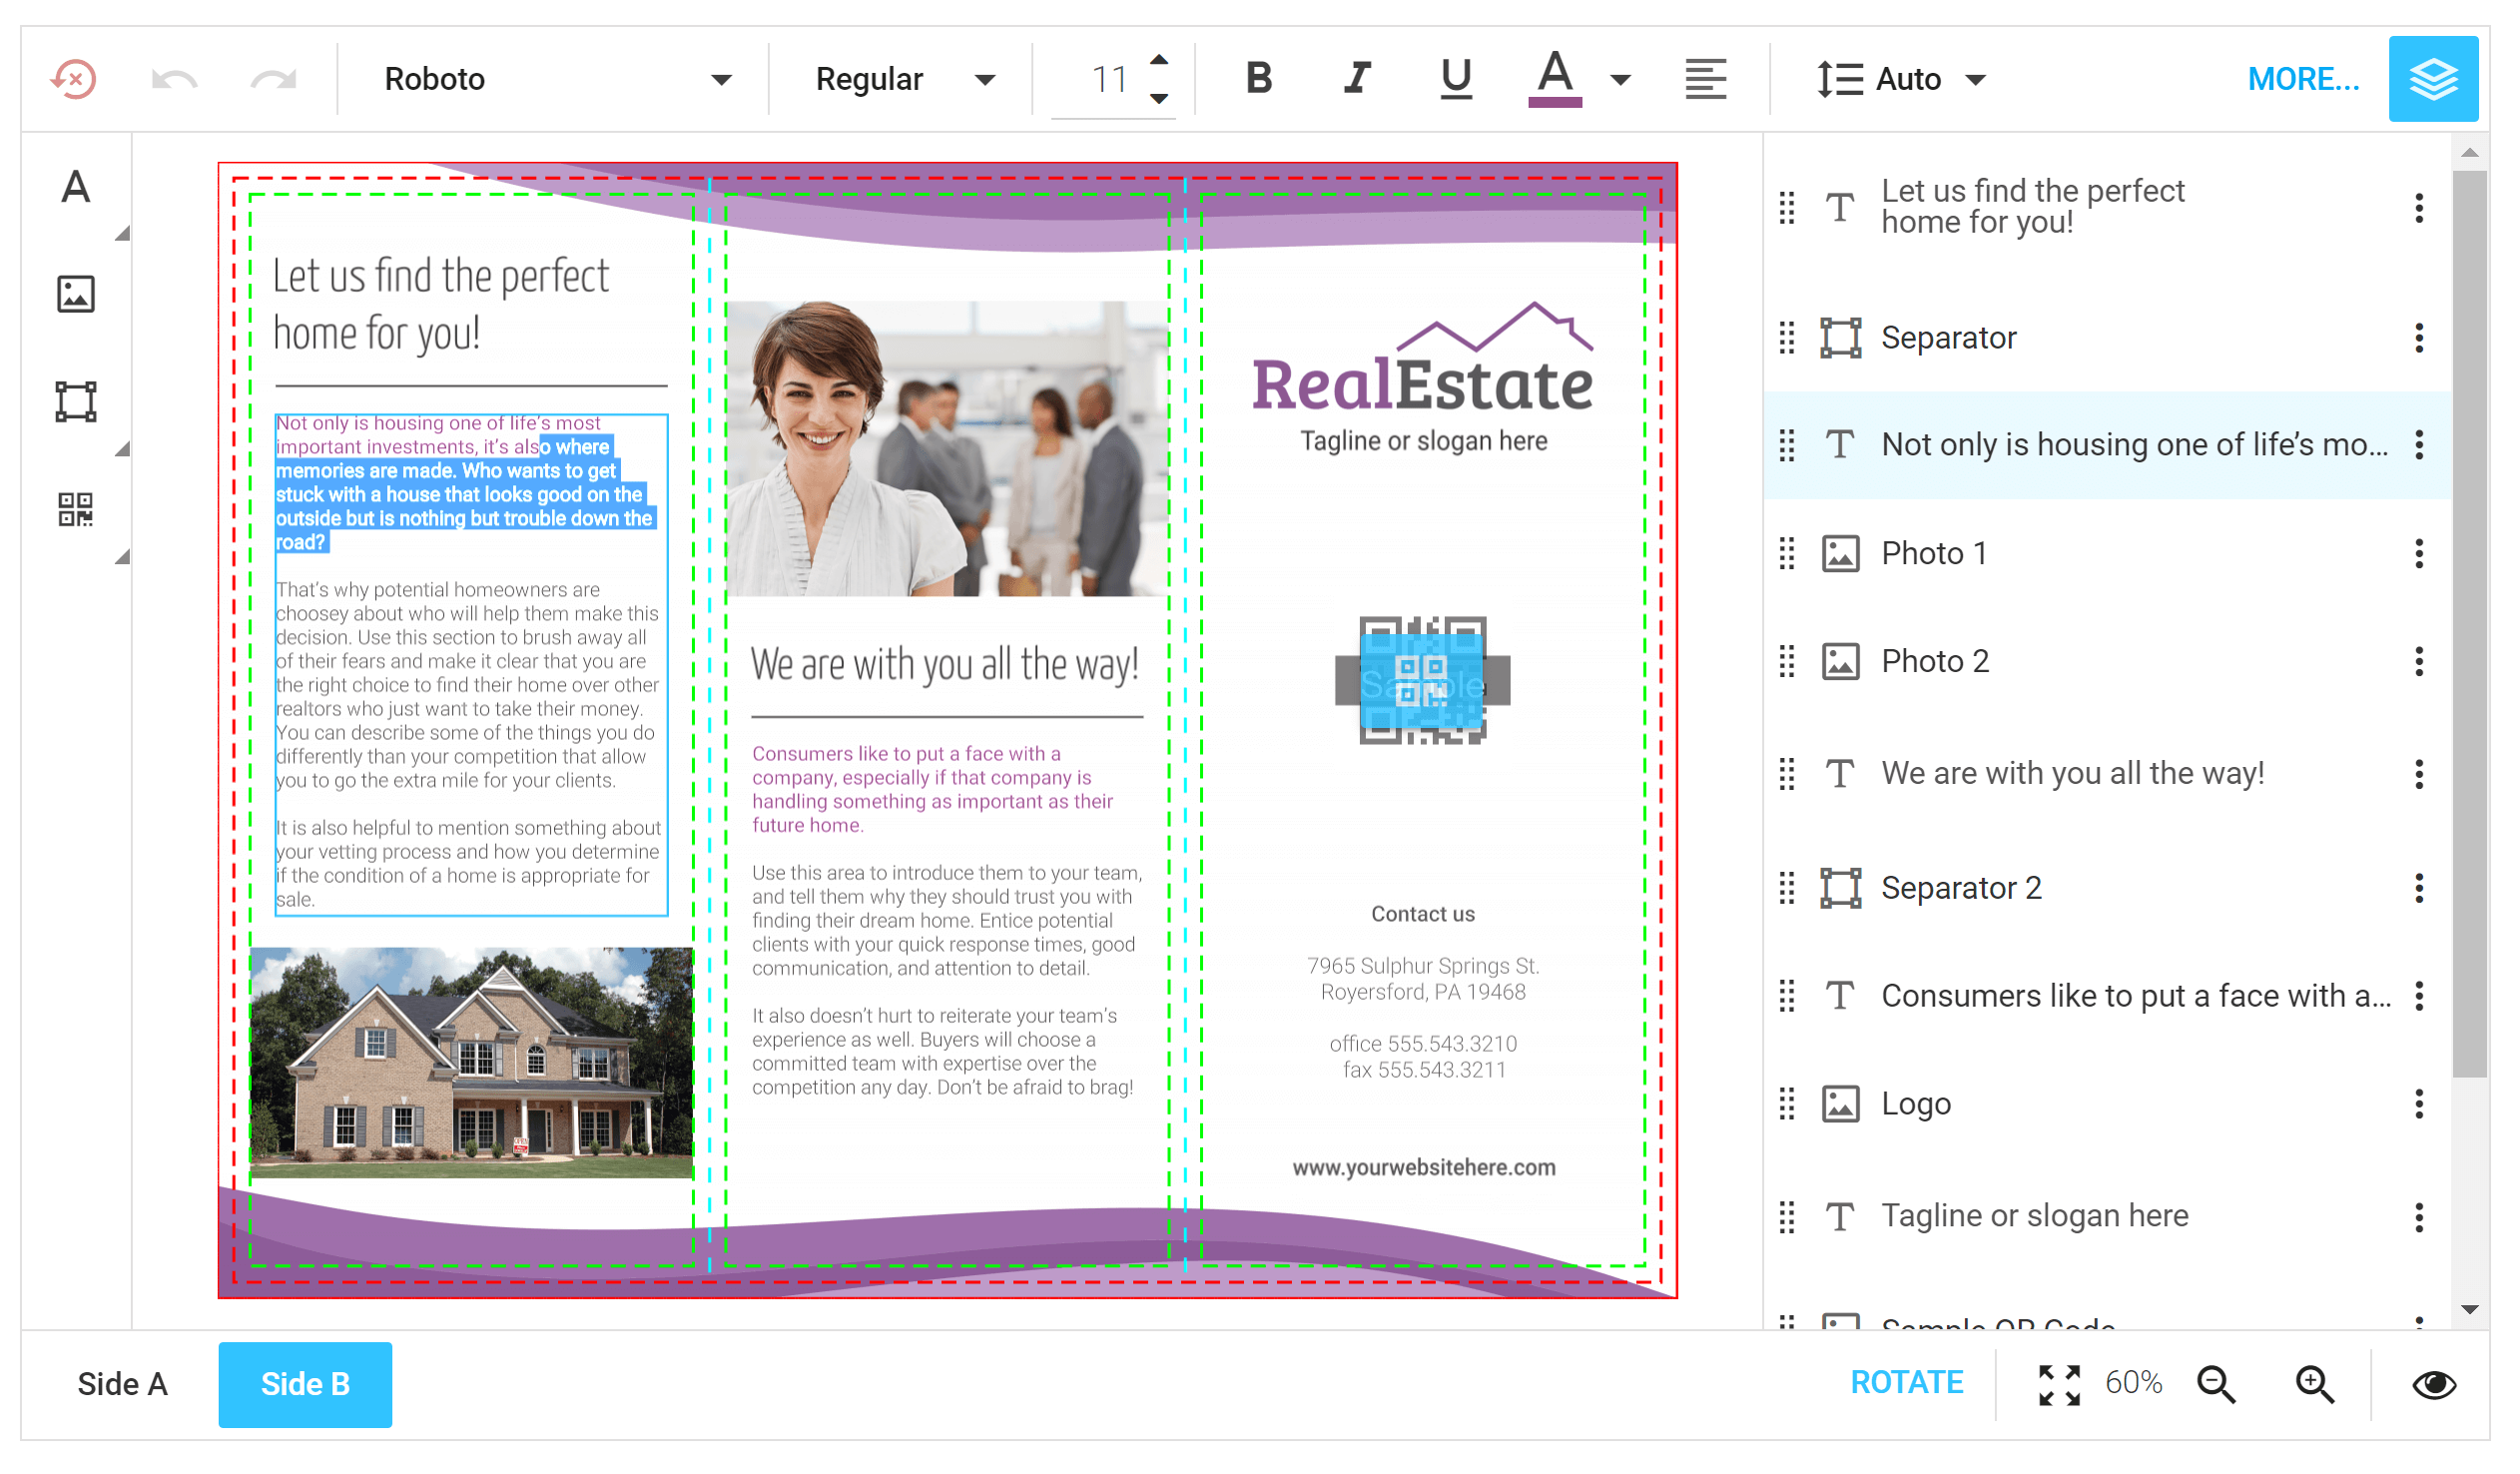
The Design Editor user interface looks like this:

You can change its configuration, for example:
- Toggle on/off buttons in the toolbox on the left.
- Turn on/off certain features in the item properties top toolbar.
- Move the item list (object inspector component) to the left or hide it.
- Configure the image browser (asset manager component) - whether or not to allow user uploads, what galleries are available, connect it to DepositPhotos, etc.
- Display additional elements that won't be printed - for example, a T-shirt image under the design.
Depending on the type of a product you personalize, this configuration may be very different.
As you may notice, it only shows the editor and no online store options, approval screens, or other order workflow steps. If you need these, you must either implement them as a part of the page where you host an editor or use UI Framework.
Now, let's see how you integrate this UI with a page. There are basically two methods to do this - using IFrame API or by building a UI Framework config with a design-editor widget.
IFrame API
When you are using this approach, you need to do the following:
Add a link to a special JS library called IframeApi.js. If the endpoint
GET /api/storefront/v1/tenant-info/applicationsreturnshttps://cc-apps.aurigma.net/12345/design-editor/6.22.0/then the JS library link is
https://cc-apps.aurigma.net/12345/design-editor/6.22.0/Resources/Generated/IframeApi.jsAdd an
<iframe>element to a position where you want to load an editor and adjust its CSS properties.Call a special method from the IframeApi.js where you need to pass the
<iframe>element, the product definition (a description of a design that may consist of multiple pages), and an editor config - a JSON structure describing all the UI and behavior settings.
It will return an instance of an <iframe> wrapper that allows for communicating with the editor. For example, you may:
- Submit the design to the server
- Work with the elements in the editor
- Switch between surfaces (pages)
- Reload a design on a single surface
- And many other functions
UI Framework widget
Another way of doing this is to create a configuration for UI Framework and load it as an editor. This approach is recommended in most of scenarios. If you are not familiar with UI Framework, we recommend that you check out About UI Framework.
The UI Framework config should include the design-editor widget, which is a wrapper around the IFrame API. It allows for specifying the product definition and editor config in the same format as you would with IFrame API.
The advantage of UI Framework over using IFrame API directly is that you may quickly create a more complicated ordering workflow in which the editor is just one of the elements.
How the results are saved
Whether you are using UI Framework or IFrame API, both methods allow for saving the user's design. You don't have to invoke the Web API described below - there is a JavaScript wrapper for that.
When you save the result, the following happens:
- A private design file is created and saved in the Design Editor.
- If Design Editor is connected to the Customer's Canvas cloud system, private design file is saved to the Asset Storage.
- A server returns back the information about the saved design - a state ID as well as the URLs that return the design proof image and the print file.
The state ID can be used for further manipulations to the saved design.
Managing editor data
Assets are the data used by the Design Editor, such as the template files, images, fonts, etc. If you are using a cloud version of Customer's Canvas, assets are stored in our cloud storage and managed through the Backend Services. If you are using a standalone version, they are stored locally on the same server with the Design Editor instance.
You can find the overview of the assets used in Customer's Canvas in the Assets article.
Templates in Adobe formats
In addition to the assets described in the Assets article, when we are talking about Design Editor, there is an important asset type: the the Photoshop (PSD) and InDesign (IDML) files. You may find more information on how to create them in the Creating Product Templates section of the Design Editor documentation.
When you are using the cloud version, you never work with them directly. You first import them and they are converted to the design files discussed above.
In the standalone mode, it is possible to put them into a special folder on a server and load the PSD or IDML files without converting them.
Using Asset Storage API
When you are connected to the Customer's Canvas cloud, you are supposed to use the Asset Storage API to manage assets (get a list, delete, etc). To perform operations like importing or, for example, generating a preview, you need to use the Asset Processor API.
Using Design Editor API
As mentioned above, Design Editor has its own Web API. It is especially useful when you are working in a standalone mode and don't have an access to backend services.
- Design and Mockup manipulation API - CRUD operations on designs and mockups.
- State File API - CRUD operations on design files in the internal format with some features allowing you to extract metadata from the files.
- Private Gallery API - operations with the user's uploads.
- Fonts - operations with the fonts.
Rendering
The Design Editor has its own rendering engine as a part of its API.
In the simplest scenario, you can just use the URL returned by IFrame API when you save the design. Note that the rendering operation may be quite slow, especially if a design has a large number of elements or contains large images. Fortunately, Design Editor caches the result, so if you generate a PDF once, you will get the result much more quickly the next time you try to use the URL.
You can control the desired file format, target resolution, etc. by specifying these values in the configuration, as explained in the Configuring Print Files article.
Now, let's consider more complicated rendering scenarios.
Personalized rendering
It is possible to modify the design during the rendering process. For example, you have several business card designs and you would like to get a preview image with the user's name on it.
You can achieve this with the help of Personalized Rendering API.
Variable data printing
The same API can be used for scenarios when you want to generate multiple print files (or a single multi-page file) based on the same template but with different data values on them. You may find more information about it in the documentation on Variable Data Printing.
To get a full picture of how you can create more complicated personalization workflows, let's continue to the About UI Framework section.