Simple and advanced modes
- 1 minute to read
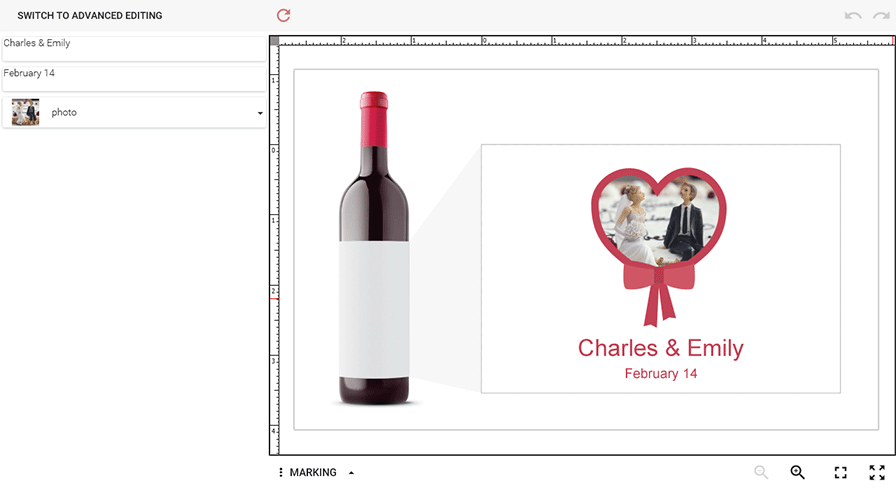
By default, the editor opens a product template in simple mode. This mode has limited functionality - the user can only modify predefined text and image fields. It is very user-friendly as the user does not have to learn a lot of commands to use it, and in most cases, it is more than enough.
The following screenshot illustrates the web-to-print editor in the simple mode.

However, sometimes the user needs more features. In this case, the user can switch to the advanced mode using the appropriate button on the user interface. If you prefer the user to always switch to the advanced mode by default, you can set it as a default behavior by modifying the ~/Configuration/clientConfig.json file - just change the initialMode parameter to Advanced. Alternatively, you can use IFrame Api to perform this.
<script>
    ...
    //Defining the editor configuration.
    configuration = {initialMode: "Advanced"};
    //Loading the editor with the given configuration.
    CustomersCanvas.IframeApi.loadEditor(iframe, productDefinition, configuration)
        .then(function(e) {editor = e});
    ...
</script>
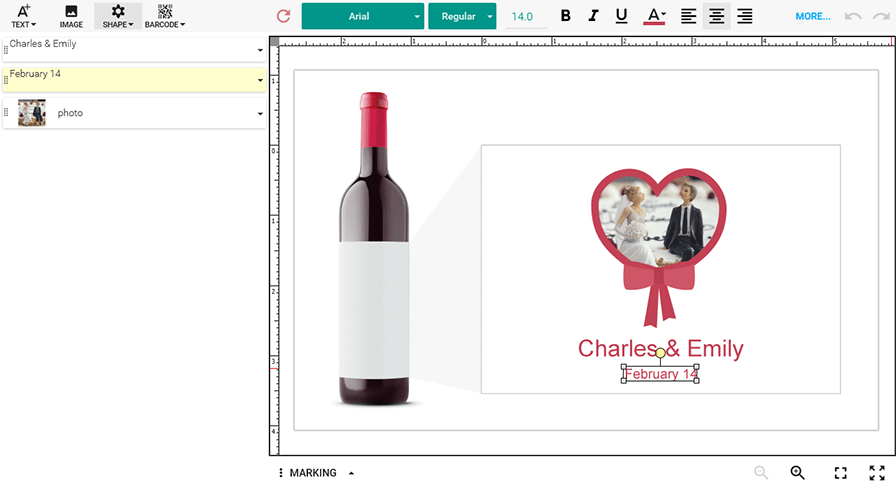
What is the difference between the simple and advanced modes? Advanced mode enables the following features:
- Move, scale, rotate template elements
- Change z-index (i.e. send objects back or forward)
- Delete and clone elements
- Group and ungroup elements
- Change text formatting (such as font name, size, bold/italic/underline styles, color, alignment)
- Change the background image or solid color
- Add new elements, such as:
- Text (simple or formatted)
- Images
- QR codes and Bar codes
- Ellipses and rectangles
The following screenshot illustrates the web-to-print editor in the advanced mode.

No matter which mode is used, you can enable and configure rulers and grids for the user's convenience. For details, refer to Rulers, grids, and snap lines.