This feature is available only upon request. To enable it in your account, contact our support team.
Connecting assets to products
- Last updated on July 7, 2025
- •
- 7 minutes to read
In this topic, you will learn how to connect assets to a product. If you don't have them in your tenant, you can refer to the Designs and the Mockups sections to learn how to import or create them first.
To connect assets to your product, navigate to Products, click the ellipsis, and then select Asset connections.
Here you see asset connections for this product. There are two tabs: Designs and Mockups. In these tabs, you can manipulate the correspondent assets.
Designs
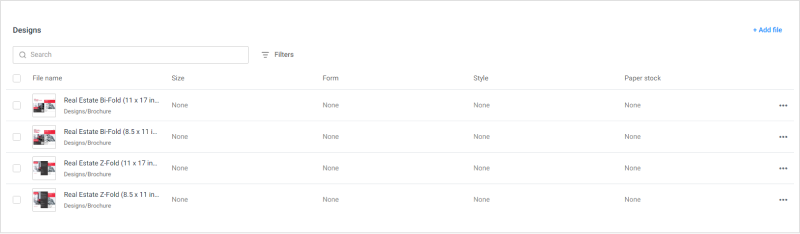
Let's start from the Design tab. Here you can see a table with designs connected to a product.
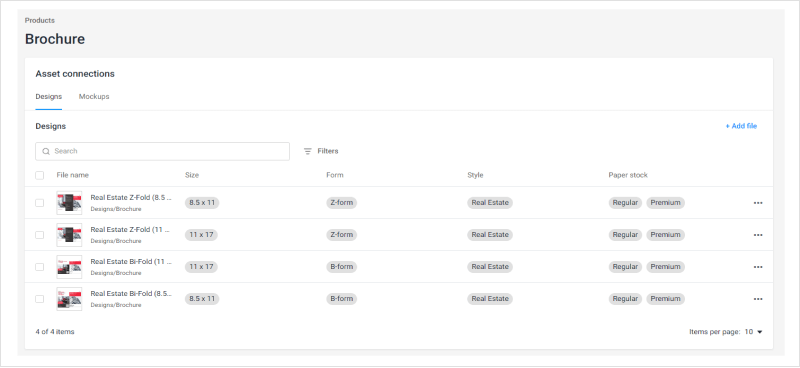
Each row in this table defines a design file and a set of options for which this design will be used.
The File name column is always presented and displays the file name and its location in the Assets. The other columns are named according to our product options: Size, Form, Style, and Paper stock. In their cells, you can see the option values.
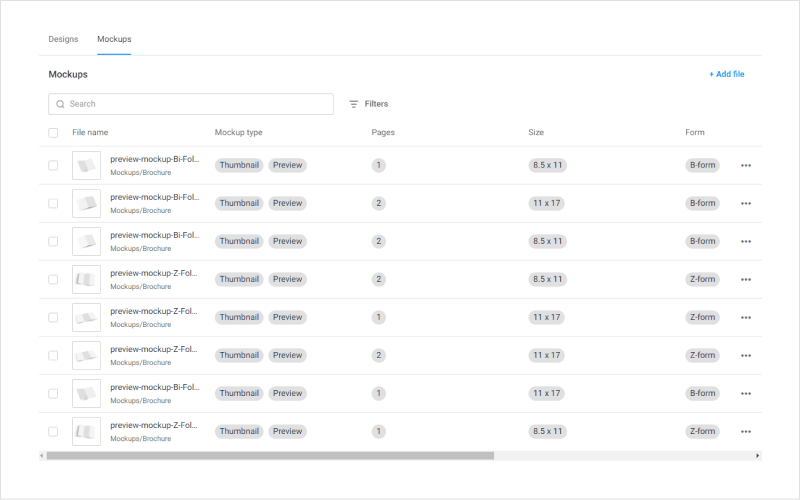
Mockups
The Mockup tab is similar to the Design tab but with some differences. Let's consider them.

Each row in this table defines a mockup file and a set of options for which this mockup will be used.
The columns Mockup type and Pages are always displayed. The other columns represent our product options: Size, Form, Style, and Paper stock.
In the Mockup type column, you can see what mockup type is selected. There are three types of mockups in Product Information Management:
Thumbnail mockups show a product on a storefront.
Editor mockups display a product on the canvas.
Preview mockups show a preview image at the approval step.
The Pages column defines which design page is shown in this mockup.
Manipulating assets
Adding
To add new assets, click the Add file button. When a new dialog box opens, you can see a folder tree of the Asset section.
To select an asset, click it and then click Select.
A new asset will be added.
In this example, we add a design file. The same works for mockups.

Searching
You can search designs by file name using the Search field.
Filtering
Use the Filter to display assets by options. In this example, we filter designs by Size with the value 8.5 x 11.
To clear filters, click Clear all.
Sorting
Files are sorted by default. To sort them in alphabetical order, click the arrow near the File name column header.
Selecting
You can Edit and Remove a single asset as well as a group of selected assets.
To select an asset, click the checkbox to the left of its thumbnail. To select all assets, click the top checkbox.
Connecting
The connection process for both Designs and Mockups is almost the same. First, you will see an example based on the Designs. Then, consider mockup features.
Designs
To connect designs to a product, click the ellipsis and select Edit.
In a new dialog box, select values for this design and then click Apply.
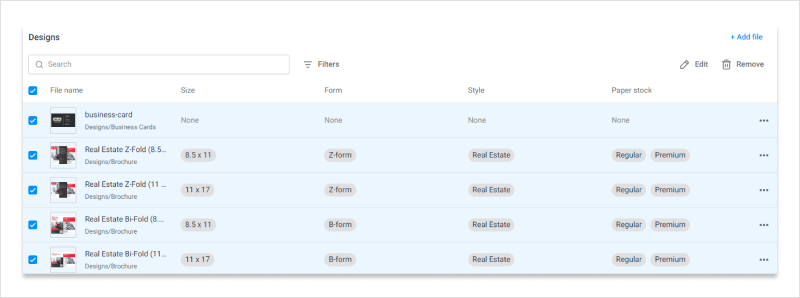
In this example, we applied 8.5 x 11, Z-form, Real Estate, Premium, and Regular values to this design. You can see them in a list of designs.
The same actions can be performed for a group of selected assets: select some designs, click the Edit button, select values for these designs, and then click Apply.
Here, we applied the Paper stock option and the Premium, and Regular values to two designs.
Mockups
To connect a mockup, go to the Mockups tab, select a mockup, click the ellipsis, and select Edit.
When a dialog box opens, select the Mockup type and specify the required pages.
If you want to apply this mockup to all design pages, select All. If you want to list the pages, first select Custom. When the Page range input field appears, input page numbers. Next, select options values like in Designs tab. Finally, click Apply.
Removing
You can delete an asset or a group of selected assets. To select an asset, click the ellipsis in its row, and select Remove. This design will be removed.
To remove a group of designs, select them, and click the Remove button.
Replacing
To replace an asset, click the ellipsis in its row, and then select Replace. In a new dialog box, select a new asset and click Apply. This asset will be embedded here with the same connections instead of the previous asset.

Now that you've learned how to use the Asset connections in the PIM module, let's see how to connect assets to a product from scratch.
Creating asset connection
Let's connect designs and mockups to a product.
For example, we have the Brochure product. It has the following options and values:
- Size:
8.5 x 11,11 x 17 - Form:
Z-form,B-form - Style:
Real Estate - Paper stock:
Regular,Premium
So, you have such product variants:
8.5 x 11/Z-form/Real Estate/Regular8.5 x 11/Z-form/Real Estate/Premium8.5 x 11/B-form/Real Estate/Regular8.5 x 11/B-form/Real Estate/Premium11 x 17/Z-form/Real Estate/Regular11 x 17/Z-form/Real Estate/Premium11 x 17/B-form/Real Estate/Regular11 x 17/B-form/Real Estate/Premium
Selecting product options
First, let's select all the product variants for designs and mockups.
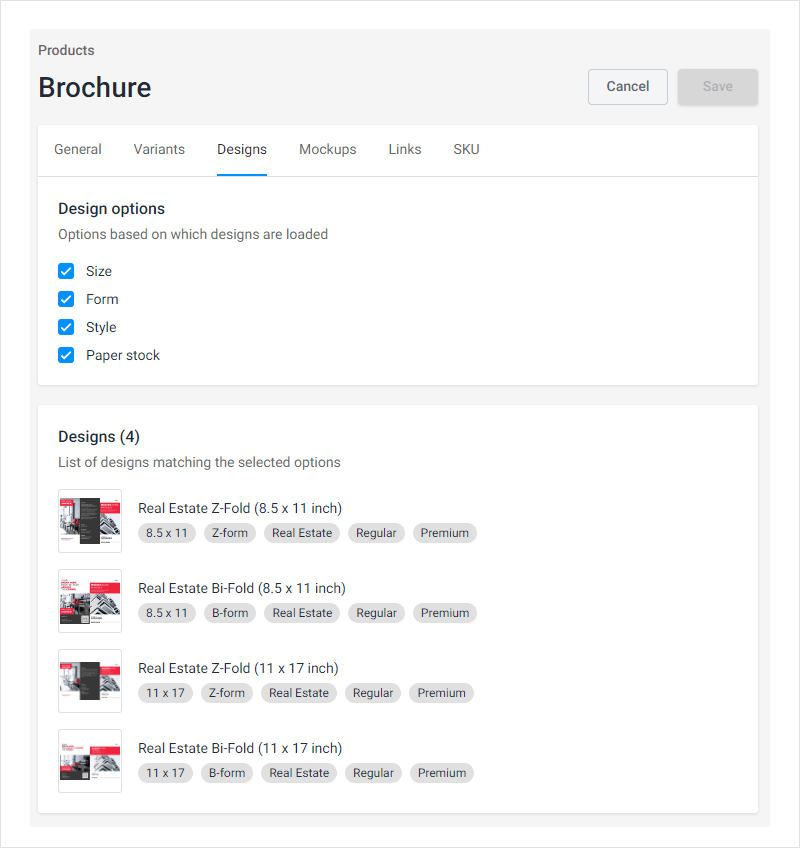
To do so, open the product list, click the ellipsis in a product row, select Edit, click the Designs tab, and select all design options.
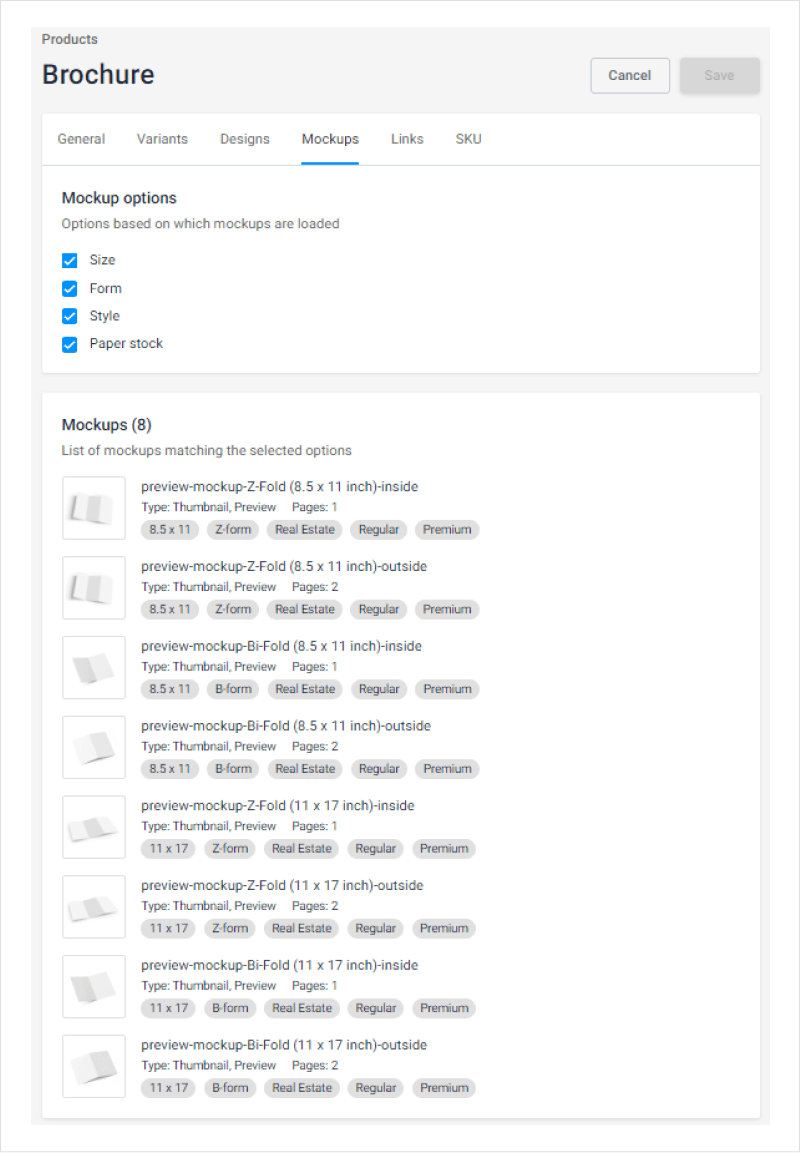
Let's do the same for mockups: click the Mockup tab and select all mockup options.
Connecting designs
Let's connect designs to the product. To do this, go to a product, click the ellipsis, and select Asset connections.
To add designs, click Add file. In a new dialog box, select designs, then click Apply. Those designs will be added to the table.
In this example, we add four designs. They are of two different sizes and forms. Each design has two pages.
Now let's connect them to product options. You can apply an option to all design files. In this case, these are the Style and Paper stock options.
For this, select all designs and click Edit. In a new dialog box, select options and their values. Click Apply. Now all designs are connected to the Style option and its value Real Estate. Then, designs are connected to the Paper stock and its values Regular and Premium,
Let's do the same for the Size and Form. This is how the result looks:
Now you can connect mockups to a product.
Connecting mockups
To connect mockups to a product, go to a product, click ellipsis, and select Asset connections. Then, go to the Mockups tab.
In this example, there are eight mockups. Each of them shows a product from two sides: inside and outside. It means that one mockup represents the first page and the other represents the second page of a design file.
To add mockups here, click the Add file button. In a new dialog box, select mockups and click Apply.
This is how mockups look.
Now let's connect them to a product. First, select mockups displaying the first page and click Edit.
In a new dialog box, select a mockup type. In this example, all mockups will be Thumbnail and Preview.
These mockups show the first page in a design. In the Page drop-down list, select Custom, and in the Page range string, input 1. Click Apply to save results.
Once you have connected the mockups to other options, the table will look like this:
Testing connections in products
You can test asset connections in a product. To do so, go to the product list, click ellipses in a row, and select Edit. Then, click the Design tab, verify the connections, and click the Mockup tab.
In the Designs tab, you can check whether designs are connected to product variants.
In the Mockups tab, you can check the same for mockups.
Testing connections in assets
Connected assets keep information about their connections. To see it, go to Assets > Design or Mockups. Then, right-click an asset and select Connections. In a new dialog box, you will see a connection defining the product name and product options with values.
In this example, you see connections of a design file. These connections consist of:
- the Brochure product name.
- the Form option and the
Z-formvalue. - the Style option and the
Real Estate*value. - the Size option and the 11 x 17 value.
- the Paper stock option and the
Regular,Premiumvalues.
Now you can connect a product to your e-commerce system. This process is described in the Product links article.