How to create pipelines
- Last updated on April 29, 2024
- •
- 4-5 minutes to read
This tutorial provides step-by-step instructions on creating a pipeline to render the ordered product and send an email notification with links to the resulting print files. We will also explore how to apply this pipeline to a PIM product.
First, let's split our goal into simple operations, from getting a design from the project to cleaning up the pipeline and updating the project.
These operations are performed using the following tasks:
Prerequisites
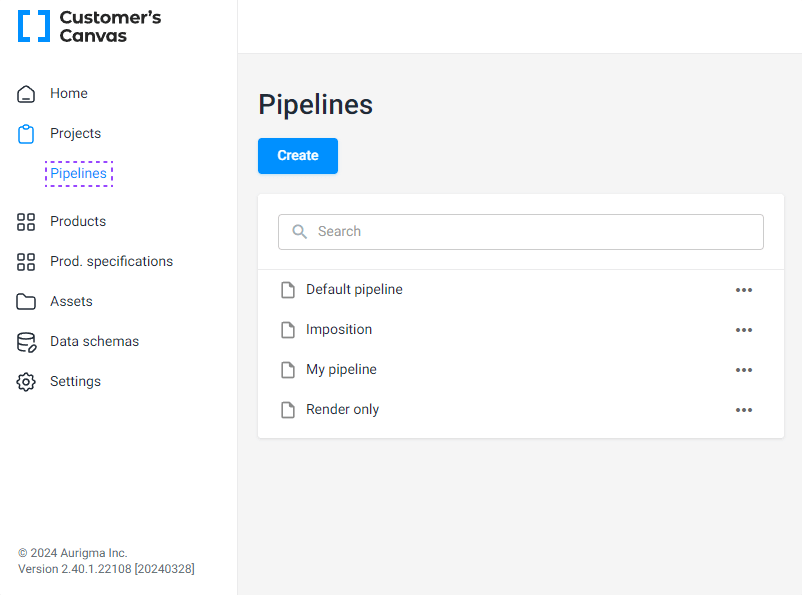
To complete this tutorial, you need an account with Customer's Canvas. Additionally, ensure that the PIM module is enabled within your account. You can verify this by checking if Pipelines appears in the lower-left corner.
If you don't have it yet, please contact our support team.
Since pipelines process orders, this tutorial will also require integration with your online store.
Creating a pipeline file
In your Customer's Canvas account, navigate to the Pipelines page and click the Create new button. When the Create new pipeline dialog box opens, click New blank pipeline.
In the editor, first define the pipeline name, for example, Email notification. Then, switch to the code field and add a tasks array.
Now, you can start adding the required tasks.
Adding tasks
1. Getting a design
As soon as an order is made in your online store, a project is created in BackOffice. You can get personalized designs from that project by using the extract-project-design task.
Copy the following code and paste it to the pipeline file.
{
    "description": "Extract design from project",
    "name": "extract",
    "type": "extract-project-design",
    "parameters": {},
    "outputArtifacts": [
        "design"
    ]
}
This task does not require parameters or inputArtifacts. The result is passed to the next task as outputArtifacts.
2. Rendering the design
You can render print files by using the render-hires task. This task takes designs as inputArtifacts and needs parameters to configure the rendering. You also need to define the name of the print file in outputArtifacts. For example, to generate a single file result.pdf, add "result", and if you expect a set of files, add "result*" to the outputArtifacts array.
Copy the following code and paste it to the pipeline file.
{
    "description": "Render design",
    "name": "render-hires",
    "type": "render-hires",
    "inputArtifacts": [
        "design"
    ],
    "parameters": {
        "hiResOutputDpi": 300,
        "hiResOutputFileFormat": "pdf",
        "hiResOutputColorSpace": "cmyk",
        "hiResOutputToSeparateFiles": false,
        "hiResOutputChannelContainersToSeparateFiles": false,
        "hiResOutputChannelContainersRenderEmptyPage": true,
        "hiResOutputCompression": "Jpeg",
        "hiResOutputJpegCompressionQuality": 90
    },
    "outputArtifacts": [
        "result"
    ]
}
For details about the rendering parameters, refer to the Hi-res print files topic.
Now, let's add a notification about the completion of rendering to our pipeline.
3. Sending email
To provide links to the send-email task, you need to specify the output artifacts of the render-hires task in inputArtifacts. In parameters, you must also define an email template, addresses, and SMTP settings.
Copy the following code, paste it to the pipeline file, and change the fields host, port, account, username, password, and recipients with your values.
{
"description": "Send link to print file by email",
"name": "send-email",
"type": "send-email",
"inputArtifacts": ["result"],
"parameters": {
"host": "your-company-smtp-server.com",
"port": 587,
"account": "noreply@your-company.com",
"username": "noreply@your-company.com",
"password": "your-secret-password",
"useSsl": true,
"recipients": "first@example.com, another@example.com",
"subject": "Your print file {{project.items.@.fields.customName?}} is ready",
"body": "Greetings {{roject.customerName}}. <br> You can download a print file for your personalized product here: <br> $$links$$ <br>",
"useHtmlBody" : true,
"bodyLinksItemTemplate" : "<span>• <a href=\"$$url$$\">$$name$$</a></span><br>",
"bodyLinksItemNamePlaceholder" : "$$name$$",
"bodyLinksItemUrlPlaceholder" : "$$url$$",
"bodyLinksPlaceholder" : "$$links$$"
}
}
Here, we override the SMTP settings with constant values. The subject contains an interpolation placeholder {{project.items.@.fields.customName?}}, which takes its value from the order's field customName, if any. The {{project.customerName}} placeholder takes its value from the corresponding project field.
For more details about the parameters, see the reference.
To learn how to pass custom fields when placing orders, refer to the Order widget.
4. Finalizing
The last task, finalize, assigns the print files to finalArtifacts so that they appear in the project and removes temporary files from the pipeline.
Copy the following code and paste it to the pipeline file.
{
    "description": "Finalize",
    "name": "finalize",
    "type": "finalize",
    "finalArtifacts": [
        "result"
    ]
}
Resulting pipeline file
After adding these tasks, save your file. Your resulting pipeline file will look like this:
{
"tasks": [
{
"description": "Extract design from project",
"name": "extract",
"type": "extract-project-design",
"parameters": {},
"outputArtifacts": [
"design"
]
},
{
"description": "Render design",
"name": "render-hires",
"type": "render-hires",
"inputArtifacts": [
"design"
],
"parameters": {
"hiResOutputDpi": 300,
"hiResOutputFileFormat": "pdf",
"hiResOutputColorSpace": "cmyk",
"hiResOutputToSeparateFiles": false,
"hiResOutputChannelContainersToSeparateFiles": false,
"hiResOutputChannelContainersRenderEmptyPage": true,
"hiResOutputCompression": "Jpeg",
"hiResOutputJpegCompressionQuality": 90
},
"outputArtifacts": [
"result"
]
},
{
"description": "Send link to print file by email",
"name": "send-email",
"type": "send-email",
"inputArtifacts": [ "result" ],
"parameters": {
"host": "your-company-smtp-server.com",
"port": 587,
"account": "noreply@your-company.com",
"username": "noreply@your-company.com",
"password": "your-secret-password",
"useSsl": true,
"recipients": "first@example.com, another@example.com",
"subject": "Your print file {{project.items.@.fields.customName?}} is ready",
"body": "Greetings {{roject.customerName}}. <br> You can download a print file for your personalized product here: <br> $$links$$ <br>",
"useHtmlBody" : true,
"bodyLinksItemTemplate" : "<span>• <a href=\"$$url$$\">$$name$$</a></span><br>",
"bodyLinksItemNamePlaceholder" : "$$name$$",
"bodyLinksItemUrlPlaceholder" : "$$url$$",
"bodyLinksPlaceholder" : "$$links$$"
}
},
{
"description": "Finalize",
"name": "finalize",
"type": "finalize",
"finalArtifacts": [
"result"
]
}
]
}
Selecting the pipeline for a product
Now, let's assign this pipeline to a PIM product. If you don't have any products yet, refer to the Creating products tutorial.
Click Products in the menu, select a product, click the ellipsis in this product row, and then click Edit. On the General tab, click the Processing pipeline drop-down list and select the Email notification.

To verify how this pipeline works, order this product in your online store and check your mail.