Blank Print Product Editor
- 2 minutes to read
The Blank Print Product workflow allows your users to create brand new designs of a specified size from scratch.
Attributes of this workflow can be divided into the following categories:
- Product specification (size, bleed, number of pages)
- Asset folders
- Output file settings
Now let's look at these attributes.
Selecting a workflow
First, create a product specification. Go to the Product specifications section in your BackOffice panel and click Create new.
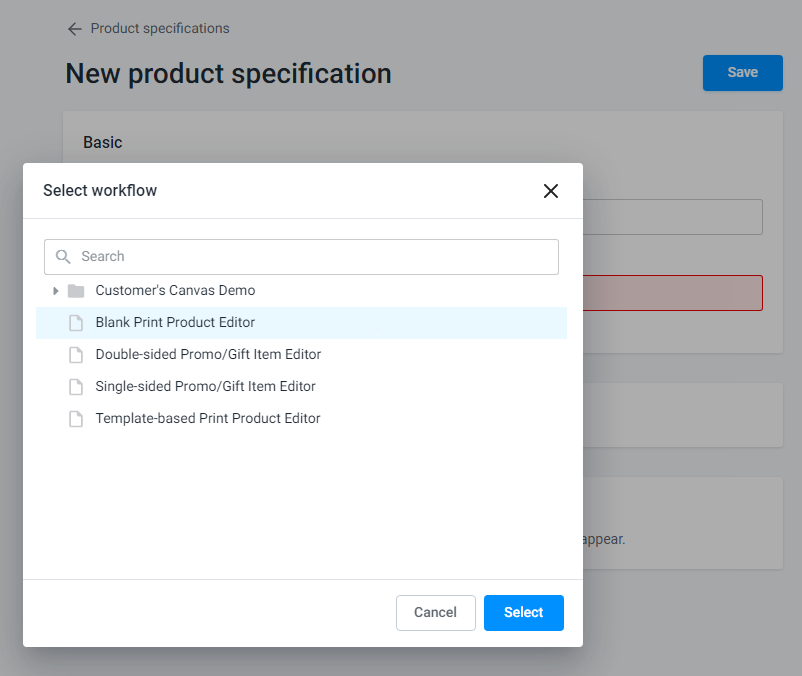
In Basic settings, type in the name and click the Personalization workflow. When the Select workflow window opens, you can see standard and custom workflows available in your BackOffice tenant. Click Blank Print Product and then click Select.
Once a workflow is selected, you will see the required attributes. You can follow the prompts to fill in the attributes.
Product specification
The first group of attributes defines the product size in inches. You can click the Width, Height, and Bleed fields to define their values. These attributes are mandatory.
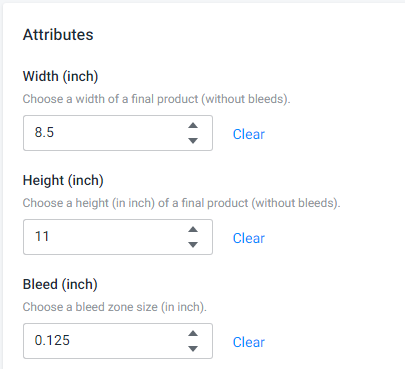
To remove the bleed zone and render print files of the same size as the design, set Bleed to 0.
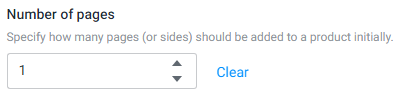
To specify the number of product pages, click Number of pages and enter a new value or leave the default value of 1.
Asset folders
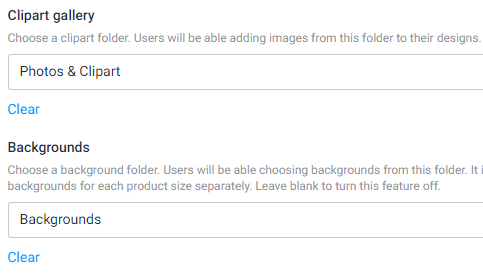
Your users can add only their uploaded assets to the design by default. You can also enable additional buttons in the toolbox to display public galleries from which your users can also add images. This workflow supports two galleries: the clipart gallery and the gallery of backgrounds.
Click the Clipart gallery and/or Backgrounds field and select a folder from the Images section of Assets. The content of this folder will be available to the end-user.
During the personalization, your customers will see the following buttons:
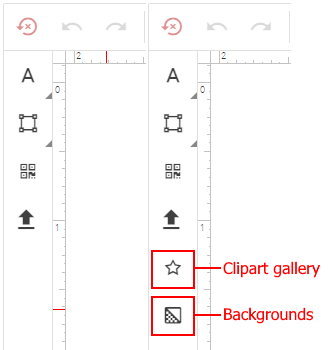
They can click one of them and choose clipart or a background like this:
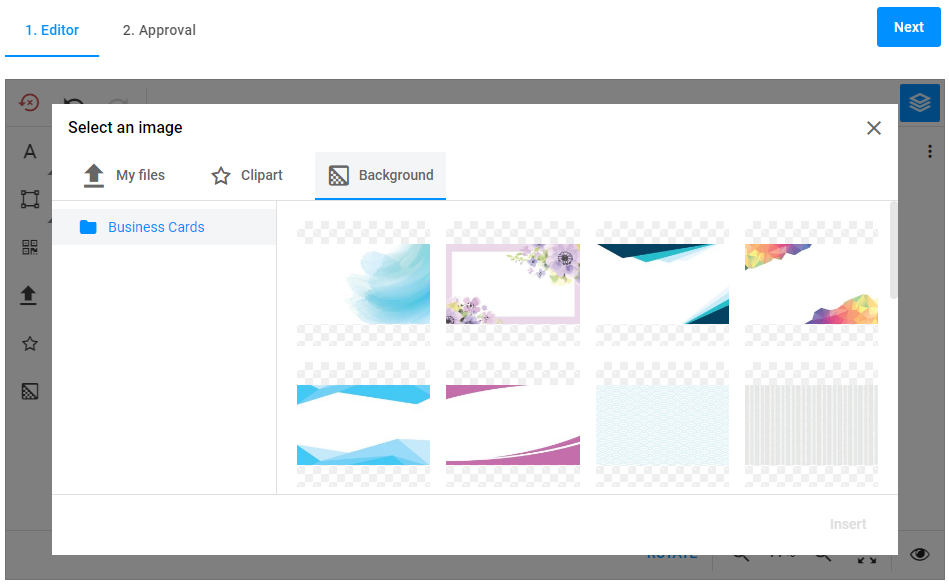
If you leave one or both of these fields blank, the appropriate buttons won't be displayed in the Design Editor, so the user won't be able to choose them.
Output file settings
Target resolution
You can specify the product resolution, in DPI, in the Output Print File Resolution box. The typical resolution for commercial printing is 300 dpi, but you may want to use smaller values for larger products to improve processing time.

Enable low-res preview
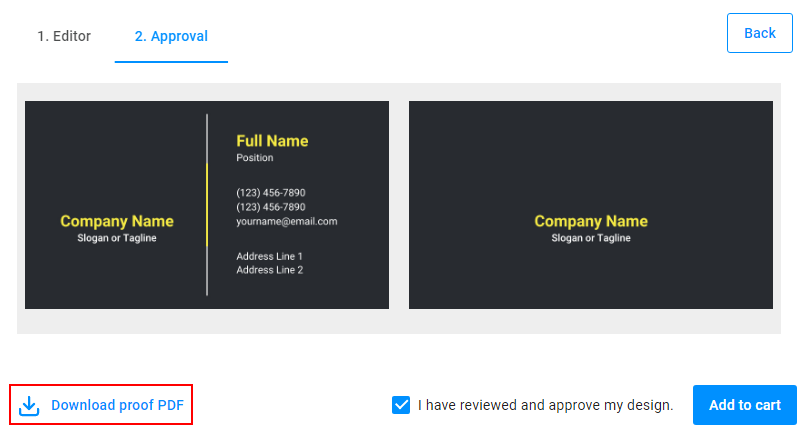
The Allow users to download low-res proof PDF file option specifies whether the Download proof PDF button should appear in the approval step. Clear it if you don't want to allow the user to download a proof PDF.
Creating designs from scratch is great for simple designs. For more complex personalization, you may want to provide a template that your users can customize, or they can only use the given design elements during the personalization process.