Integrations
- Last updated on December 29, 2024
- •
- 1 minute to read
In this tab, you can create an integration with your e-commerce storefront or custom storefront. These integrations allow for using graphical assets and products from Customer's Canvas in your storefronts. Learn more about the integrations in Customer's Canvas integrations and Creating a custom integration.
Overview
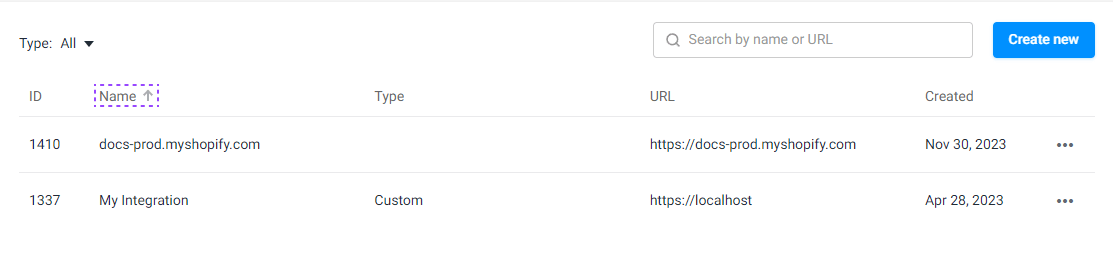
In the Integration tab, you can see all your created integrations.

- The identifier of the integration, generated automatically
- The integration name, an arbitrary string
- The integration type, one of Custom, SAML, NopCommerce, Woocommerce, Magento, BigCommerce, or Shopify
- The URL of the storefront that is allowed to access the tenant
- Creation date generated automatically
Creating a new integration
To create a new integration, click Create New. When a new page opens, fill in the following properties:
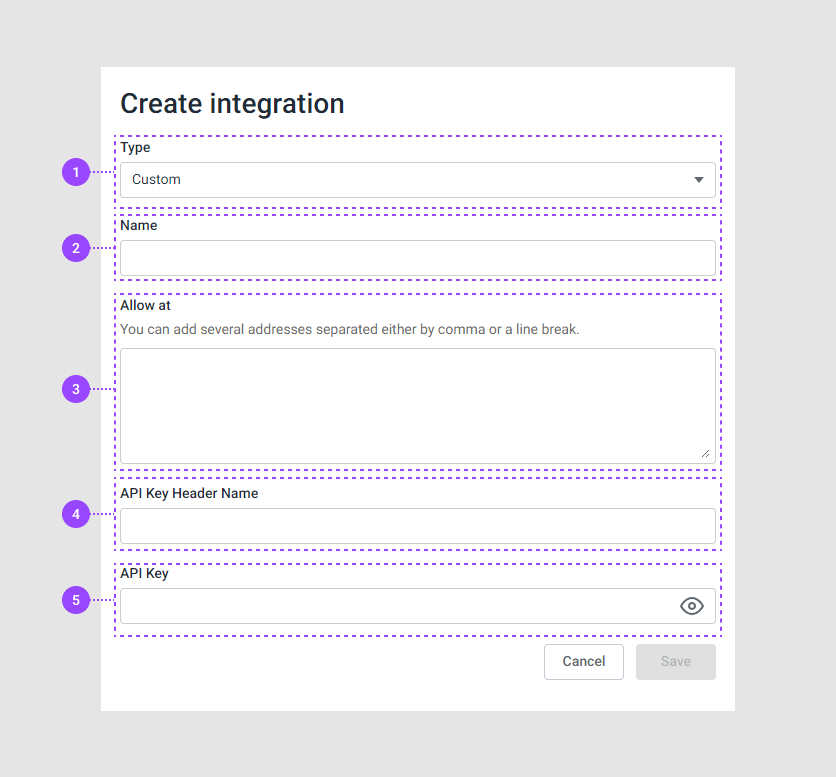
- The integration type, one of Custom, SAML, NopCommerce, Woocommerce, Magento, BigCommerce, or Shopify
- The integration name, an arbitrary string
- A baseUrl of your storefront
- The API key name
- The API key value
- The status when project processing starts
- A pipeline for processing the project results
Finally, click Save.
Manipulations
You can create, sort, search, edit, and delete integrations.
Sorting
You can sort your integrations by ID, name, type, and creation date. To do so, click the corresponding column name.
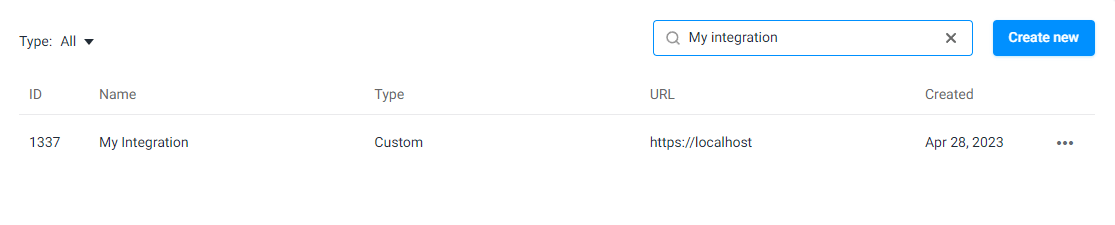
Searching
You can search for integrations by name or URL.
Hiding columns
If your integration list doesn't fit on the screen, you can hide some columns to view others. To do so, click the Settings icon and clear checkboxes of unnecessary columns.
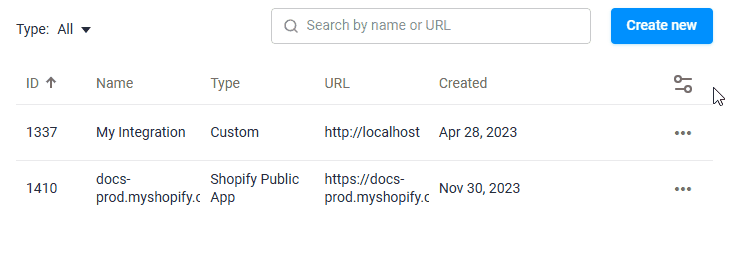
Note that the ID column is always displayed.
Editing
You can edit your integration. To do so, click the ellipsis and select Edit. In a new page, your fields may look like this:
Deleting
To delete an integration, click the ellipsis and select Delete.