Curved Text
- 3 minutes to read
A crucial feature for many print products is an ability to display text on a curve. A good example of this is a seal.

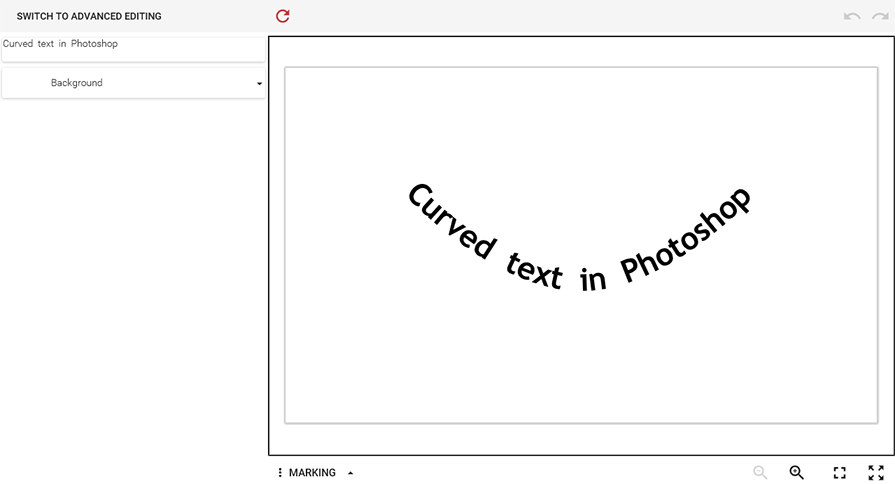
The Design Editor allows you to display and edit a text on a curve. However, this web-to-print designer cannot create curved text. This topic describes one of the possible ways to create curved text in Adobe Photoshop for further editing with the Design Editor.
The Sample
It is quite easy to create such designs in Photoshop, and the Design Editor will properly handle curved text and display it in the designer. Let us go through the process of creating a template with curved text.
Create a new PSD file in Photoshop.
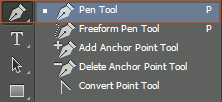
Select the Pen tool from the toolbox or press P.

Select the Path mode in the Top toolbar.

Click where you want to place the text to create a starting point, and then click again for an endpoint. To bend a line, add anchor points on the line.

Drag the anchor point to bend the line holding the Ctrl key (or the Cmd key on a Mac).

To add the text, select the Type tool (or press T), click the point on the curve where you want to start a text string, and start typing.

Save this template and open it in the Design Editor.

Displaying the path
By default, the path of curved text is not displayed in the Design Editor in the idle state and appears when the user interacts with a specific text element. This behavior is defined in the clientConfig.json file with the curvedTextBaselineDrawStates parameter.
...
"canvas": {
    "curvedTextBaselineDrawStates": ["edit", "select", "hover", "move", "rotate", "resize"],
    ...
}
This array may contain any combination of the following states:
idle- when no actions are performed on the curved text element and it is not selected.edit- when the user is editing the element in the in-place mode, except for the HTML mode.select- when the user is selecting the element.hover- when the cursor is hovering over the element.move- when the user is moving the element.rotate- when the user is rotating the element.resize- when the user is resizing the element.
Copyfitting
In some designs, you may want to let the user provide a text string in a box of a fixed size with the font size automatically selected to fit this box. You can easily implement this behavior by using the curved text editor as explained above. Just create curved text on a straight line and it will work as expected.
Also, you can use the <TOS> and <TSM> markers to keep the bounds of the original text unchanged.
Rich Text Formatting
The Design Editor supports the rich format of curved text. You can apply either the <RT> marker or various formatting to the text layer to enable the rich format in the Design Editor.
Closed paths
Starting from version 7.1.13, curved text correctly appears on closed paths. If you have configured curved text based on an ellipse (or other closed shape) in your design, then after loading such a design element on earlier versions, it will be displayed incorrectly. In this case, we recommend upgrading to one of the latest versions of the Design Editor or changing the design to use an open path, for example, such as an arc instead of an ellipse.