Predefined multi-value Items
- 4 minutes to read
In the In-String Placeholders topic, we have already discussed how you can set up options for text layers in product templates. This topic dwells on how to add both image layers with predefined pictures and text layers with predefined content that can be chosen in the web-to-print designer.
Predefined Content
The image and text layers with predefined content are handy when you need to create several designs with a common style. For example, there can be products in which users can personalize only a photo and a description. In this case, you can create a single template for all product variations, which would contain all possible photos and descriptions. When personalizing this template, the user would select the content of the predesigned layers from a set of options.
The Design Editor supports two ways of storing the predefined options:
- Text and image options can be stored within PSD templates.
- Image options can be stored in a specific folder linked to an image layer. The user is allowed to select images for the layer from the predefined folder only.
Now, let us create a flyer template containing a product photo and a text description. The user cannot personalize them in an arbitrary way. Instead, only predesigned options are available for them and they are saved within the PSD template. The best practice in the Design Editor would be to create a separate layer for each design element, which can be changed in the web-to-print designer. Predefined layer options should be stored in groups.
Creating PSD Templates with Multi-value Items
Here, we will create a template for a travel ad flyer that contains three photos and three text descriptions. All the info will be saved within the template, and the user will be allowed to select an image and a description from the given options. In the template, we will use two layer groups containing layers of the same type. The first group is for images, and another group is for texts; each group contains three elements.
To create the template, perform the following steps:
In Photoshop, create a new file, add a layer group to it, and add the
<MVI>marker to the group name.Add three images to the group created in the previous step.
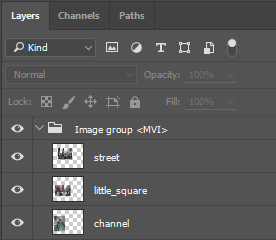
Save the template.
Load the template into the web-to-print designer. Note that only the first image from the group is displayed.
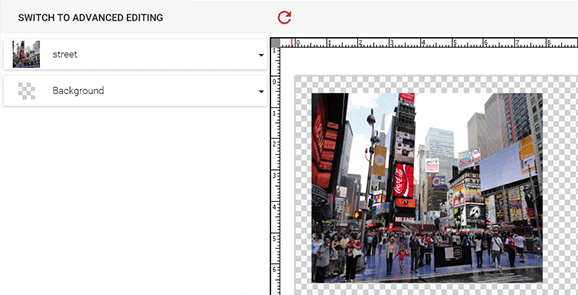
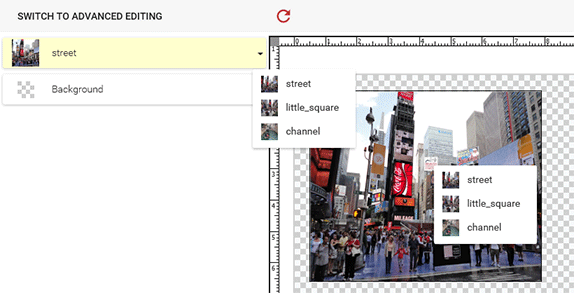
Try to select the other images from the context menu or via the corresponding field in the Object Inspector on the left side. Note that each image has the same name as the corresponding layer in the PSD file.
Now, let us add text descriptions to the template. Open the template in Photoshop.
Add one more layer group to the template and also add the
<MVI>marker to the group name.Add three text layers to the group created in the previous step.
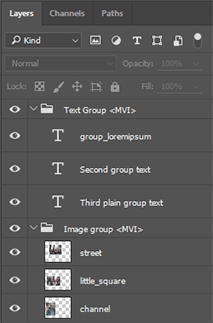
Add the background layer to the template to complete the design.
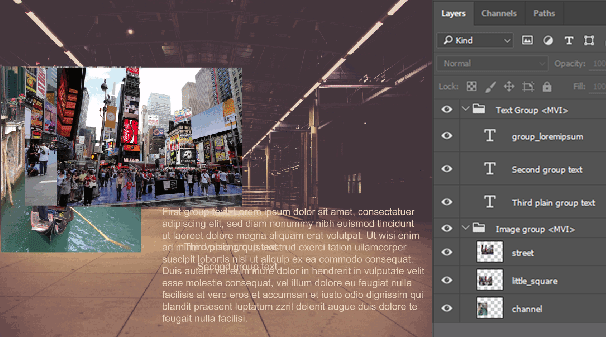
Save the template.
Load the template into the web-to-print designer.
Try to select text through the context menu or via the corresponding field in the Object Inspector on the left side. Note that each text has the same name as the corresponding layer of the PSD file.
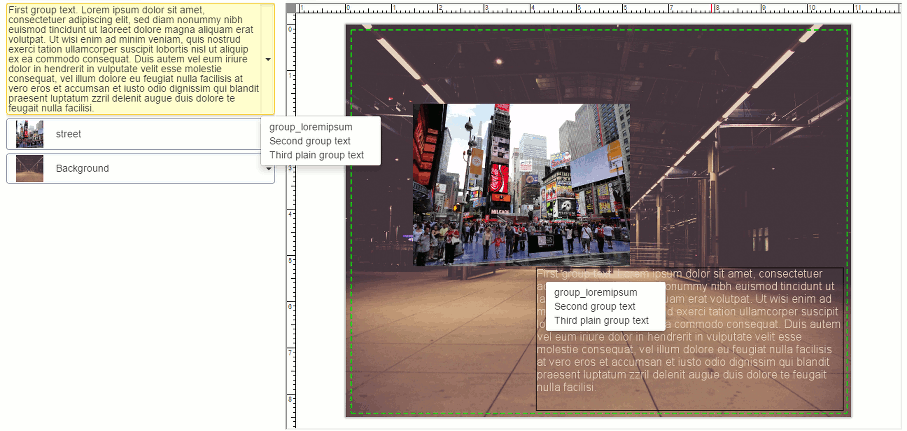
By default, the <MVI> marker applies the size and position of the first element to all group elements on the canvas. You can add the <MVI><MVIKT> markers to a layer group name to keep transforms, size, and position for every single layer.
You can add a numeric value to <MVI> to display the corresponding layer when the template opens. For example, <MVI_2> displays the second element.
You may want to change the default behavior of texts or images in a group. In this case, add the required marker to a layer name of the first element in a group. For example, if you want to disallow your users from deleting a predefined group from a template, then add the <MAD_f> marker to the name of the first group element.
If your design requires adding too many predefined options for an image layer, it would not be a good idea to add all of them into a PSD template. In this case, you can use another approach - it is possible to put all the images into a separate folder and link it to the image layer as described in the Image placeholders topic.