Creating editor mockups
- Last updated on December 29, 2023
- •
- 8 minutes to read
At the Editor step, an editor mockup is a sketch of a product. For example, these mockups can display a texture or a frame. They help customers to personalize a design with a product's surface in mind.
To learn more about editor mockups, read the Concepts article. In this article, you will learn how to create an editor mockup.
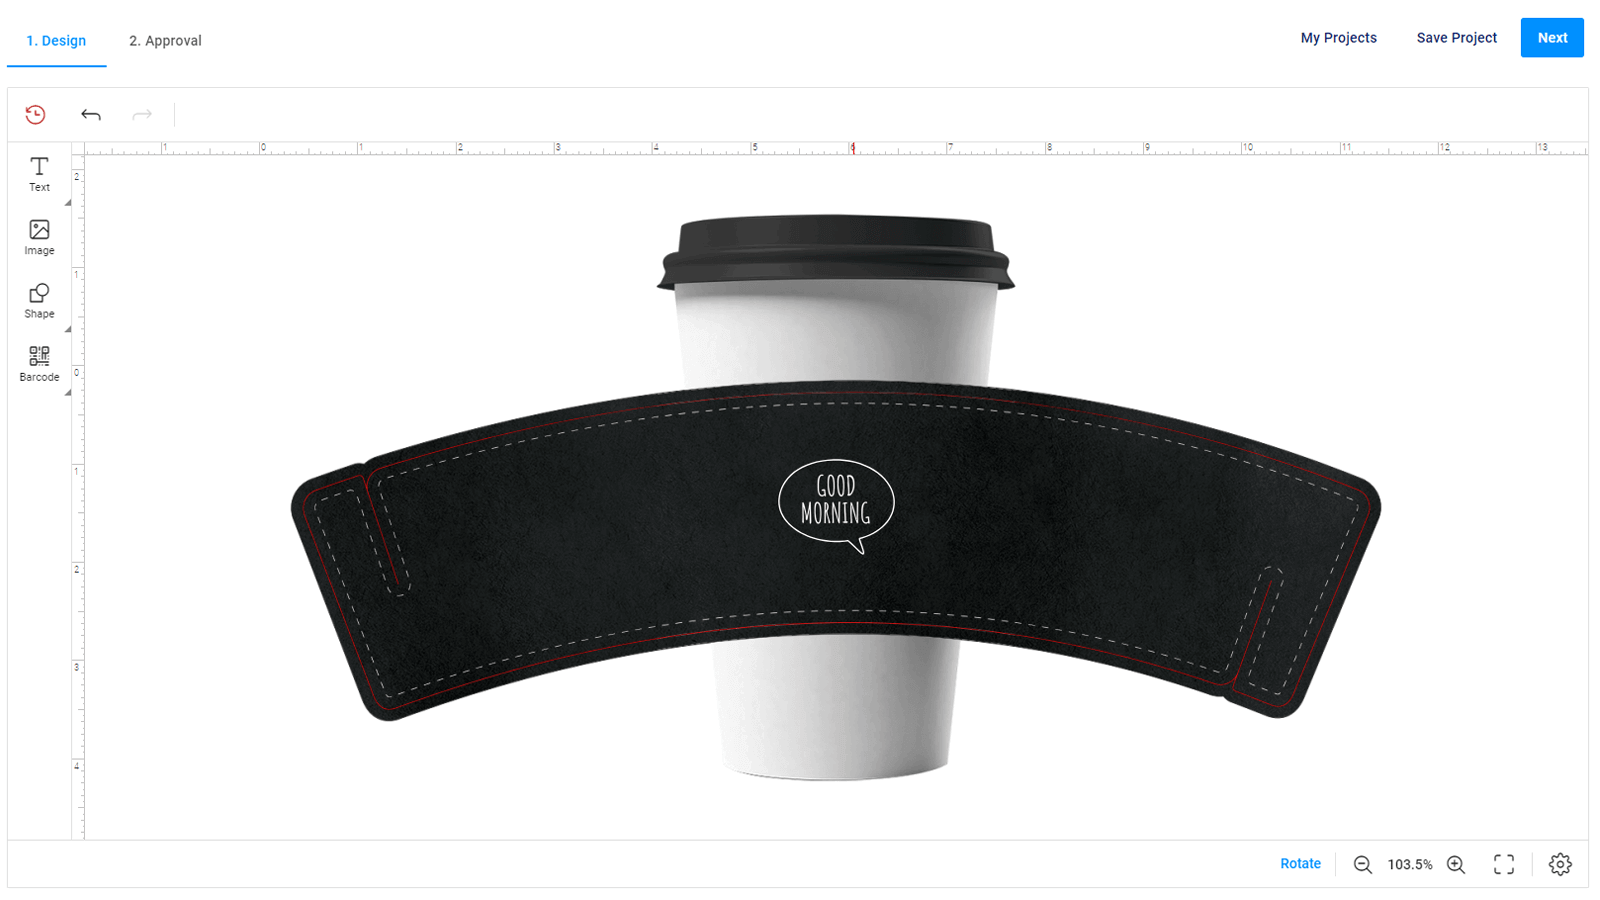
This is how an editor mockup looks in the Design Editor. In this example, the Sleeve mockup is displayed.
Let's see how to create an editor mockup.
Creating a new file
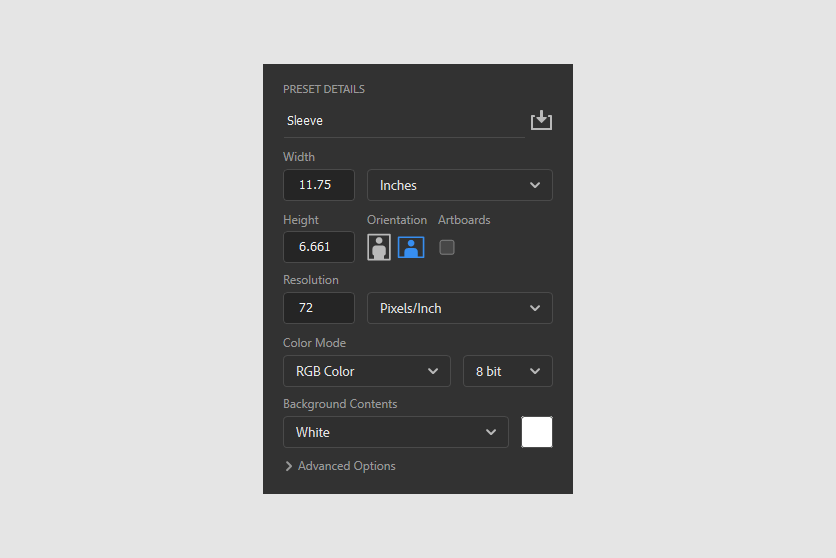
The editor mockups must be in the PSD format. To create a new file in Adobe Photoshop, click File > New. When a new dialog box opens, set up the following fields:
Width and Height. They must equal a design size plus additional space for bleed zones or environments like the entire product image, frames, shadows, etc. The measurement units must be physical: inches, centimeters, and so on.
Resolution is
72DPI.Color mode is RGB.
In the Background Contents drop-down box, select White.
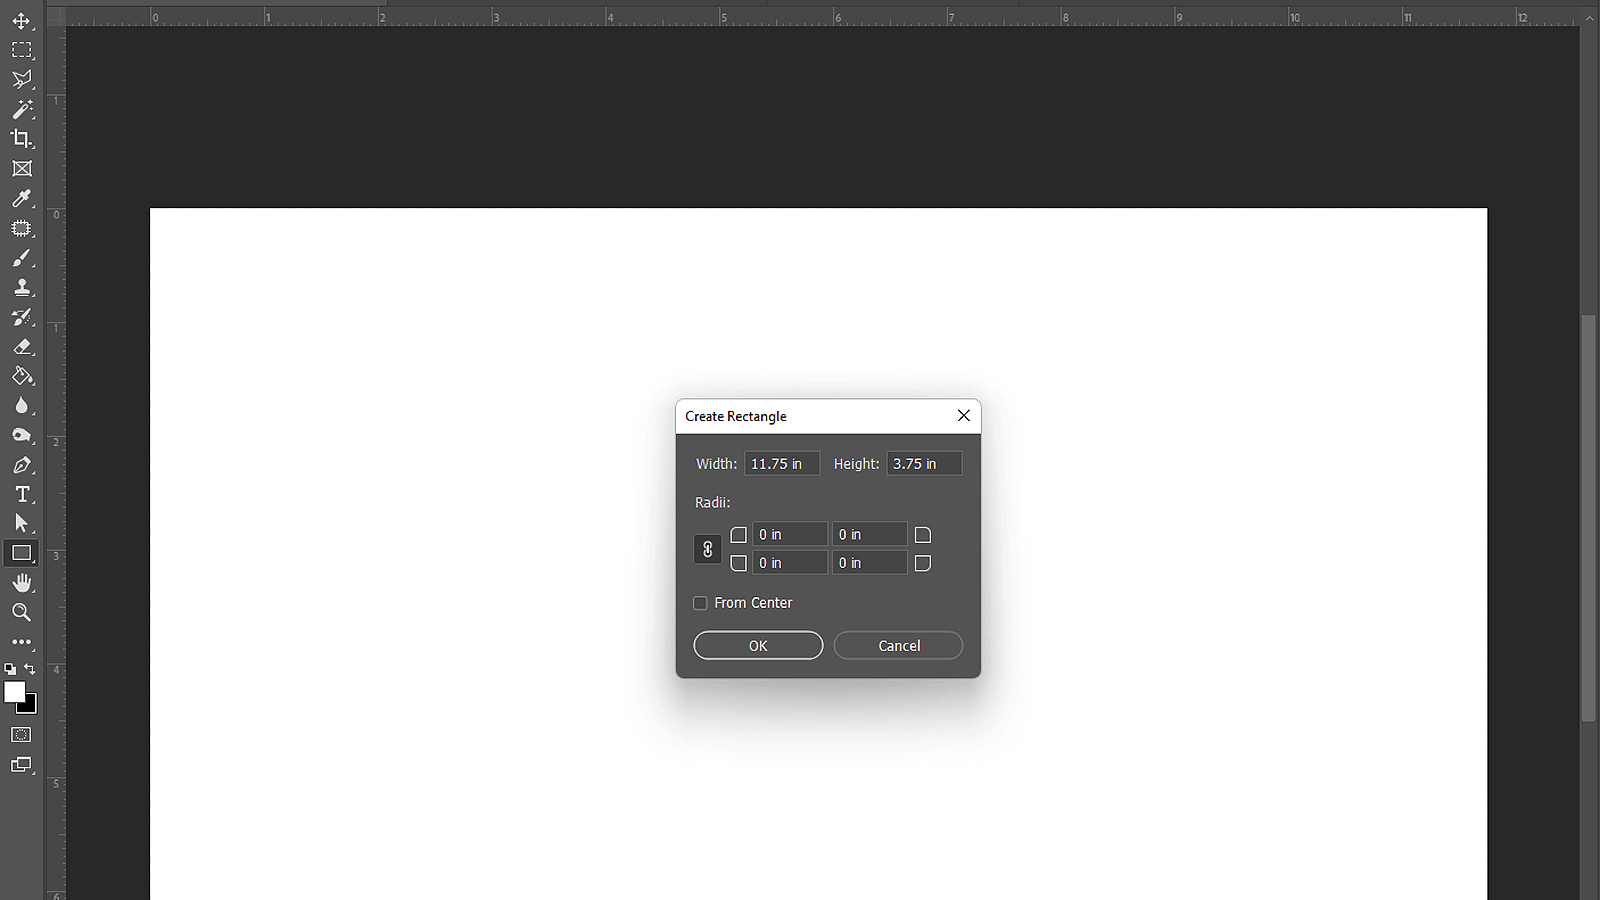
As a result, these fields will appear for the Sleeve mockup as follows:
Background layer
Now your file has only a background layer. To create a regular layer, double-click the layers in the layer list. In the new dialog box, rename the layer, for example, Background.
Once the layer is changed, you can add some artwork here.
Defining dimensions
Let's adjust the image dimensions in pixels for a web view. This allows you to optimize the loading of a design in the Design Editor. Note that the physical size will remain the same as you've set it before.
For this, click Image > Image Size. Select the Resample checkbox. Then, change the Resolution value to define the dimensions. The recommended dimension for the editor mockup is from 1000px to 1200px on the longest side, or a square image is from 1000px * 1000px to 1200px * 1200px.
In this example, the Resolution is 100 pixels per inch, and it transforms the dimensions to 1175 px x 661 px.
Smart Object
A smart object is an area in a mockup where a design will be displayed. In a PSD file, a smart object is a layer with a rectangular shape. Let's consider how to create a smart object for this mockup.
Creating
To create a rectangle, select the Rectangle tool. Then, define the size of this rectangle, depending on the bleed zone in your design:
| InDesign or Template Editor | Photoshop | |
|---|---|---|
| Description | You can define the bleed zone by the Bleed tool. The size of a smart object = the size of this design without bleed zones. | You define the bleed zone manually; the size of a smart object must include the bleed zone. | Example | Your design size is 3.5in x 2in with the bleed zone of 0.125 inches on each side. The whole design size becomes 3.75in x 2.25in. In this case, create a rectangle of 3.5in x 2in for the mockup file. |
Your design size is 3.5in x 2in, and you need to add 0.125 inches on each side as the bleed zone; create a rectangle of 3.75in x 2.25in. |
For the Sleeve mockup, the rectangle will be 11.75 in * 3.75 in.
Then, select a color that is slightly different from the background color. To do so, double-click the layer thumbnail. When the Color Picker appears, select, for example, light gray with the HEX value f2f2f2. Then, click OK to save the changes.
Next, rename this layer by double-clicking the layer name and inserting Design.
Defining a location
Now, let's place your smart object where the design must appear on your product. You can do this in the following ways:
Selecting the Move tool in the
Toolpanel. This tool allows you to move your smart object arbitrarily.Aligning a rectangle. For this, click
Align and Distribute. In the Align To drop-down list, select Canvas and align the horizontal and vertical centers. This panel looks as follows:

It may be useful if your product is as simple as a business card, a flyer, or a brochure.
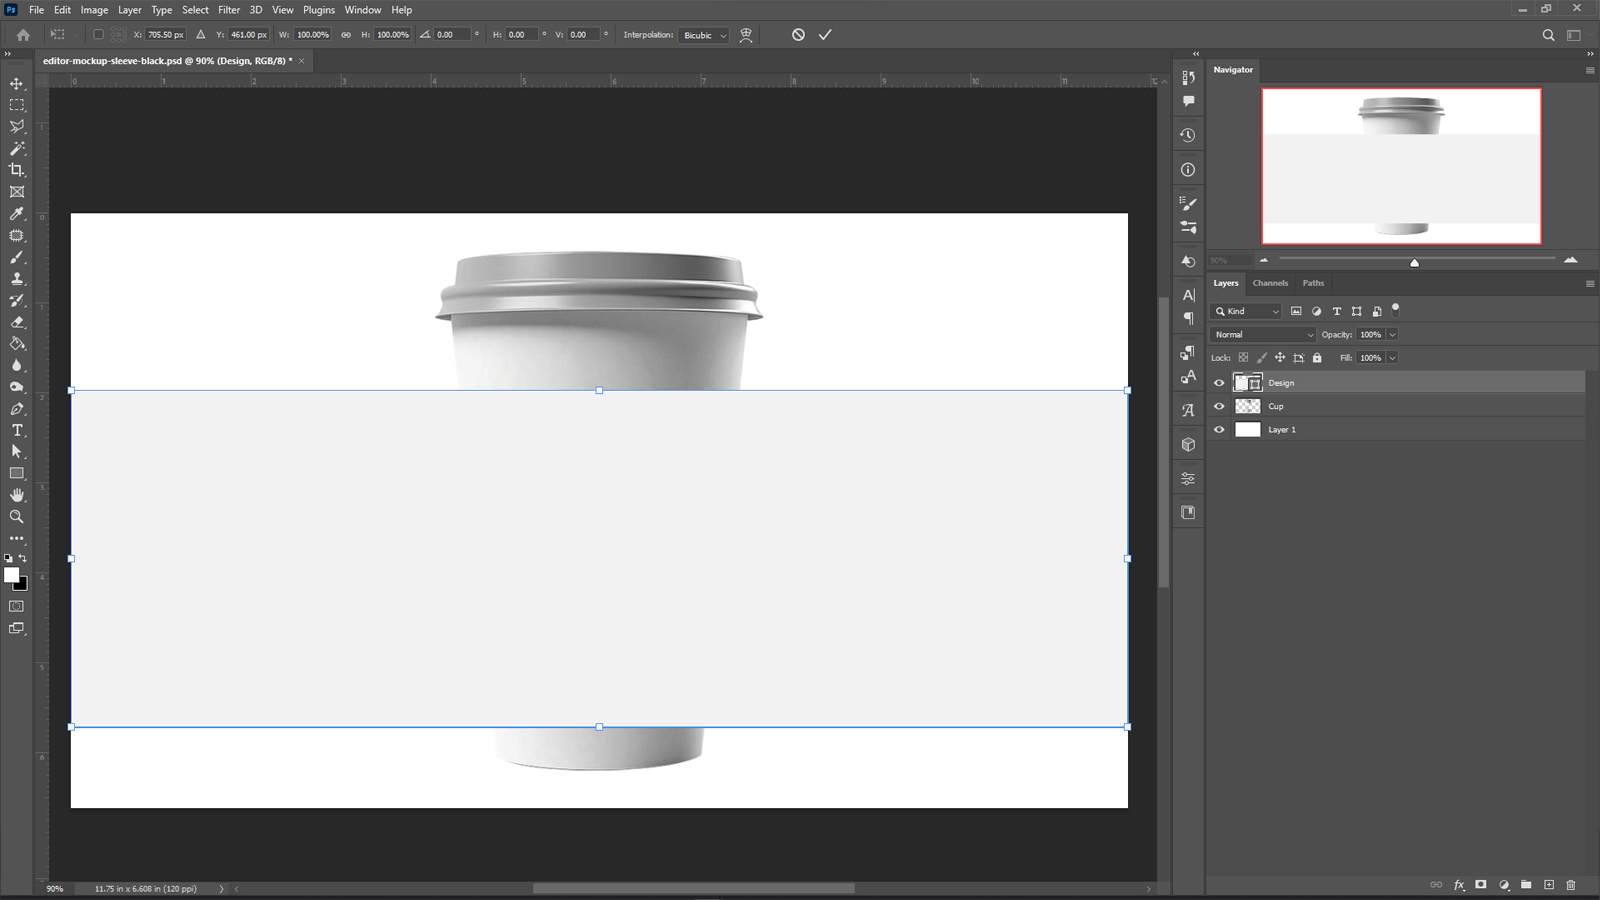
In the Sleeveproduct, the Move tool has aligned the rectangle.
Converting
Transform this rectangle into a smart object. To do so, right-click the layer and select Convert to Smart Object.
Embedding overlays and substrates
When the smart object is ready, you can add other layers, for example, substrates or overlays.
Substrates are the layers that will appear behind the smart object, and overlays appear before the smart object. These layers must fit the mockup dimensions and proportions.
To add them to a file, you can drag and drop them or use File > Place Embedded. You can move and align these layers using the same tools as in the Defining a location of layers paragraph.
After embedding layers, you need to rasterize them. For this, right-click the layer and select Rasterize layer.
In this example, the substrate layer is the template of a sleeve. This layer is exactly under a smart object.
Next, you add overlays to the file. The Cutlines layer has the same form as a substrate. The Cup layer represents a cup.
Creating a mask
You may need a mask to hide bleed zones, folding areas, and the elements that aren't available for editing. Masks are optional and depend on your product.
Before creating a mask, you need to define the transparent area in your mask. For this, you can select the element that will be visible through the mask or create a shape of the visible part of your design using the Pen tool.
To create a mask, copy the Background layer and name the layer Mask. Place the layer over a smart object. Then, place the Cup layer over the Mask layer.
Holding Ctrl, click the Shape thumbnail in the layer list. A frame will take the form of the selected area. Then, click the Mask layer and press Delete. If needed, do the same with other layers. In this example, you do so with the Cup layer.
Now, you've created a transparent area in this layer, which can show a design fragment.
Physical Mockup Size
When creating mockup images, it is important to remember the physical size of the real product. In pixels, the mockup image should have a reasonable size - around 1000-1200 pixels wide. However, you need to set the proper resolution to obtain the real product size.
Calculating a Mockup Image Resolution
Determining the real size of a mockup image may be challenging. Let's imagine you are preparing a mockup for a sleeve. You may know the dimensions of the sleeve in a photo (say 11.75 inches by 3.75 inches). However, the photo may have been taken in a situation where the sleeve is not flat.
The most reliable way to understand the real size of a product is the print area. Typically, print files have precise specifications. For example, for a sleeve, it may be 11.75x3.75 inches. You can draw a rectangle with the same aspect ratio on the sleeve in the same place where the real design will be printed. Measure how many pixels it takes up relative to the full image.
For example, the full image width is 1200 pixels and the print area is 400 pixels wide. In other words, the full image is 3 times larger than the print area. Therefore, the full image width will be 3.75 x 3 = 11.25 inches.
When you save this design, you need to set the resolution to approximately 100 DPI. This way, a 1200-pixel image will have a physical size equal to 11.25 inches.
Verifying a Print Area Size
To ensure that we do the math correctly, we can add some real designs prepared for this product into a mockup to see whether their sizes match. Depending on how you prepare designs, you can obtain the file you want to add to a mockup as follows:
- If you are preparing a file in the Customer's Canvas Template Editor, you need to "order" this design and receive a PDF print file or at least a proof image.
- If you are creating designs in Photoshop, just use the PSD file you create.
- If you are creating designs in InDesign, export them as PDFs. We recommend including the bleed zone, if any (File > Adobe PDF Presets > High Quality Print > Save > Marks and Bleeds > Use Document Bleed Settings > Export).
Add the design file to the design location and make sure it looks right.
Saving a Mockup in the Right Resolution in Photoshop
If you are using Photoshop, to save an image correctly, follow these steps:
- Open Image > Image Size.
- Set the correct size in pixels. It should be a reasonable size for a browser, usually around 1000-1200 pixels wide. You may use smaller sizes, but it won't look crisp on Retina displays.
- Turn off the Resample option.
- Set the Resolution you have calculated as described above. Alternatively, you may switch to Inches (or other units you prefer) and set the Width and Height fields.
Note
Since the mockup file is displayed on the screen, changing the Resolution does not significantly decrease the image quality. However, you can use the resolution to calculate the physical size of an image.
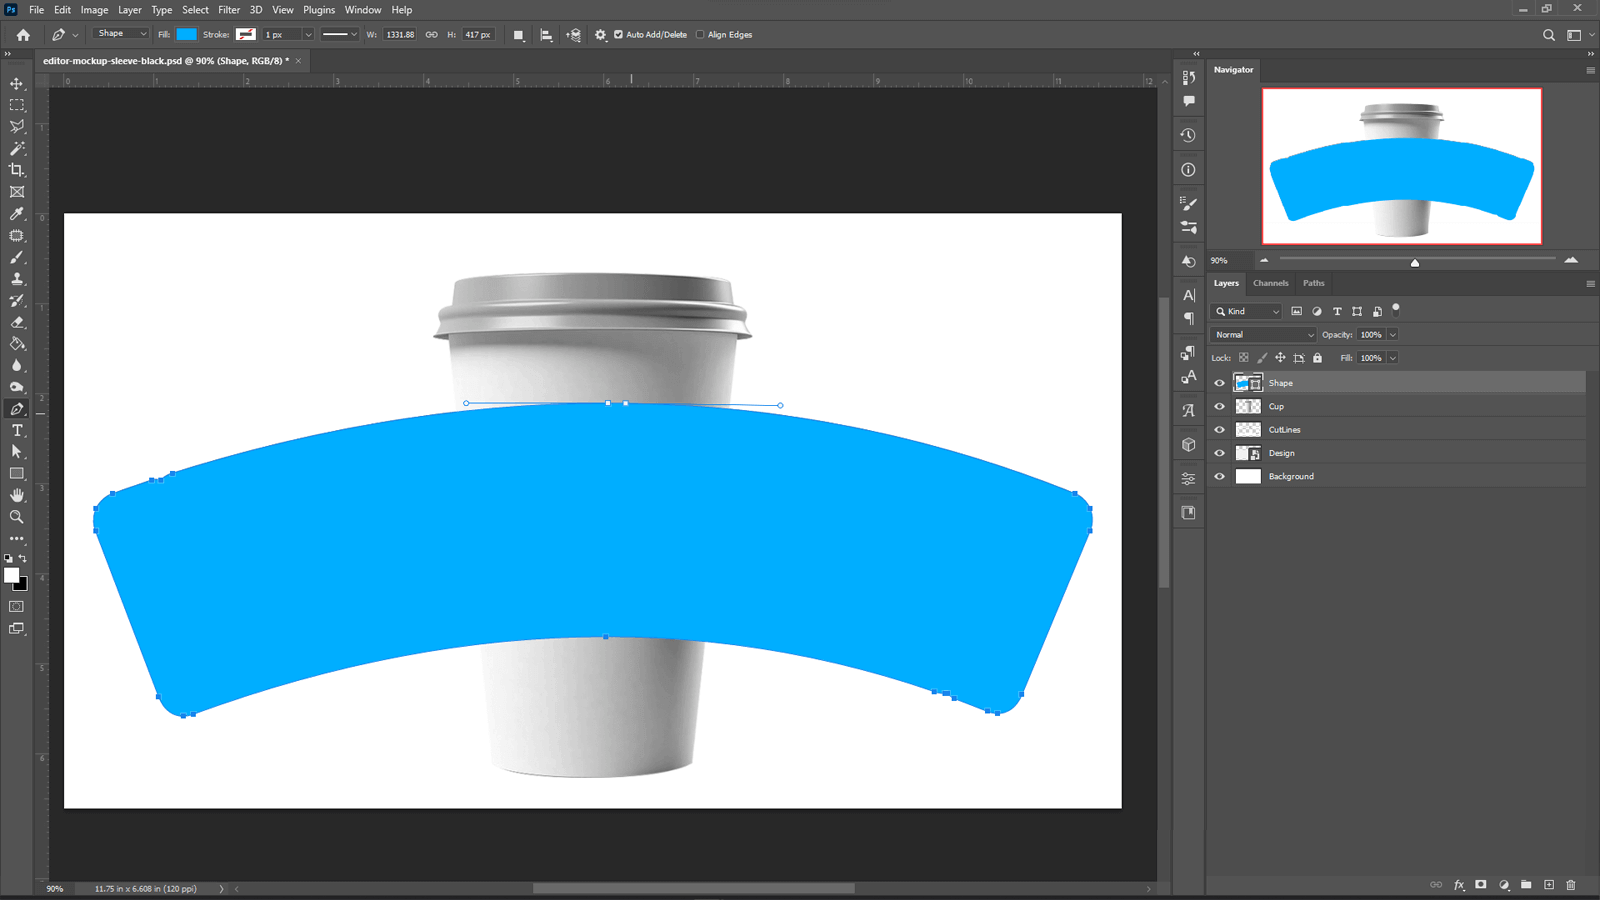
Result
This is how the resulting mockup may look in Photoshop.
