Configuring the Design Editor
- 1 minute to read
On the Configuration tab, you can edit the following files:
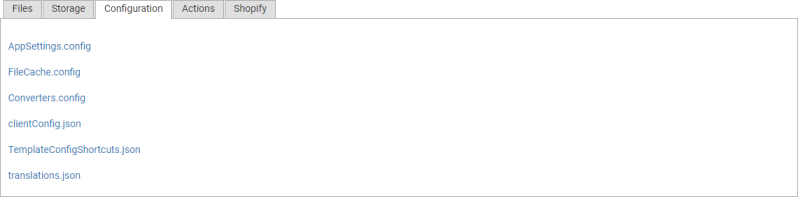
These files contain general settings that are applied to all products. After you have edited a configuration file, click the Save button in the lower-left corner. The Reset button resets all unsaved changes. It does not restore a configuration file to its default state.
The Design Editor configuration section describes these settings in detail.
Note
All topics in this documentation discussing such subjects as configuring the product, the Design Editor integration, etc. apply to both the cloud and on-premises versions.
Adding Color Profiles
The cloud account allows you to set up color management profiles. You can upload them into the \assets\ColorProfiles\ folder by using the file manager. To associate the uploaded profiles with color spaces in the editor, specify your custom profiles in VectorObjects.config:
<Aurigma.GraphicsMill.AjaxControls.VectorObjects>
	<add key="GrayscaleColorProfileFileName" value="/ColorProfiles/grayscaleColorProfile.icc" />
	<add key="RgbColorProfileFileName" value="/ColorProfiles/rgbColorProfile.icc" />
	<add key="CmykColorProfileFileName" value="/ColorProfiles/cmykColorProfile.icc" />
</Aurigma.GraphicsMill.AjaxControls.VectorObjects>
Find more info on color management in the Configuring print files topic.
Localizing the Design Editor
By default, the Design Editor includes localization files for English (en), Spanish (es), French (fr), and Russian (ru). You can set one of these languages as the default interface language by setting the defaultLanguage parameter in clientConfig.json. This file is available for editing on the Configuration tab:

For example, for the English interface, set:
"defaultLanguage": "en"
To create your own translation, you should edit the translations.json file.

Adding Custom CSS Styles
To change the appearance of the Design Editor, you can customize provided UI Themes. At the moment, Design Editor supports two themes: Aurum and MdLight. To change a basic theme, you can put custom styles into the \Configuration\customCss\ folder.
For example, you may want to set an image as the editor background and change the highlight appearance in the Object Inspector. You can define the following styles to implement this:
#mainContainer #mainRow {
	background-image: url("wood.jpg");
}

.objectInspector .inputs.highlight {
	color: #ffffff;
}
Now that you have prepared your custom CSS styles, for example, in the mySiteStyles.css file, you can load them within the designer page through the IConfiguration interface:
configuration = {
	customStyle: "mySiteStyles"
}
Note
If the \customCss\ folder is not displayed in your Control Panel, please contact our support team.