Configuring editors for Shopify
- 2 minutes to read
The Customer's Canvas backend is pre-configured for using Shopify. The Setting up products topic illustrates how you can associate PSD templates with Shopify products. When you set up products on the Customer's Canvas backend, you select editors first. This topic describes how editors appear in the Select editor list and how you can configure an editor.
How editors appear in the List
On the backend, you can find installed editors in the \SimplePolygraphy\Editors\ folder. Every subfolder contains an editor. If you want to add a new editor, you need to create a new subfolder in \Editors\ and upload this new version to the created subfolder. If you have some problems with this, please contact our support team.
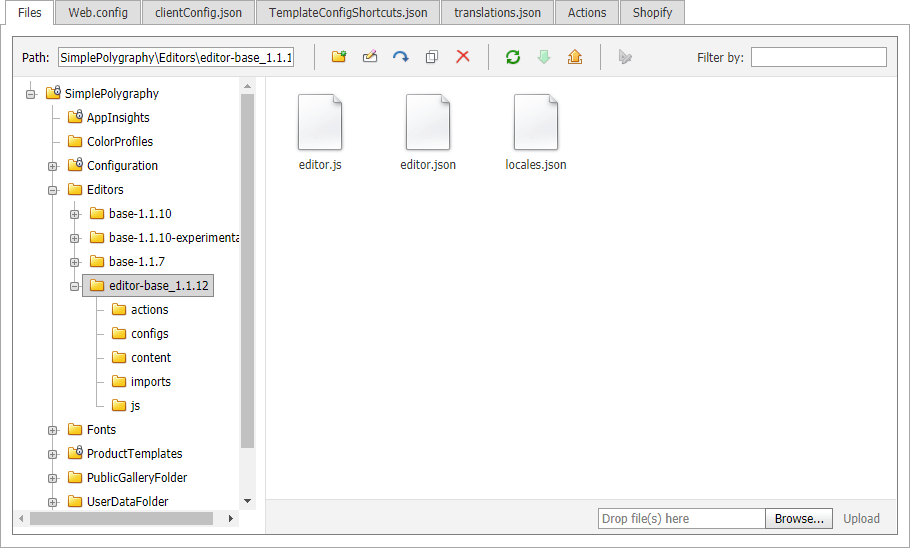
Every editor has a description in the editor.json file.
{
  "title": "A title of the editor",
  "name": "internal-config-id",
  "version": "1.1.12",
  "defaultConfig": "photobook.json"
}
Customer's Canvas reads titles in such files and displays them in the drop-down list. For a new editor, make sure that you define all of these fields and have a unique title.
Editors contain sets of predefined configurations in the \configs\ subfolder. In the following section, you can find a config example.
Config example
Each product type, for example, a single-page product or a photobook, requires a separate config file. If you want to create your own config either from scratch or based on another config, make sure that your title describes that this is a new config. The unique title is important when you copy configs from standard editors. Let us see the configuration of photobooks.
{
  "title": "Photobook",
  "name": "photobook",
  "version": "1.1.0",
  "config": {
    "language": "en",
    "productDefinition": {
      "surfaces": {
        "designFolder": "%product.attributes.#attributeNames.folder#%"
      }
    },
    "editorConfig": {
      "initialMode": "Simple",
      "restoreProductOnReloadEnabled": "false",
      "widgets": {
        "FinishButton": {
          "mode": "Disabled"
        }
      }
    },
    "attributeNames": {
      "folder": {
        "name": "Design Folder",
        "settings": {
          "type": "designFolder"
        }
      }
    },
    "steps": {
      "editor": {
        "objectInspectorVisible": true,
        "topToolbarVisible": true,
        "bottomToolbarVisible": true,
        "leftToolbarVisible": false
      },
      "approve": {
        "preview": {
          "width": 500,
          "height": 500
        }
      }
    }
  }
}
This config contains the following sections:
productDefinitionspecifies what templates and mockups should apply.editorConfigconfigures the user interface of the editor.attributeNamesset up product attributes.stepsdefine the editing sequence.languagespecifies the language of the user interface.
The product attributes allow you to apply variable items. You can use their names in config files and define a specific value when you set up a product. You can refer to these attributes from any section of your config by using the %...% syntax. When the editor loads a product on a page, it substitutes the content between the percent symbols with an attribute value. As well as product attributes, you can apply the following shortcodes:
%product.title%%product.sku%%product.price%%product.description%
For more details about product editors, you can refer to the UI Framework topic.