Simple Design Editor
- 14-15 minutes to read
Let's look at the simplest scenario, when you open an editor on your site, upload a pre-set template to it, and right after editing, you get links to previews and print files.
Before starting this tutorial, we recommend that you read the article Working with designs directly, which describes in more detail what parts of the Customer's Canvas you need to use and why, and here, we will focus on putting it into practice.
Prerequisites
To complete this tutorial, you need a Customer's Canvas account that contains at least one design and the necessary fonts. You can learn how to upload designs and fonts in the tutorial for designers in the Customer's Canvas User Guide.
It is assumed that you are familiar with front-end development. This tutorial does not rely on any specific JavaScript frameworks, and we will use plain HTML and vanilla JavaScript here.
Choose how to embed the editor
Here, we describe two approaches: using the UI Framework (the recommended method) and the IFrame API JS library. Which approach is right for you?
If this is your first time working with Customer's Canvas, we recommend turning to the UI Framework, especially if you plan to use it in different ways and in different places in your application. However, the IFrame API can be a simpler alternative, especially if you've already dealt with it and are migrating from a previous version of the Design Editor.
Adding Design Editor to the page
Step 1. Connect scripts to the page
First, you must connect all the necessary scripts to the page.
Among the scripts of your page, add the following:
<script type="module">
    import moduleLoader from "<UI Framework URL>/moduleLoader.js";
    const driverModule = await moduleLoader.dynamicImport("ecommerceDriver", "<UI Framework URL>/drivers/default-driver.js");
    const editorModule = await moduleLoader.dynamicImportDefault("editor", "<UI Framework URL>/editor.js");

    // ... the editor initialization and loading code will be here

</script>
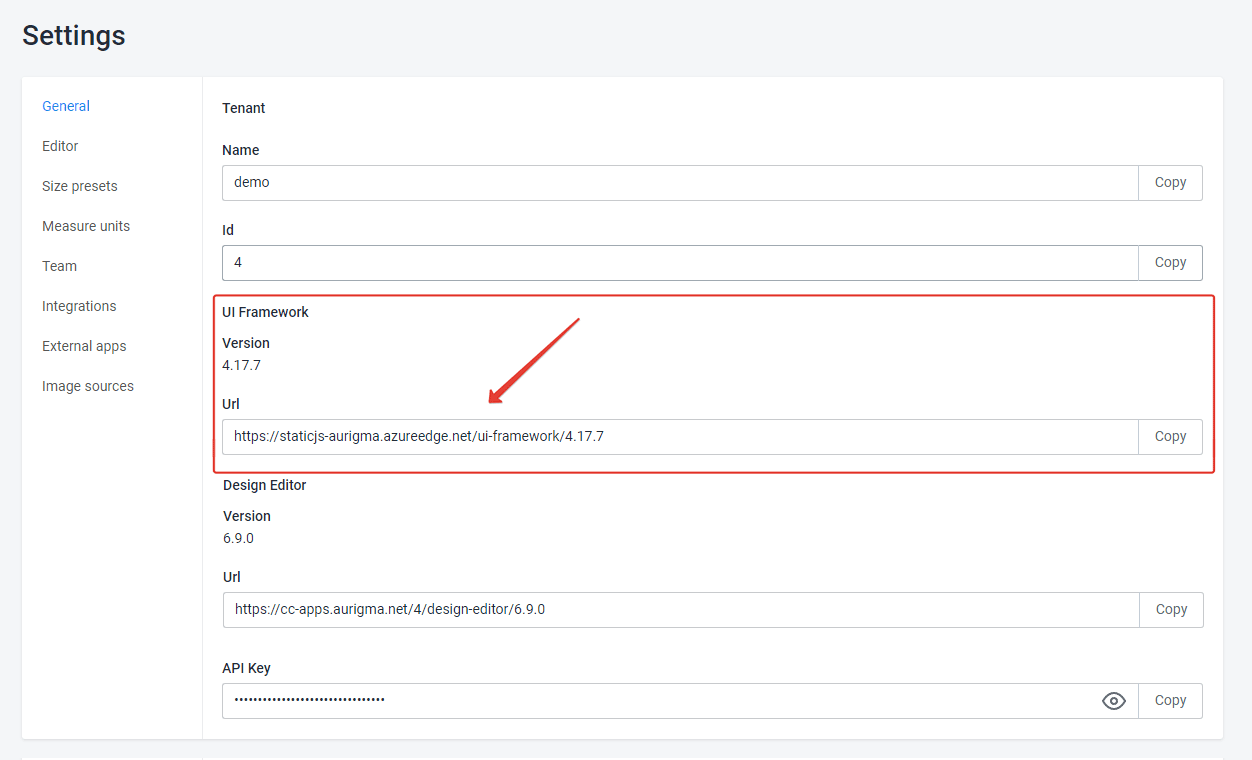
You can find the address of the UI Framework instance configured for your account in the Settings -> General section.
Note
In this tutorial, we will use a static link. However, in a real application, you can use the API to define this address dynamically. In this case, when upgrading, you will not need to change this link manually.
Step 2. Add an editor container element
Now you need to decide where on the screen you need to put the editor. Add an HTML element that will be a container for the editor to the necessary place. You may want to create a modal dialog or a button that hides your current interface and shows this container on a full screen.
Depending on the technology you use to embed an editor, the HTML element you insert is either <div> (for the UI Framework) or <iframe> (for the IFrame API).
Add the <div> element, which will contain the editor on the page. For example, it may look like this:
<main class="main">
    <div class="main__section main__section-editor">
        <div id="editor-container" class="main__editor"></div>
    </div>
</main>
Don't forget about CSS. Most likely, you would like to adjust the height of the container, for example,
    .main__section-editor .main__editor {
        height: calc(100% - 55px);
    }
Step 3. Load editor to the container
Now, let's see how to load an editor inside the element we have just prepared.
On the Step 1, we have loaded the UI Framework scripts in a bit unusual way. Instead of using a <script> tag, we are loading these scripts dynamically. We were using the moduleLoader.js script to do it - it gives a functionality similar to the import ... from construction or the require call. With a help of this approach, the UI Framework automatically loads all the required resources.
Once we have loaded the driverModule and editorModule, we need to initialize the UI Framework. Here, you are preparing the models for the product, user, settings, as well as specify the UI Framework config.
For the sake of this tutorial, we will provide only the minimal possible amount of data. Also, we will take a look at the config part a bit later.
const driver = driverModule.ecommerceDriver;
const editor = editorModule.editor?.editor ?? editorModule.editor;
const quantity = 1;
const productModel = {
options: [],
attributes: []
};
const userModel = { id: "12345" };
// ...
const ecommerce = await driver.init(productModel, editor, config, settings, null, quantity, userModel);
const config = {
...
};
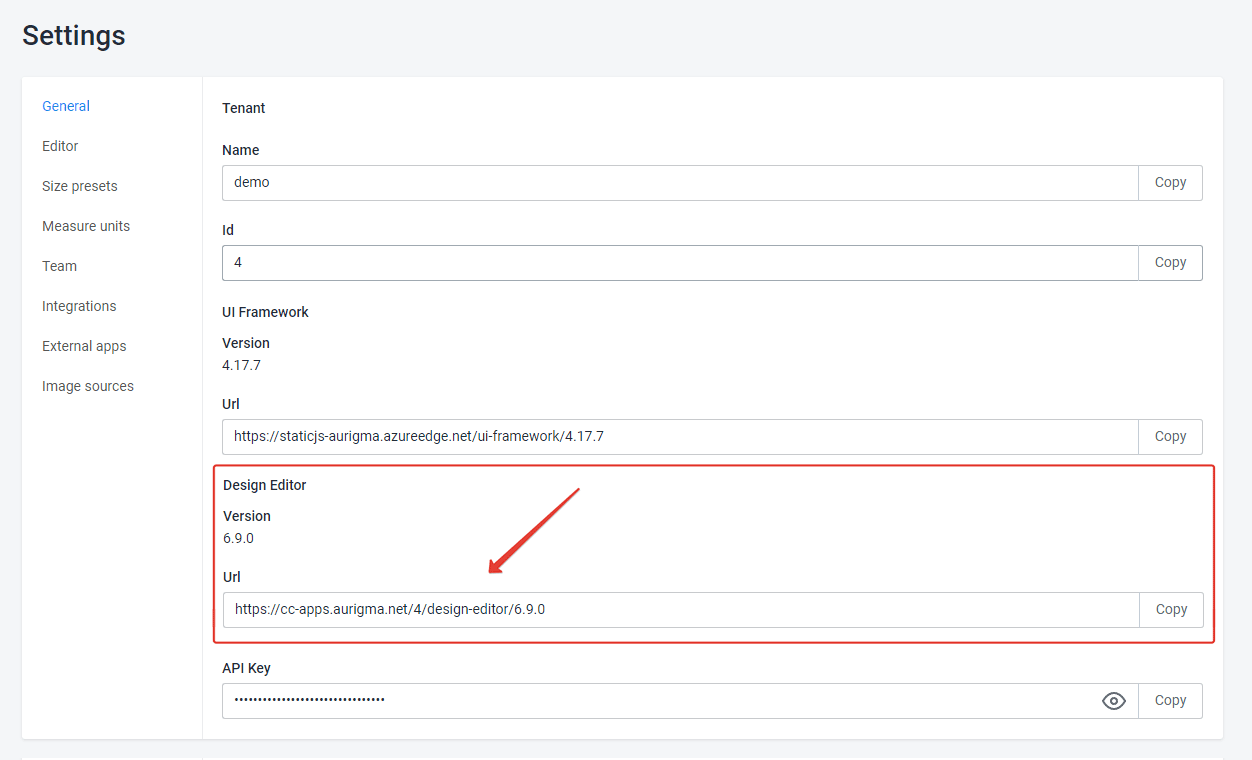
const settings = { customersCanvasBaseUrl: "<Design Editor URL>" };
const ecommerce = await driver.init(productModel, editor, config, settings, null, quantity, userModel);
As you can see, it requires to specify a URL to Design Editor. Like UI Framework URL, you may find it on the Settings -> General tab.
Now, let's see at the config.
{
  "showSteps": false,
  "widgets": [
    {
      "name": "editor",
      "type": "design-editor",
      "params": {
        "initial": {
          "productDefinition": "...",
          "editorConfig": {}
        }
      }
    },
    {
      "name": "order",
      "type": "order",
      "params": {
        "data": {},
        "props": {
          "stateId": ["{{ $['editor'].stateId }}"],
          "userId": "{{ $['editor'].userId }}",
          "printFiles": "{{ $['editor'].hiResUrls }}",
          "images": "{{ $['editor'].proofImageUrls.map(u=>u[0]) }}"
        }
      }
    },
    {
      "name": "finish-button",
      "type": "finish-button",
      "params": {
        "onClick": [
          "{{#function main.showPreloader(true, 'Creating print files...')}}",
          "{{#function $['editor'].getHiResImages(800,800)}}",
          "{{#function $['order'].widgetUpdated}}",
          "{{#function main.showPreloader(false)}}"
        ]
      }
    }
  ],
  "steps": [
    {
      "name": "1. Editor",
      "mainPanel": {
        "name": "editor"
      }
    }
  ]
}
As you can see here, it has a design-editor widget which has the parameters such as the product definition and editor config - the same ones as you would use through the IFrame API.
After you put together the initialization code and the config, you can load the editor into the <div> container.
ecommerce.products.current.renderEditor(document.getElementById("editor-container"));
Step 4. Loading a design from Asset Storage
The purpose of the product definition parameter is to specify a design you want to use as a template. You can just specify an ID of a design or its full path in an Asset Storage as a string.
const config = {
    "widgets": [
        {
            "name": "editor",
            "type": "design-editor",
            "params": {
                "initial": {
                    "productDefinition": "5fdb4b74126221c256d5b881",
                    "editorConfig": {
                    }
                }
            }
        },
        ...
    ]
};
const ecommerce = await driver.init(productModel, editor, config, settings, null, quantity, userModel);
For the sake of this tutorial, we will just hardcode the design ID. It is supposed that you have already imported an InDesign or Photoshop file or created a design from scratch in a built-in Template Editor. To get an ID of a design, just right-click the design file and choose the Info menu:
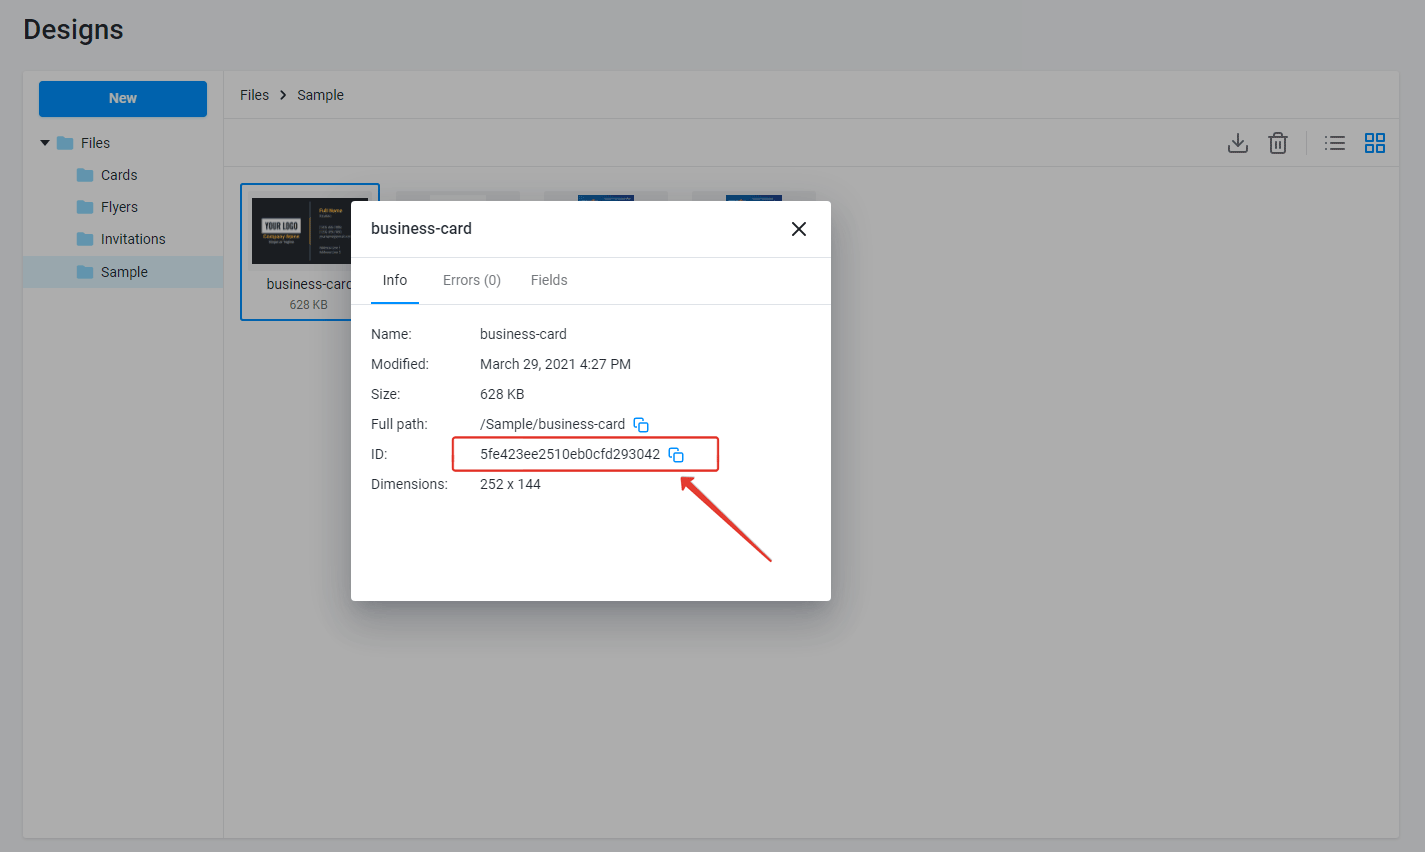
Use the Copy button to copy it to a clipboard and paste it to the code above.
Tip
In a real-life application, you most likely won't hardcode any IDs. You would rather retrieve the list of designs through Asset Storage API and use one of the IDs, or you may want to associate a design with some entities in your system, for example, products in an e-commerce system. You may also use BackOffice entities we have created especially for e-commerce system integration (such as Product specifications and Projects), however, this is out of the scope of this tutorial.
Step 5. Saving a design
Just opening a design is not enough. You also want to save the result and have Customer's Canvas to generate a print and/or proof file.
A user's work is saved in Customer's Canvas as a private design. They are pretty similar to the regular designs we were using as a part of the product definition, but they have an important difference - they belong to a specific user. So we need to set a user ID so that the editor understands who we are saving it for.
For the sake of this tutorial, we will just hardcode it. In a real application, you will pass the ID here from your system or something like a session identifier for the guest user.
When we are using the UI Framework, we define the user ID in the user model object which is passed to UI Framework as the last parameter of driver.init().
const userModel = { id: "12345" };
// ...
const ecommerce = await driver.init(productModel, editor, config, settings, null, quantity, userModel);
Now, we are ready to save private designs.
If you are using the UI Framework, the button that makes the editor save the result is already inside the editor. All you need to do is handle the onSubmitted event and get all the data.
ecommerce.cart.onSubmitted.subscribe(data => {
    // It contains the stateId, userId, preview images and the other output data.
    console.log("submitted");
    data.lineItems.forEach((order, index) => {
        console.log(`Line item ${index + 1}: Private Design ID = ${order.props.stateId.join(", ")} for the user ${order.props.userId}`);
        console.log("Links to print-ready files: ", order.downloadUrls);
        console.log("Links to proof images: ", order.images);
    });
});
In this example, we output links to preview images and print files when processing the result of rendering a private design.
Configuring the editor
Loading Fonts
Now that we know how to work with the designs, let's learn about fonts. Let's see how you can set up a list of fonts available for a user.
By default, Design Editor will show all fonts it finds in Asset Storage, but you quite often don't want to show such a large list to a user. Instead, you may want to handpick several fonts that work best with the design the user edits.
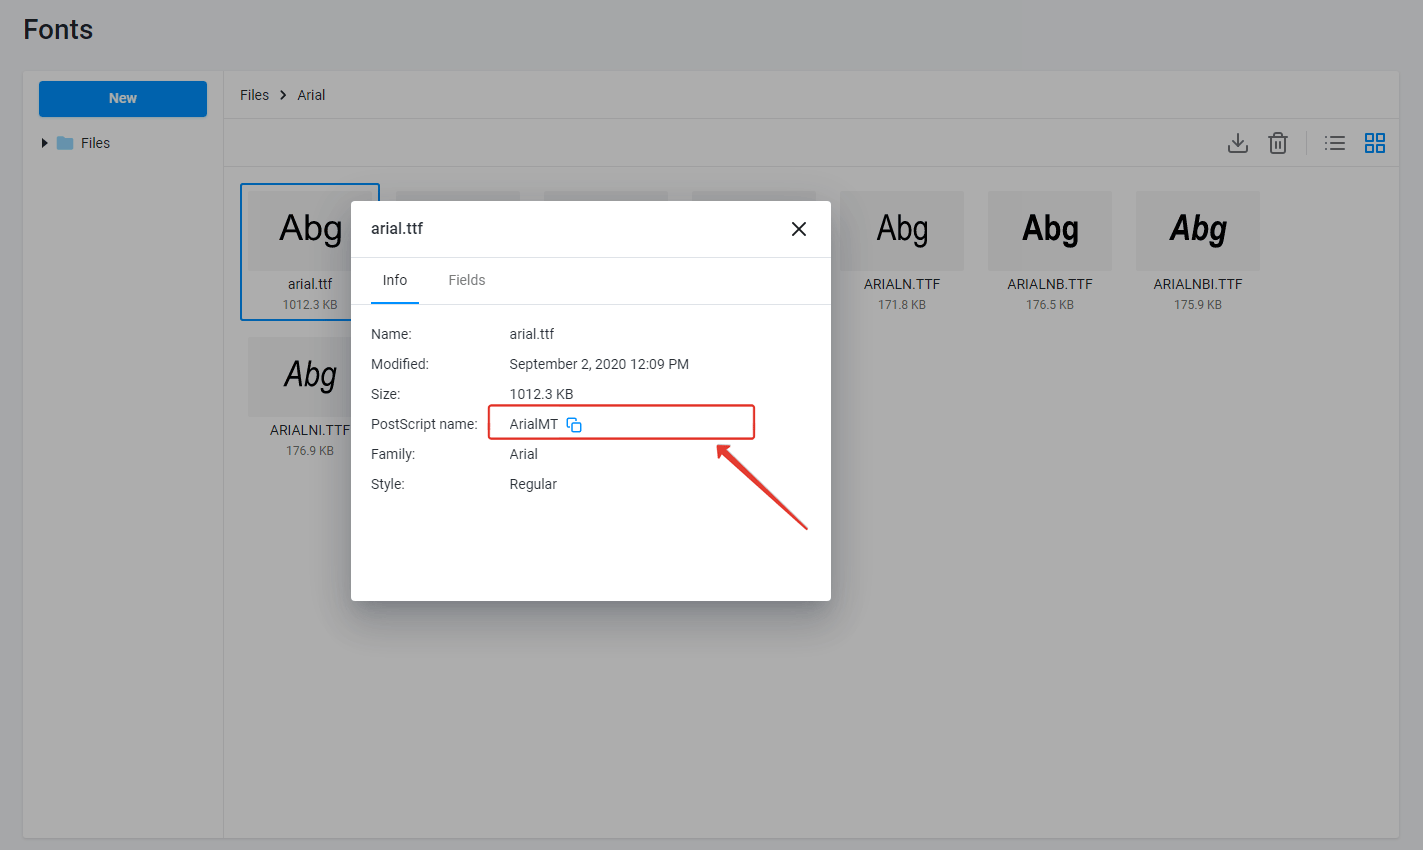
You need is to set a list of the Postscript names of the necessary fonts to the fontList parameter of a config. You can see the Postscript name of a font in a similar way to how you did for the design ID - by right-clicking the font in the Assets browser and opening the Info menu:
Just insert them as an array of postscript names:
const config = {
    "widgets": [
        {
            "name": "editor",
            "type": "design-editor",
            "params": {
                "initial": {
                    "productDefinition": "5fdb4b74126221c256d5b881",
                    "editorConfig": {
                         "fontList": [
                            "Montserrat-Regular",
                            "Montserrat-Light",
                            "Montserrat-ExtraBold",
                            "OpenSans-Semibold",
                            "OpenSans",
                            "Roboto-Black"
                        ]
                    }
                }
            }
        }
    ]
};
const ecommerce = await driver.init(productModel, editor, config, settings, null, quantity, userModel);
In practice, you may want to keep a list of fonts with each template, like the design ID. Consider providing your content manager an interface to select a font list. You may use Fonts to retrieve available fonts.
Organizing Image Gallery
You may also want to provide your users with some standard clipart, branding materials (e.g. logos), and photos. The Asset Manager article in the Design Editor documentation explains all possible options of how you can use it to organize galleries, but for this tutorial, let's just see how we can pick our images from Asset Storage.
Imagine that you are building an editor for real estate agents and you want to provide them with the logos of the brokerage they work with. You will organize images in the Assets section into folders. There will be a Logos folder and subfolders for each of your brokerages, like this:
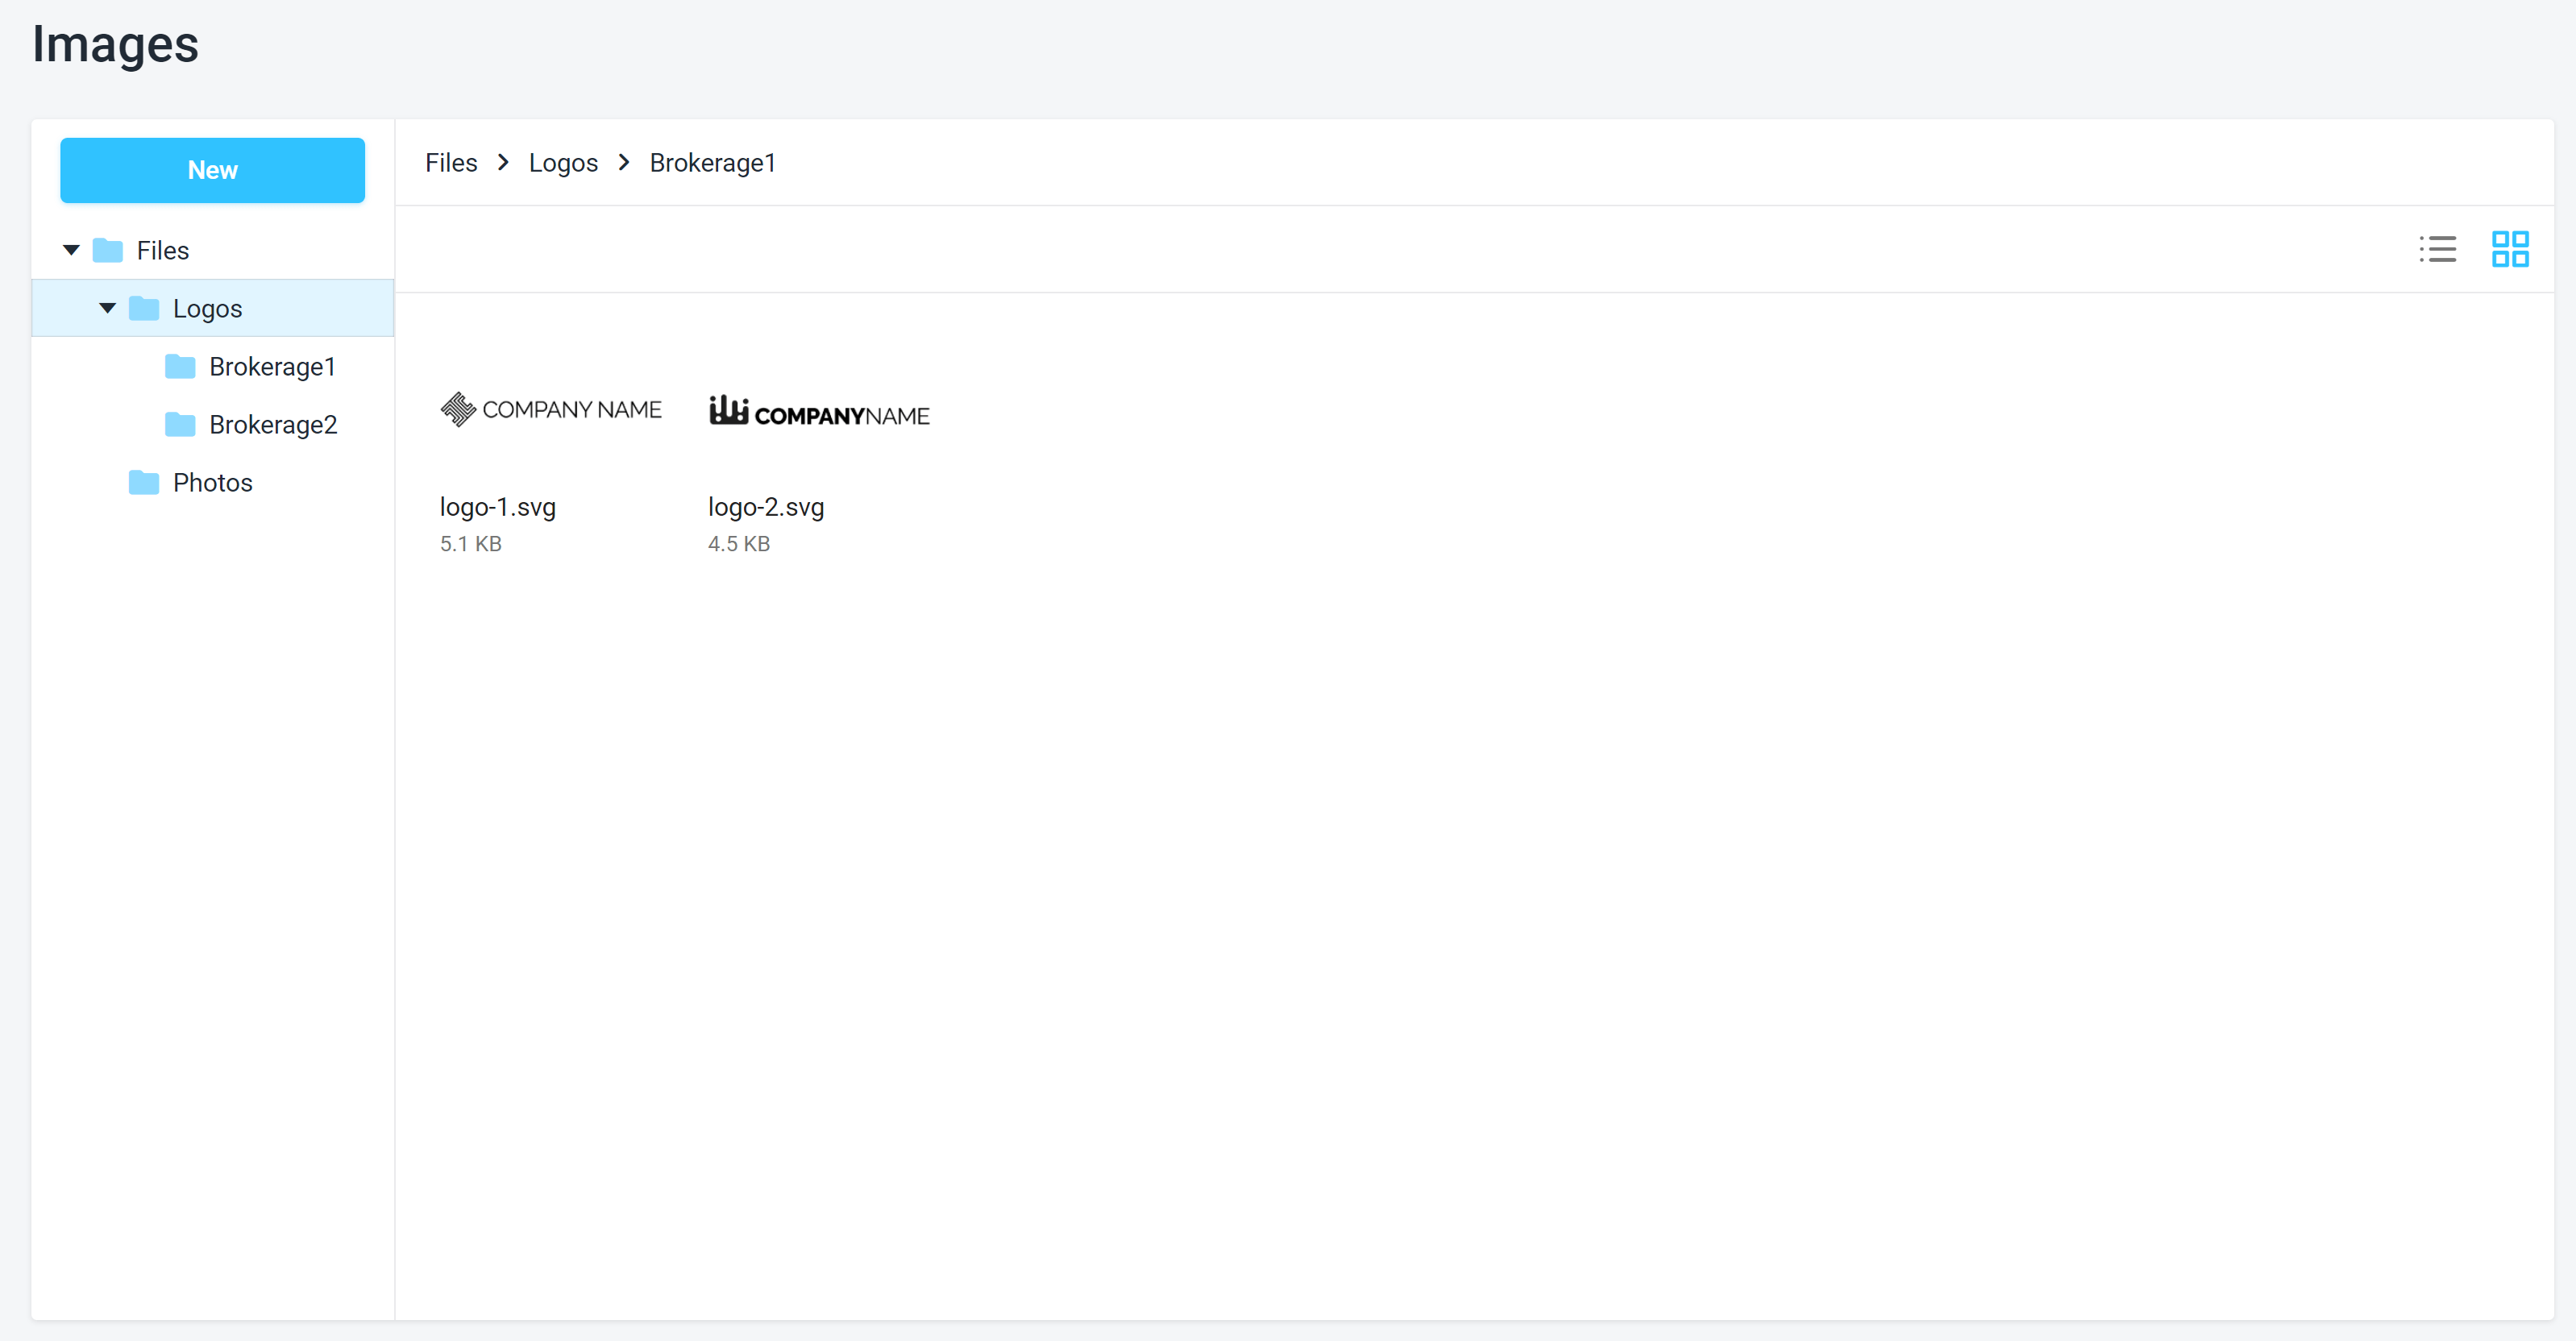
Let's set up the editor to show an Add Logo button, which would allow users to choose a logo from the /Logos/Brokerage1 subfolder. To do this, you need to set up several sections in the config:
Initialize the image source. You need to use the PublicSource and specify the path to the folder.
Note
If you want to specify a root folder, use the
/character or an empty string.Configure the gallery (Asset Manager) widget - add a tab connected to the source you have just described and set up a few options.
Configure a toolbox button, which would show the Asset Manager and add an image to the editor.
const config = {
    "widgets": [
        {
            "name": "editor",
            "type": "design-editor",
            "params": {
                "initial": {
                    "productDefinition": "5fdb4b74126221c256d5b881",
                    "editorConfig": {
                        "assetSources": {
                            "Logos": {
                                "type": "PublicSource",
                                "rootCategory": {
                                    "name": "/Logos/Brokerage1"
                                }
                            }
                        },
                        "widgets": {
                            "AssetManager": {
                                "tabs": [{
                                    "name": "Logos",
                                    "assetSourceInstance": "Logos",
                                    "controls": {
                                        "categoriesEnabled": false,
                                        "assetNameEnabled": false,
                                        "toolbarEnabled": false
                                    }
                                }]
                            },
                            "Toolbox": {
                                "buttons": [{
                                    "action": "Image",
                                    "iconClass": "cc_icon_clipart",
                                    "tabs": ["Logos"]
                                }]
                            }
                        }
                    }
                }
            }
        }
    ]
};
const ecommerce = await driver.init(productModel, editor, config, settings, null, quantity, userModel);
Re-opening previously saved private designs
As you may notice, when you save the result, you get an object with a stateId field that holds the design ID of a new design. You can just pass it as a product definition and it will reopen the user's design (provided that it is accompanied with a proper user ID), as in the example below.
By default, when you save the result, Design Editor will create a new copy of a private design on each call. You may not always want to have all copies of all private design versions. To overwrite the previous design on each save, you need to assign an output stateId to the ID of an existing design.
// Let's imagine the private design ID is something like `9caeb6fc-ae91-4c66-a2c0-d6d9926ec57e`
const config = {
    "vars": {
        "product": "9caeb6fc-ae91-4c66-a2c0-d6d9926ec57e"
    },
    "widgets": [
        {
            "name": "cc",
            "type": "design-editor",
            "params": {
                "initial": {
                    "productDefinition": {
                        "surfaces": [
                            {
                                "printAreas": [
                                    {
                                        "designFile": "{{ vars.product }}"
                                    }
                                ]
                            }
                        ]
                    },
                    "editorConfig": {
                        "widgets": {
                            "FinishButton": {
                                "mode": "Disabled"
                            }
                        }
                    }
                }
            }
        },
        {
            "name": "finish-group",
            "type": "finish-group",
            "params": {
                "checkboxPrompt": "I have reviewed and approve my design.",
                "value": false,
                "checkboxEnabled": true,
                "checkboxVisible": true,
                "buttonText": "Finish",
                "onClick": [
                    "{{ #function main.showPreloader(true, 'Preparing pdf files') }}",
                    "{{ #function $['cc'].getHiResImages(1200, 1200, vars.product) }}",
                    "{{ #function main.showPreloader(false) }}"
                ]
            }
        }
    ],
    "steps": [
        {
            "name": "Design",
            "mainPanel": {
                "name": "cc"
            },
            "bottomPanel": {
                "name": "finish-group"
            }
        }
    ]
};
const ecommerce = await driver.init(productModel, editor, config, settings, null, quantity, userModel);
Now, you are ready to implement a simple integration of Customer's Canvas with your storefront. You may want to examine the Design Editor manual for more information about its features and how to configure them.