Documents
- Last updated on June 25, 2025
- •
- 1 minute to read
You can store any files as Documents, including images, designs, mockups, archives, etc. However, this section primarily serves for working with such files as .json, .xml, .pdf, and .tgset.
Document types
There are currently four supported types of documents:
- Config file: Files with a
.jsonor.xmlextension - Dielines: Files with a
.pdfextension - Toggle set: Files with a
.tgsetextension - General: All other file extensions
In addition to the type, each document also has a format — for example, a Config file can have either XML or JSON format, while Toggle set supports only one format, JSON. Dielines are stored in the PDF format. General documents use the BINARY format.
Uploading documents
To add documents to your account:
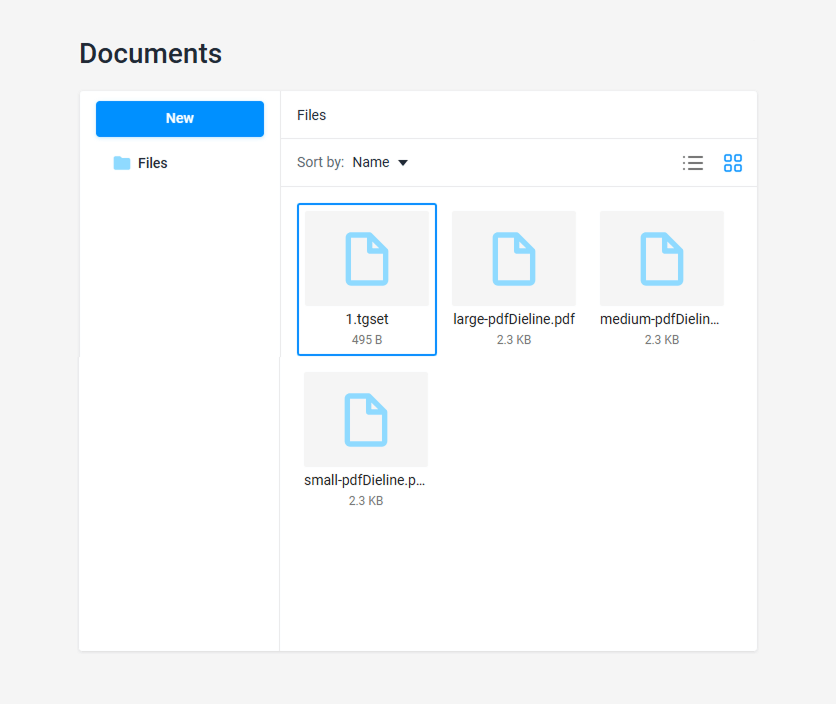
- Navigate the Assets section and select Documents.
- Upload files either by clicking New > Import or just dragging and dropping them from your computer.
The document type is identified automatically during import based on the extension. Changing the document type after upload is not currently possible.
You may use folders to keep your files organized. For example, create subfolders for different document types.
Creating documents
In the Customer's Canvas account, you can manually create and edit Toggle set and Config file documents. The Dielines documents can automatically be created when generating designs from .m3d mockup files. Other types can only be imported.
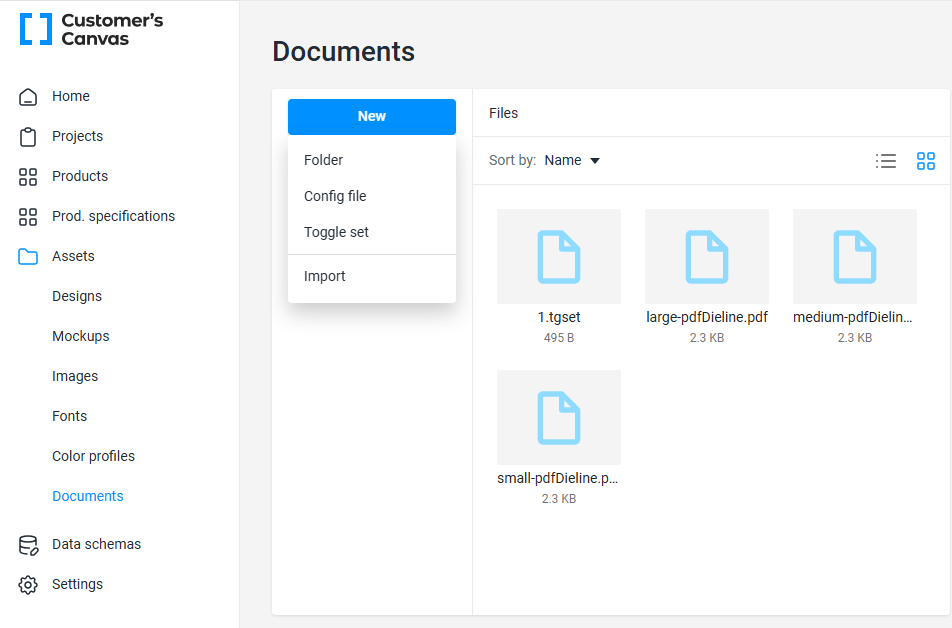
To create a new Config or Toggle set file:
Click New.
Select Config file or Toggle set.
Enter the filename and click Save.
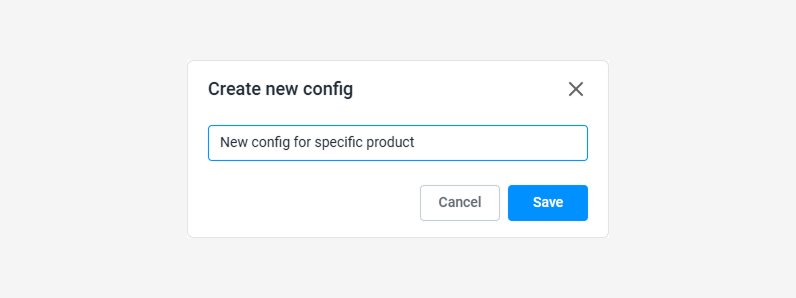
After saving, the JSON editor will open, allowing you to populate your file with content.