Static packaging
- Last updated on October 10, 2024
- •
- 4 minutes to read
This topic provides instructions on creating a static packaging product in the PIM module using the example of a pizza box. This box will be based on the FEFCO 0426 specification.
First, let's split our goal into simple operations, from planning product options to creating a product.
1. Plan which options to make
For example, let's add two options for a pizza box: size and paper type. The former option affects the design and the total cost, while the latter option affects only the cost.
Size:
- Small Pizza Box 10” x 10” x 2”
- Medium Pizza Box 12” x 12” x 2”
- Large Pizza Box 15” x 15” x 2”
Paper type:
- Glossy
- Matte
2. Generate mockups
You can generate a 3D mockup for a pizza box in your Customer's Canvas tenant. The number of mockups you need will depend on the option values affecting the design.
In the Assets section, navigate to Mockups and generate three mockup files for small, medium, and large box sizes. For example, for a small pizza box, the packaging parameters will look like this:
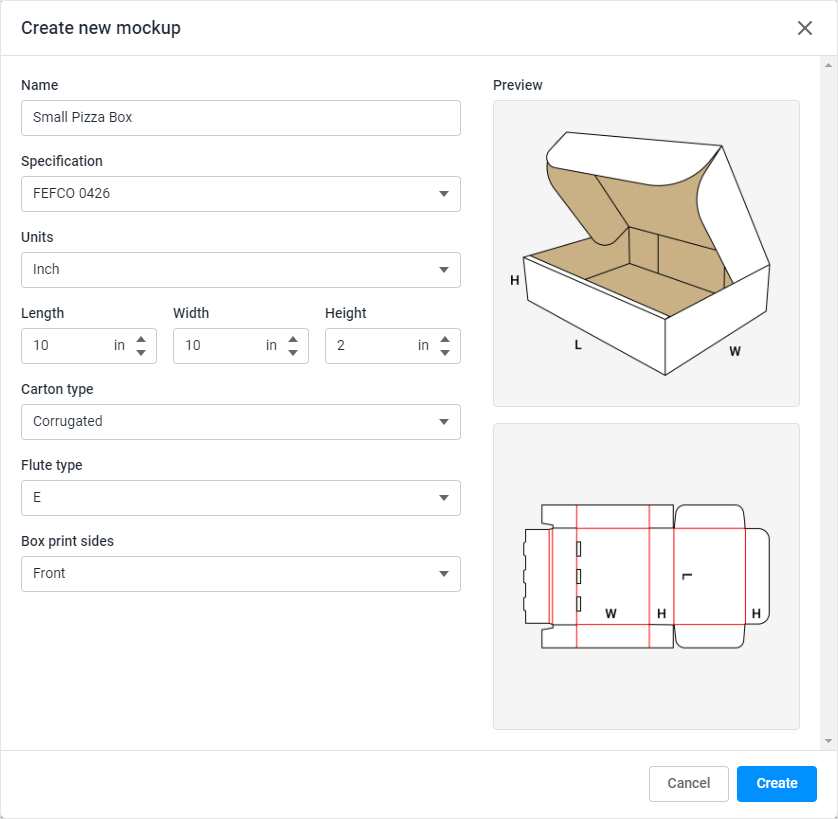
When you have completed filling in the fields, click the Create button.
3. Generate designs
Along with the mockups, you will also need designs for your product. Using the generated m3d files, you can create an empty design right in your tenant.
In the Assets section, navigate to Designs, open a destination folder, click the New button in the top left corner, and then click Design file. When the dialog box opens, click the Generate from mockup tab.
Generate three design files — one for each box size — and save them empty first.
Using empty design files of the proper size, users can create designs from scratch or upload their artworks from Adobe Photoshop or Adobe InDesign.
In the Template Editor, you can find an invisible layer with generated dielines.
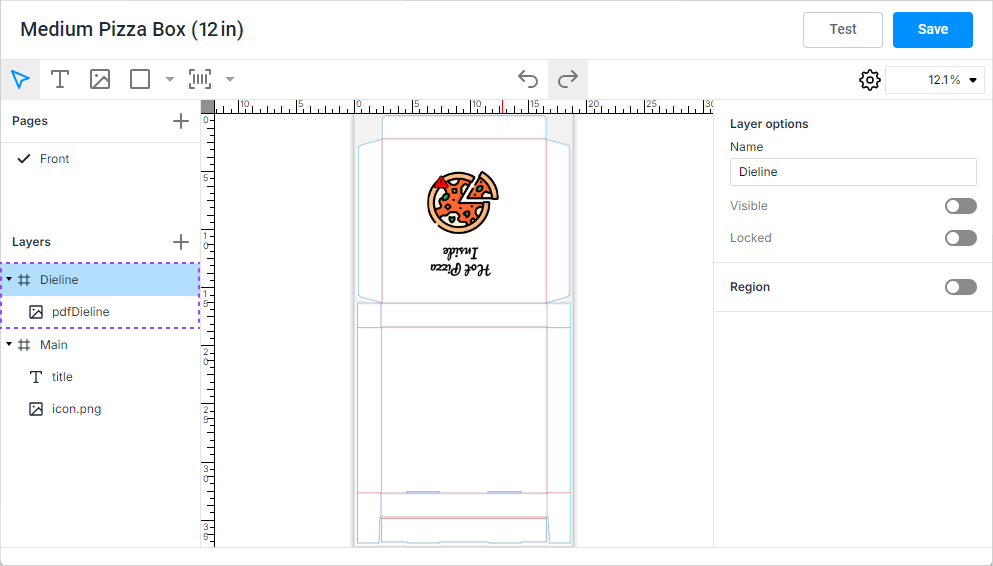
To improve dielines with artworks or design notes, you can export them in a PDF format: right-click the canvas or the pdfDieline element in the layer list and click Export. After the PDF file is downloaded, add your content there, and upload it back as a Document asset.
If you have changed the dieline files, upload them to Documents. You can upload different dieline files for different size options, and when you create a product, refer to them on the Products > Documents tab.
When adding content to the designs, you can do it in one size, for example, place a pizza drawing, a name, and a phone number on top of your pizza box, and then propagate this design to other sizes by copying, pasting and resizing.
Tip
To prevent the dieline layer from interfering with other elements while editing your design, you can lock it.
As a result, you have files of three asset types:
- Mockups in the M3D format, one mockup for a single size option.
- Designs in the internal format, one or more files for a single size option.
- Documents in the PDF format with dielines where you have added additional layers with bleed lines, artworks, or text notes.
4. Create a product
Let's assume that you have already configured your workflow, which is most likely based on the Handy Editor with selecting options. For this topic, we prepared Handy Editor 3d workflow file. You can find more details about creating workflows in the Handy Editor topics.
Note
When developing custom integrations, it is important to correctly interpret this configuration in your code.
General settings
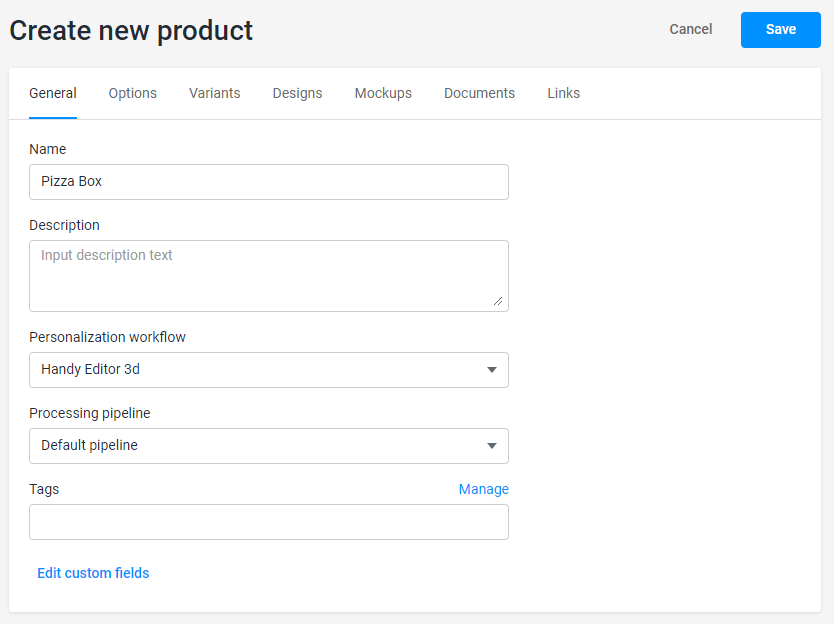
First, navigate to Products and click Create new. When a new page opens, fill in the name and select a Personalization workflow and a Processing pipeline.
Options
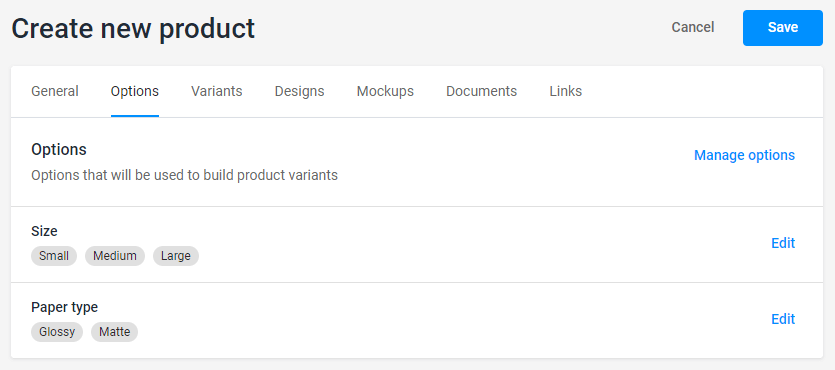
Click the Options tab and then click Manage options. Add the planned options with their values.
Product variants
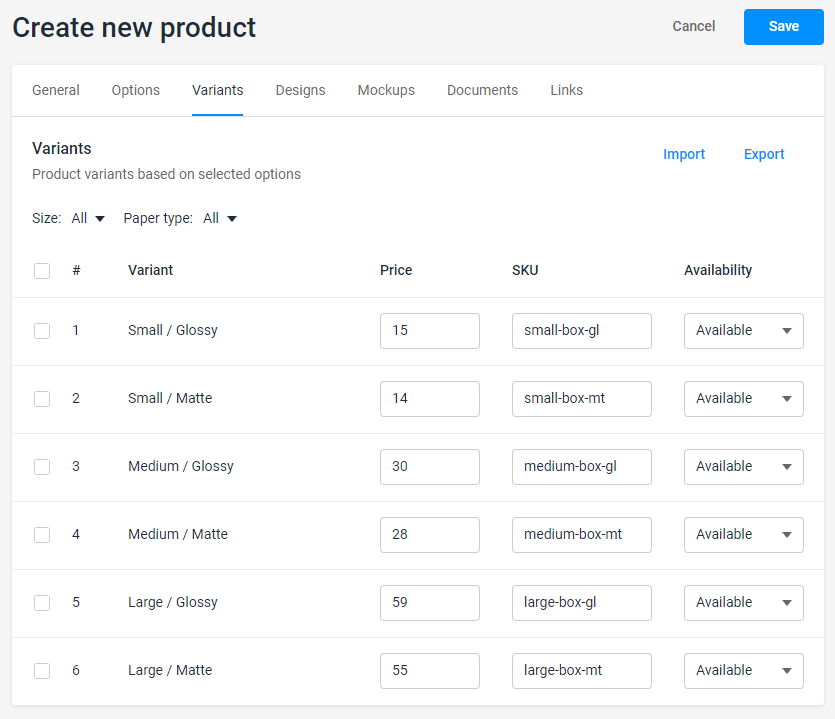
Click the Variants tab and define all the variants with prices.
Asset options
Click the Designs tab and select the options affecting the design.
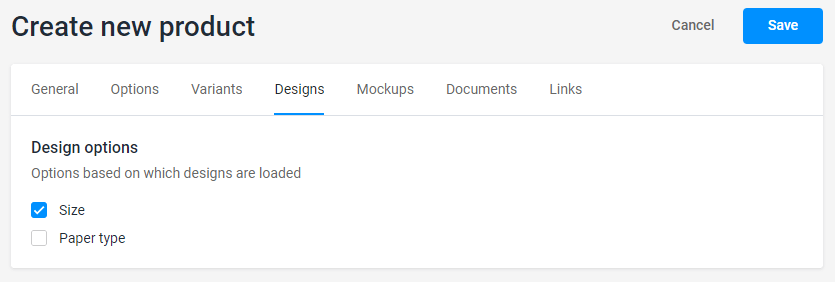
Do the same for the mockups and documents: click the Mockups tab and select the options affecting the mockup, click the Documents tab and select the options affecting the marking, and then click Save.
Asset connections
The product saved last will appear at the top of the product list. Click the ellipsis in its row and then select Asset connections. Click Add file on the Designs, Mockups, and Documents tabs to connect the files you have prepared.
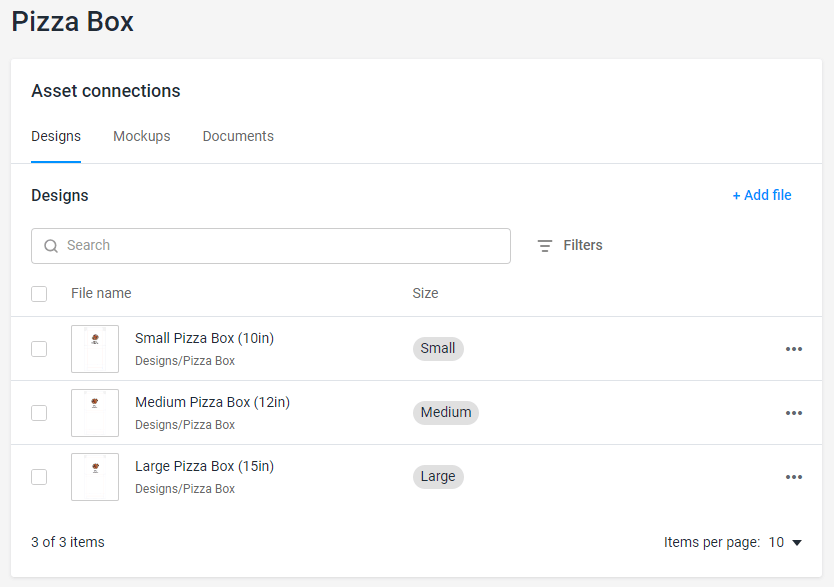
To connect a single asset to an option value, click ellipsis in a row, click Edit, and select a value in the drop-down list.
Product links
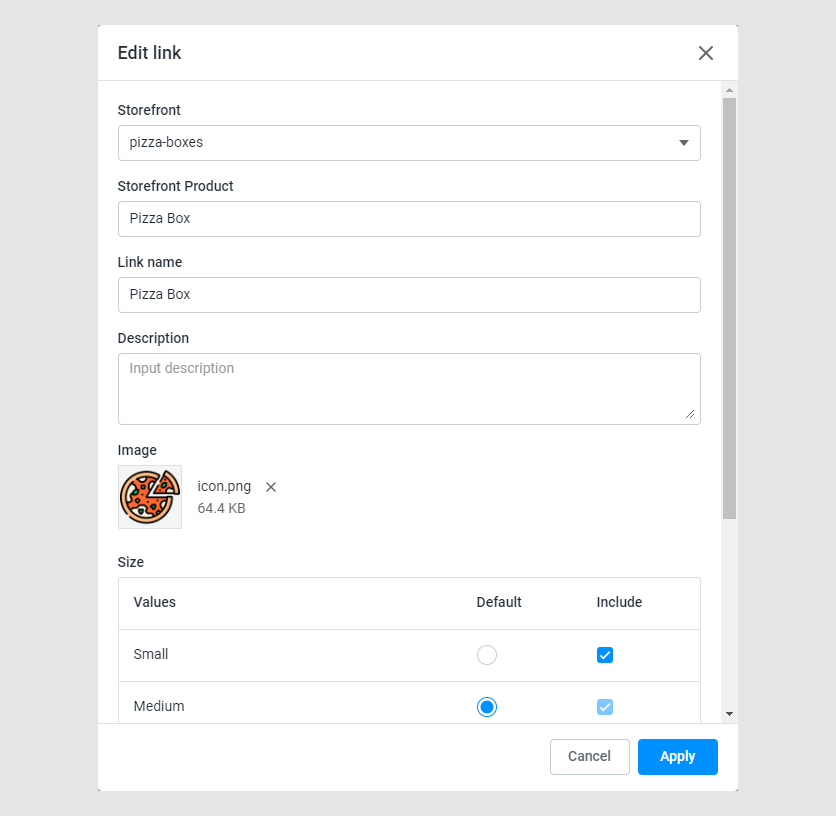
Navigate back to product editing, click the Links tab and click Add link.
In the Storefront list, select your integration. Click Storefront product to display a list of available products in the storefront and select one.
Finally, publish your product in your e-commerce system.