Images
- Last updated on March 26, 2024
- •
- 3 minutes to read
In this article, you will learn how you can create InDesign image elements and how to import them into Customer's Canvas.
Designs with images
You can import your IDML file with images to Customer's Canvas in two ways:
Upload linked images to the Images section and then import your design.
Embed images in your design and import it to Customer's Canvas.
Read more about importing images in the Preparing files for importing section.
Quality
When you work with images in Customer's Canvas, pay attention to the DPI of your images. If your image has a low DPI, you will see a warning. The default DPI is 300.
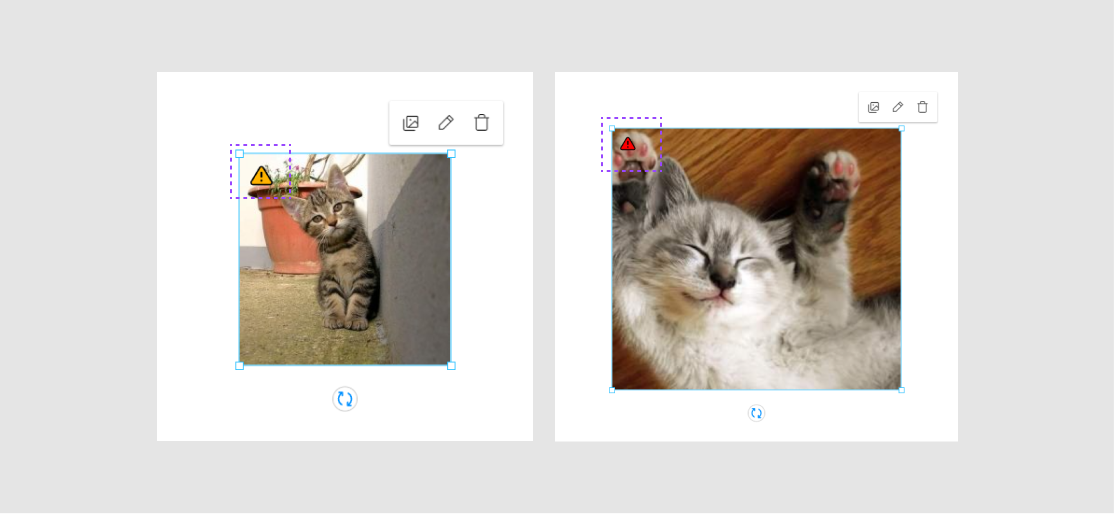
You can set the required DPI value manually in your Workflows when defining the Design editor widget in your configuration file. To learn more, read the Validating the Image Resolution article.
Image settings
Customer's Canvas allows you to add effects and manage image permissions in an IDML file in two ways:
If you have an IDML file with both embedded and linked images, you can apply effects and manage permissions with markers. You need to add a marker in the object name.
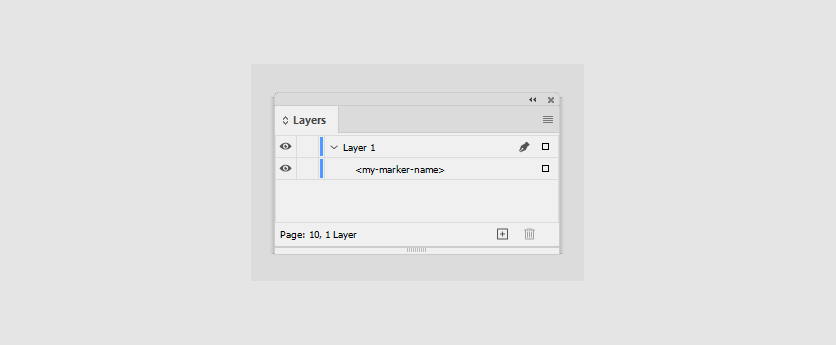
You can read more about the image markers in the Reference.
You can import an IDML file without markers but define these settings in the Template Editor as described in the How to create designs section.
In the following paragraphs, you can read about setting up images with markers.
Selecting an image
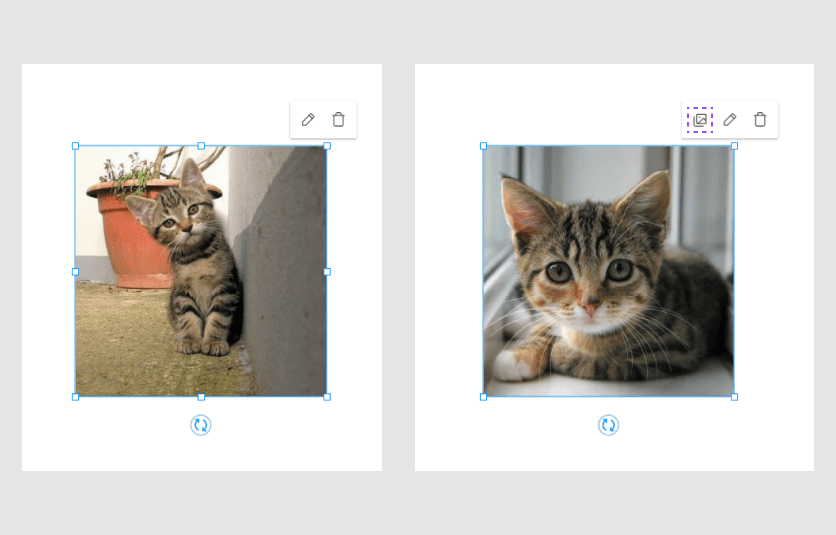
By default, your customers can change an image in the Design Editor. However, you can forbid selecting images with a layer marker or in the Template Editor.
Marker
The <IACI_f> marker forbids changing the image created in the design.
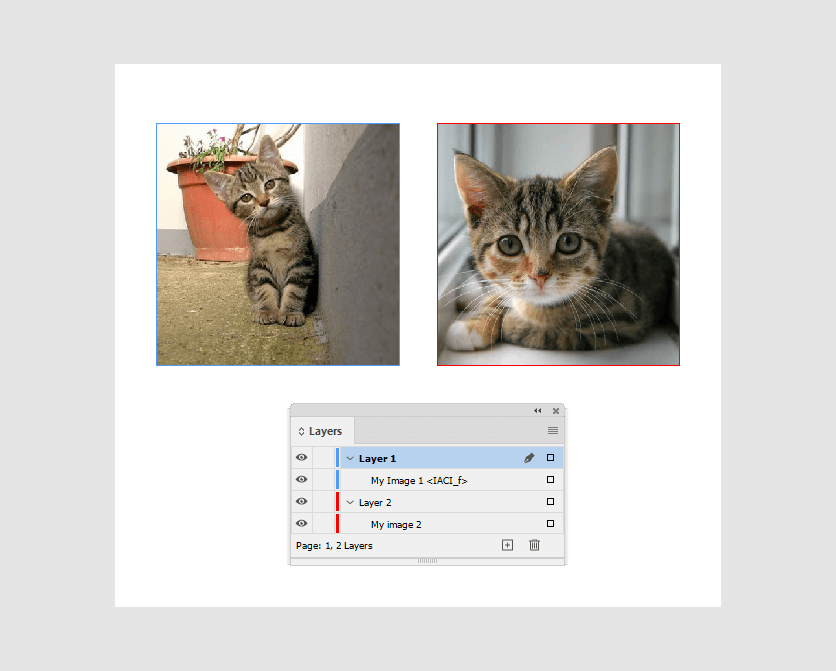
Result
In the Design Editor, the Change image button is absent.
Keeping overlay color
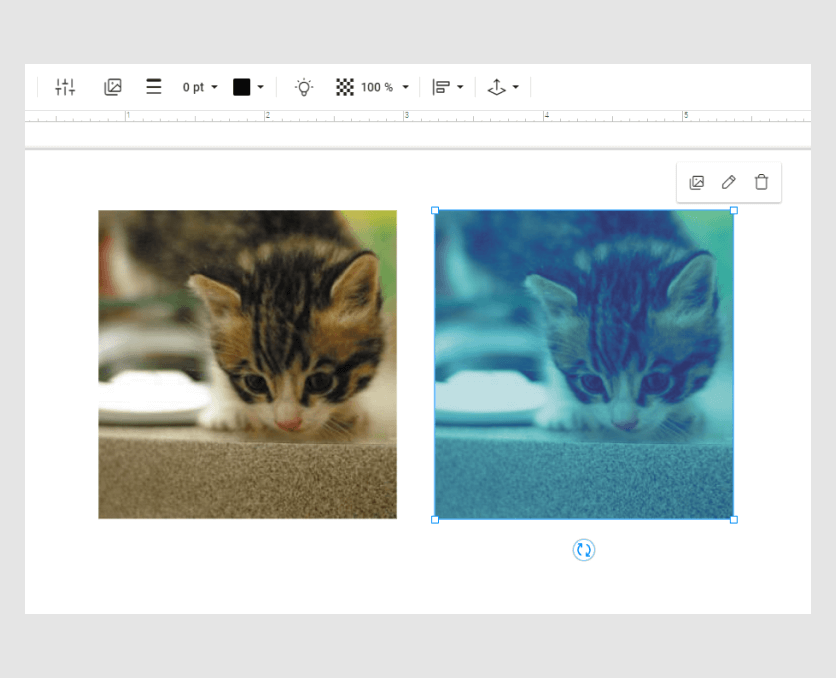
In the Design Editor, you can add an overlay color to your images with the Color Overlay button. By default, the overlay color disappears when you upload a new image. You can keep an overlay color for a new image with a layer marker or in the Template Editor.
Marker
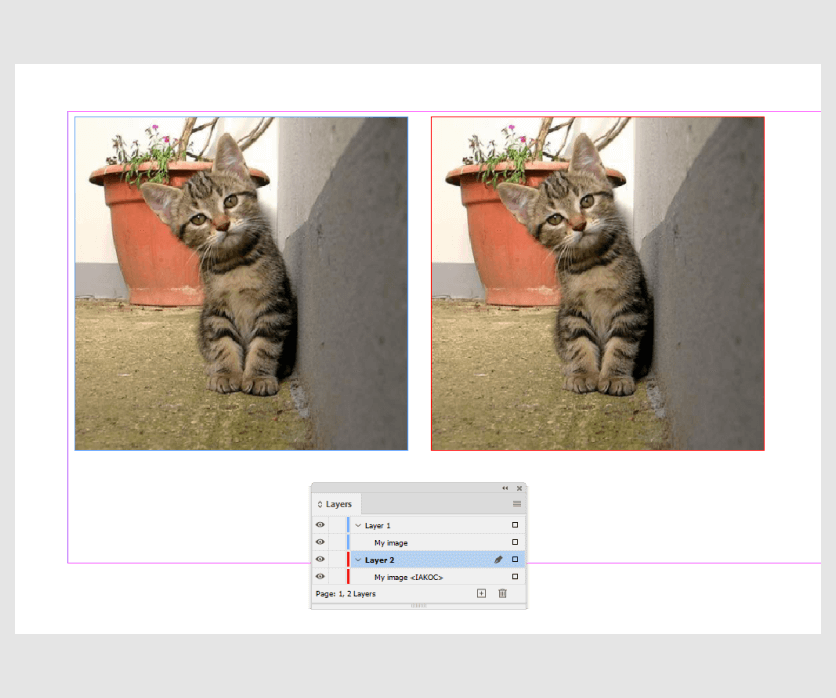
The <IAKOC> marker keeps the overlay color if you upload a new image.
Result
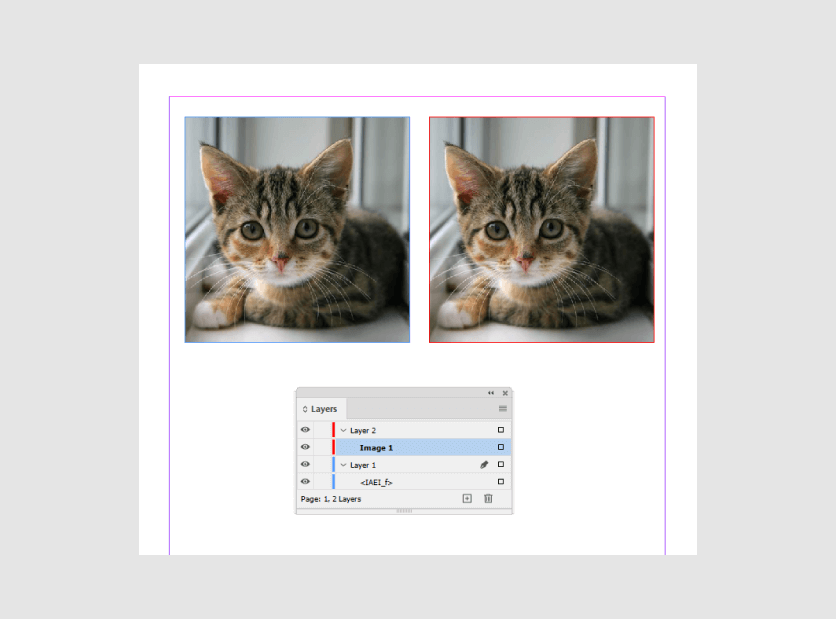
Let's add an overlay color to both images by the Color overlay button in the Design Editor.
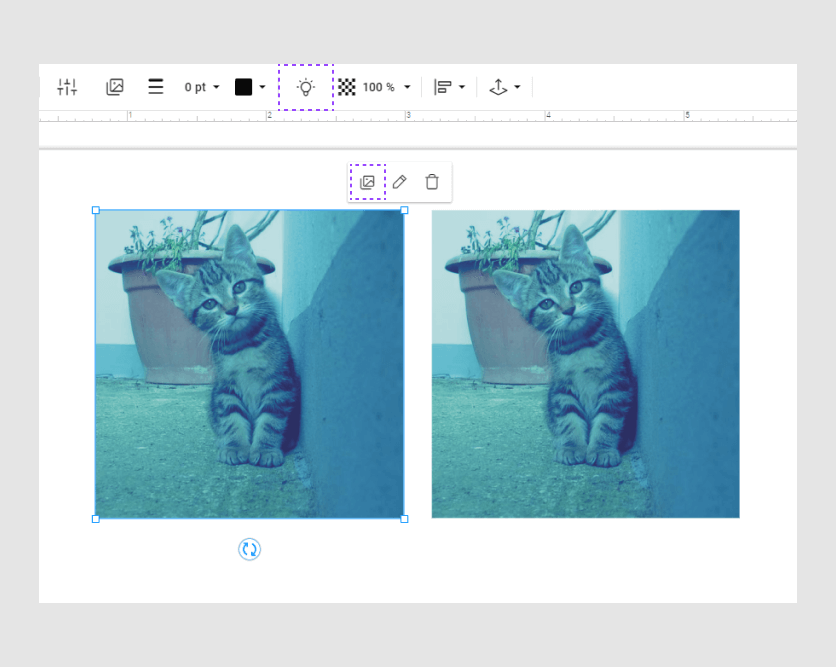
Now, let's upload new images. The <IAKOC> marker keeps the defined color overlay, and the image without the marker resets the color overlay.
Editing images
In the Design Editor, your customers can edit images. You can hide the Image Editor button, which opens the Image Editor, from menus and toolbars to forbid customers to edit images.
Marker
To hide this button, add the <IAEI> to the image in your IDML file.
Result
In the Design Editor, the Image Editor button will be absent.
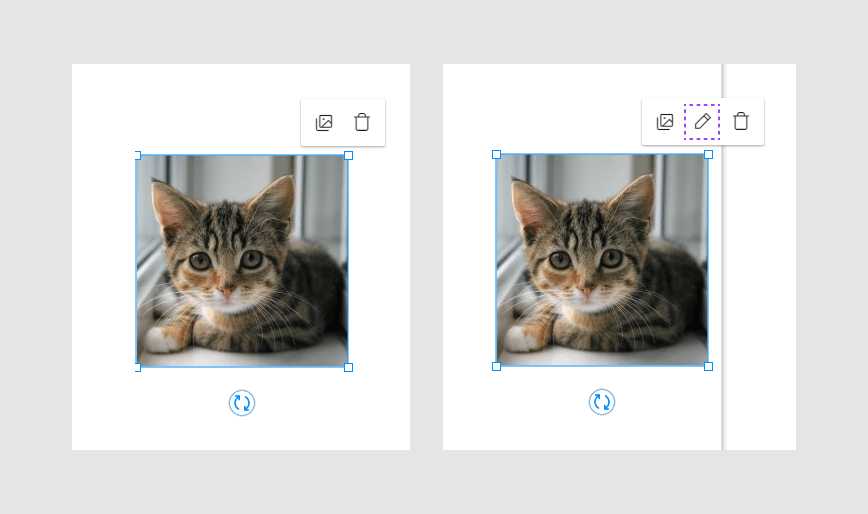
Image effects
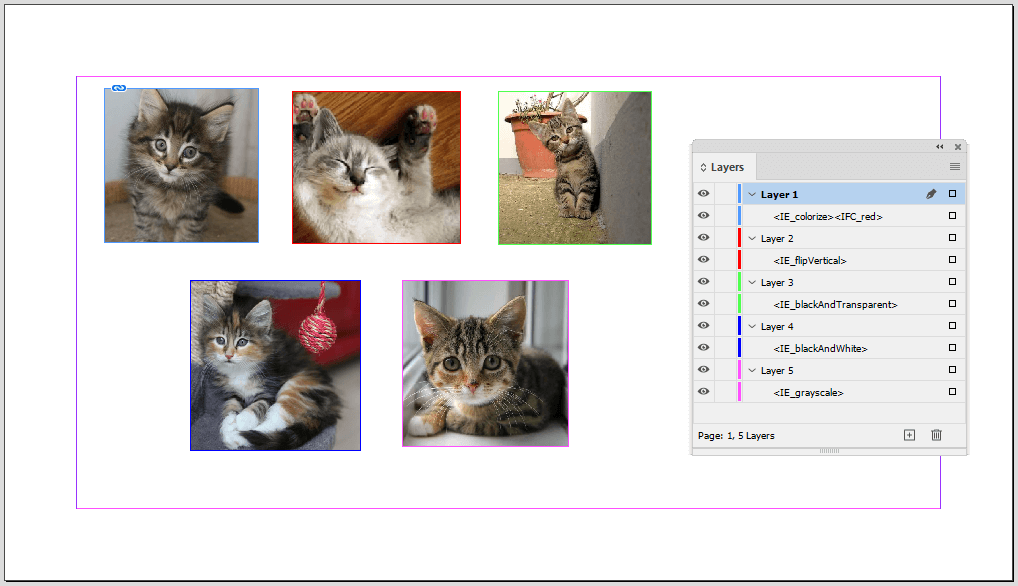
Customer's Canvas allows you to apply the following image effects to your image: black and white, black and transparent, grayscale, flip images around axis, fill color. You can apply them with the <IE> marker in your IDML file, or in the Template Editor.
Markers
You can apply image effects to your image with the <IE> marker.
Let's consider these effects.
| Effect | Marker | Description |
|---|---|---|
| none | - | No effects apply |
| Black and white | <IE_blackAndWhite> |
Converts images to monochrome ones. |
| Black and transparent | <IE_blackAndTransparent> |
Converts images to monochrome, but a black pixel has the opacity 0%, and the white one has the opacity 100% |
| Grayscale | <IE_grayscale> |
Converts images to grayscale. |
| Flip images around axis | <IE_flipVertical> and <IE_flipHorizontal> |
Flips images around the vertical or horizontal axis. |
| Fill color | <IE_colorize><IFC_red>. You can apply CMYK or RGB colors. |
First converts the image to grayscale and then applies a fill color to this image. |
Result
This is how these images with the applied effects will look in the Design Editor.
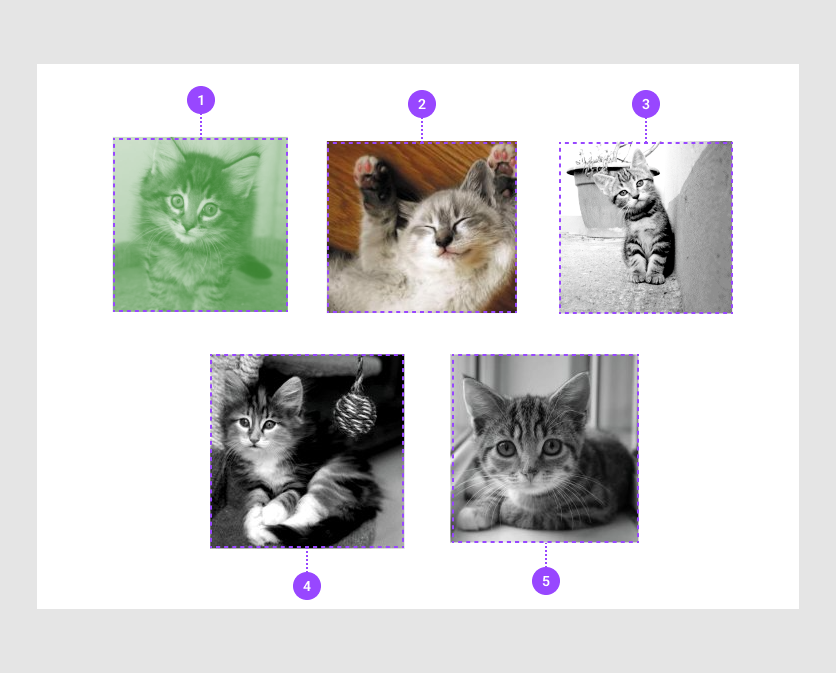
- Colorized in
green - Flip horizontally
- Black and transparent
- Black and white
- Grayscale
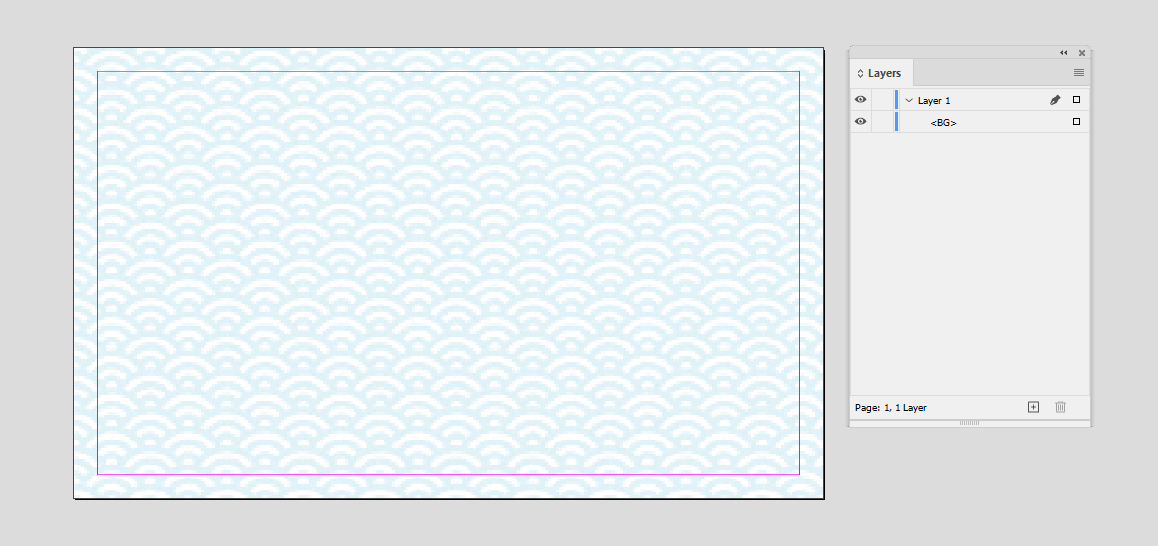
Background
You can represent an image or a shape as a background. In the Design Editor, this layer will be Background.
Customers may upload a new background image or set a background color.
To create such a background in the IDML file, add the <BG> marker to the element.