Cards with different trim styles
- Last updated on December 29, 2023
- •
- 4 minutes to read
In this tutorial, you will learn how to create editor mockups for cards with different trim styles. In our example, we have a business card with rounded corners. We will also cover a scenario when you need to visualize a paper texture.
Prerequisites
This tutorial assumes that you have Adobe Photoshop.
Although not required, you may want to read the How to create editor mockups article for a better understanding of the process.
What is different with the garment example?
In the Garment editor mockup tutorial, we have used a photo of a real product and calculated its physical size. When it comes to the trim styles, instead of using a photo, we are using Photoshop to create an image from scratch. To do it successfully, we need to know the print file specifications.
Let's imagine that our business card has a standard 3.5x2-inch size with a 1/8-inch bleed zone (9 points). We would like to visualize rounded corners with a 1/16-inch radius (4.5 points).
Step 1. Create a blank image
We need to create an image with the same size as the product, including a bleed zone.
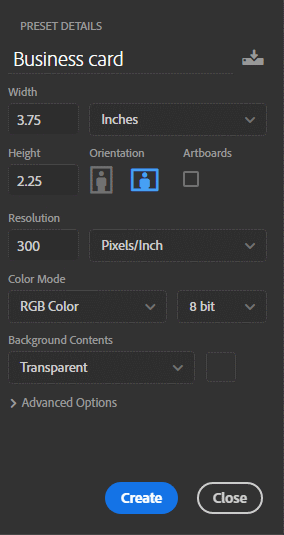
Go to File > New document and set:
- Width to 3.75 inches (3.5 + 0.125 left bleed zone margin + 0.125 right bleed zone margin)
- Height to 2.25 inches (2 + 0.125 top bleed zone margin + 0.125 bottom bleed zone margin)
- Resolution to 300
- Color mode to RGB color
- Background contents to Transparent
Note
You may use any resolution you want. However, if you are using a small resolution (for example, 72 DPI), the trim boundaries won't look crisp.
Create a new blank layer and fill it with a solid color using the Bucket tool. Use the same color as the background of the editor (typically white or gray).
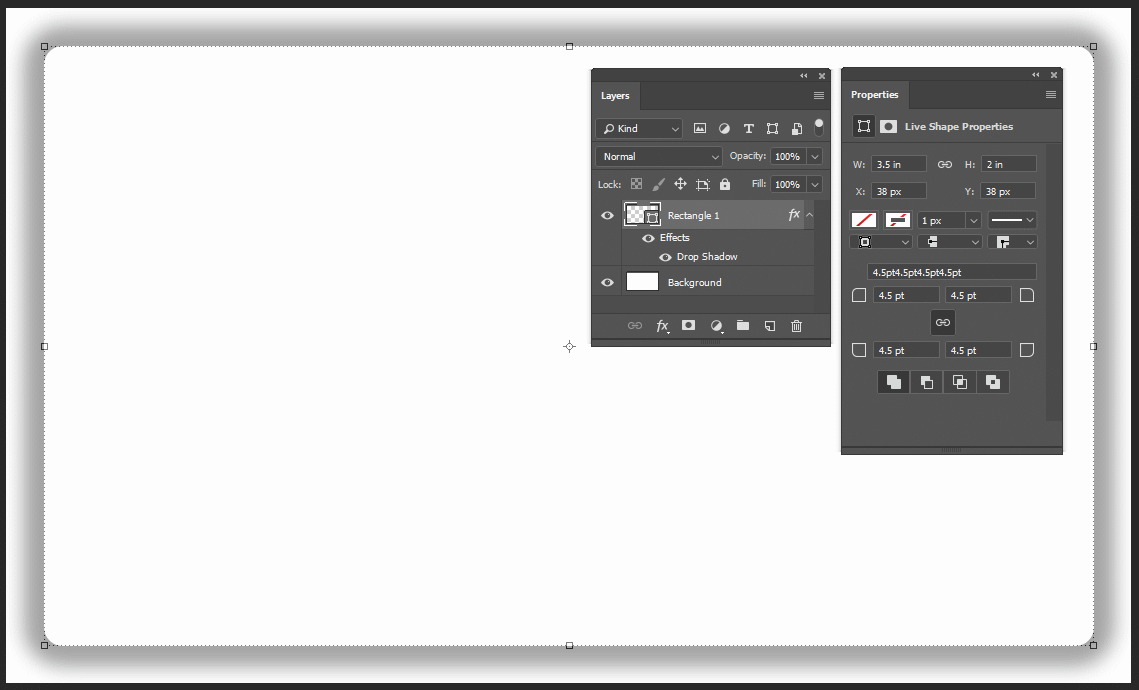
Step 2. Prepare trim shape
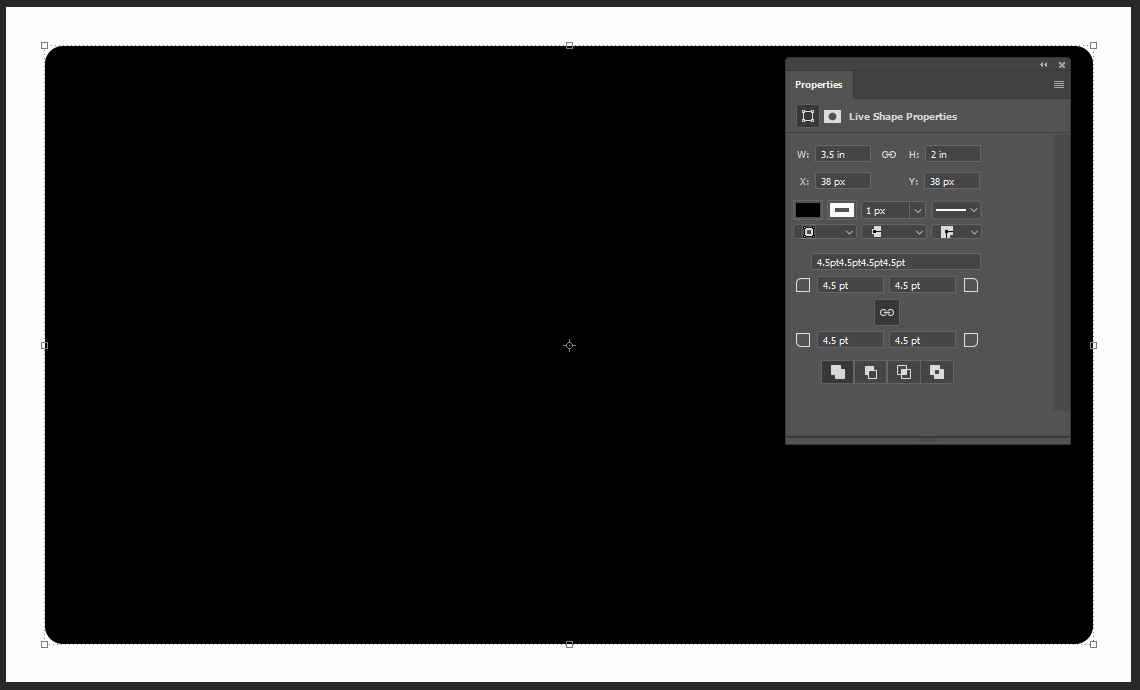
Use the Rectangle tool to create a new shape. Select the new rectangle in the Layers panel and open its properties (Windows > Properties).
Now we are going to set the exact size as a trimmed product should have, i.e., 3.5x2 inches.
- In the Properties, right-click the W box and choose Inch as a unit.
- In W, enter
3.5. - Choose Inch units for the H box as well.
- In H, enter
2.
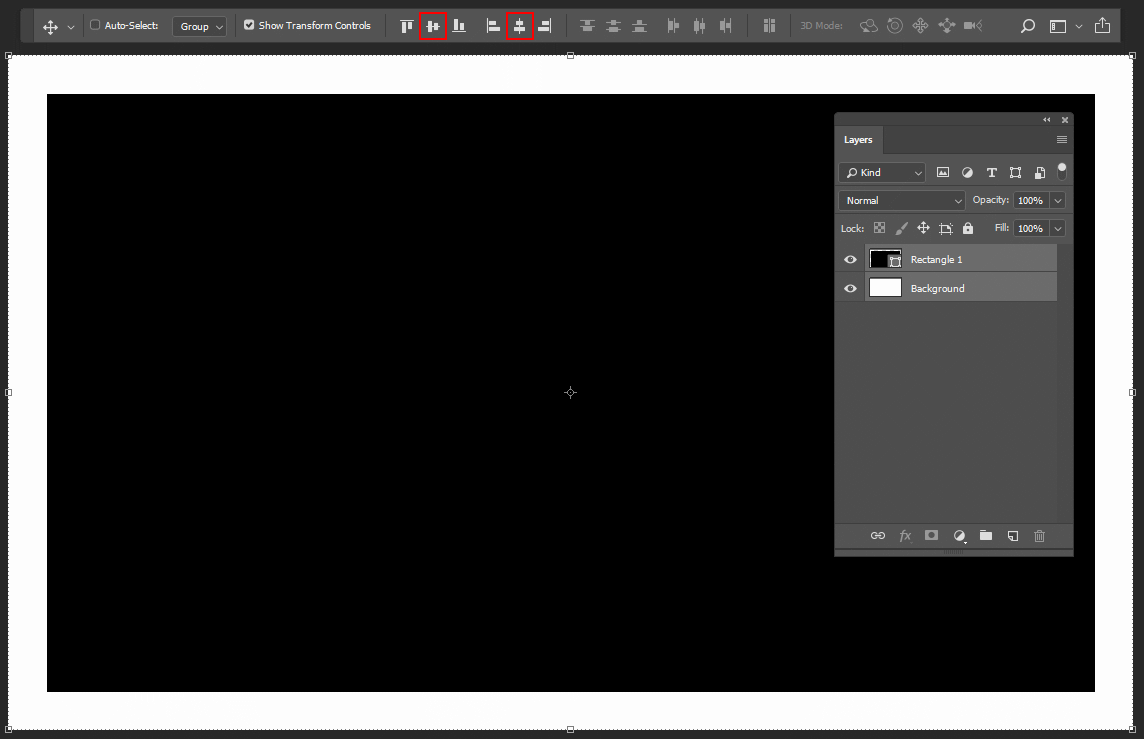
Now you need to align this rectangle to the center. To do it, select the rectangle and the image layer, and use the alignment toolbar to make it aligned vertically and horizontally by the center.
It is time to make the rectangle rounded. In the Properties > Appearance, set the radius of all four corners to 4.5 pt.
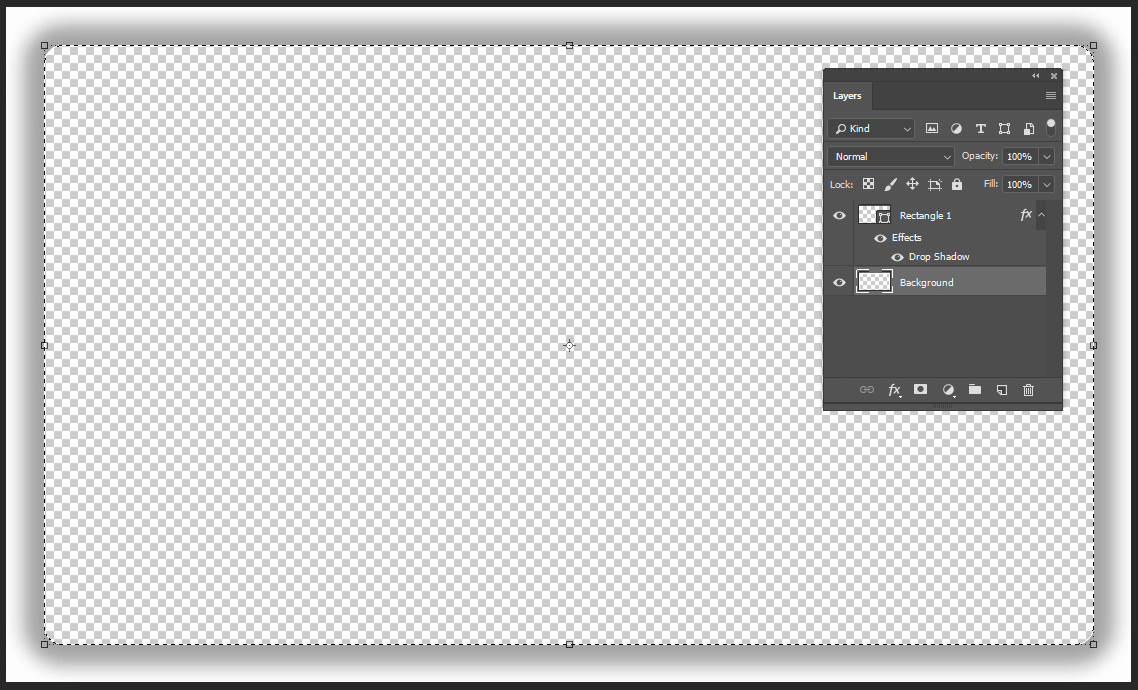
Step 3. Add transparency
After we set up a trim shape, we need to use it to cut it from the mockup. But before we do so, let's make an embellishment by adding a shape.
- Right-click the rectangle in the Layers panel and choose Blending Options.
- Add the Drop shadow effect and adjust its spread, size, distance, and other parameters as you like.
- Click OK.
- In the rectangle properties, clear the Fill and Stroke.
Now we are ready to cut the trim shape. Hold Ctrl and click the rectangle in the Layers panel (click its thumbnail, not the title!). It will display a selection of trim shapes. Select the background layer and press Del to make it transparent.
As a result, we will have the following image.
Step 4. Save the overlay image
Press Ctrl+Shift+S or use the File > Save As... menu. Choose PNG as the file type and select a location.
Once you save it, your up mockup is ready.
Design location
When you create an up mockup this way, the design location will always equal the bleed zone size. In our case, it is 9 points (1/8 inch) for both X and Y.
Paper texture as a down mockup
If you would like to visualize a paper texture, find an image of your texture, open it in Photoshop, and save it with the same width, height, and resolution as the overlay we have just created above. Here is an example of such a file.
Its design location is the same as for the up mockup - the size of the bleed zone.
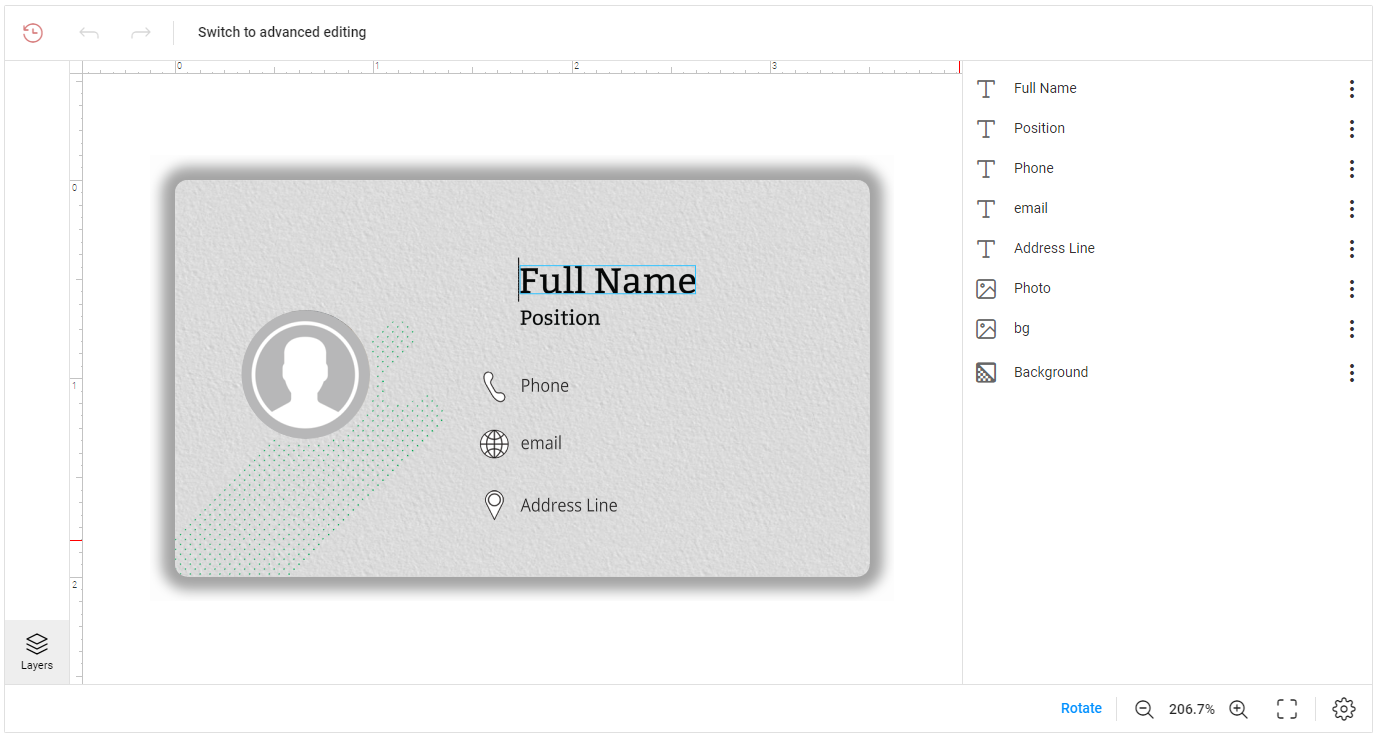
Result
Once you configure Design Editor to use these files as editor mockups, you will see something like this: