Layers
- Last updated on August 19, 2024
- •
- 3 minutes to read
A layer represents a container for design elements. Each page may contain one or more such containers. They help you organize items into sets that should be handled and manipulated separately. For example, the main layer usually includes design elements. A markup layer may contain die-lines and technical marks. A foreground container may contain some elements that visualize the magnetic strip of a plastic card.
The Template Editor displays layers in the Layers area. You can expand layers and see their nested elements.
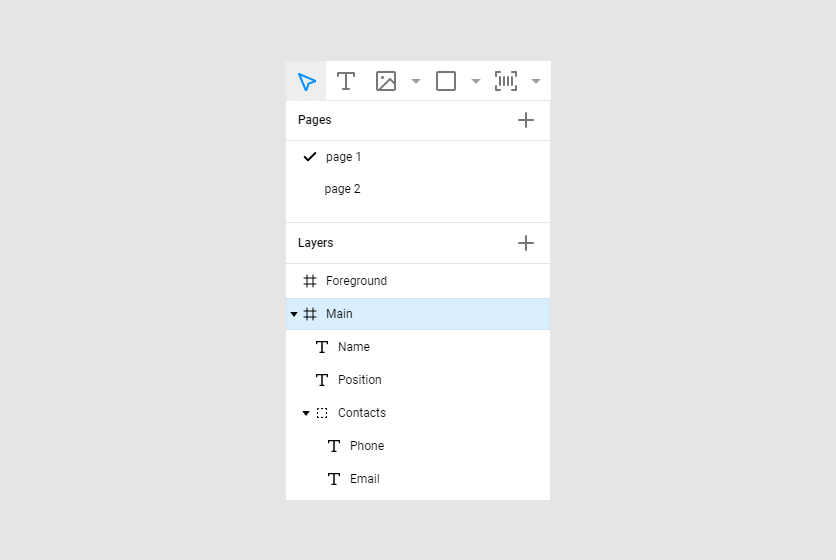
Layers (and design items inside them) are arranged in accordance with their z-order. The items in the topmost layer overlap elements from underlying layers.
Standard layers
In the Layers tree, you can usually see two default layers:
- The Foreground layer will be rendered at the top of the design. The Design Editor interprets them as the layer for the elements that should always overlap the design, which are not supposed to be edited by a user.
- The Main layer is the main container for design elements. Add all elements your users should modify to this layer.
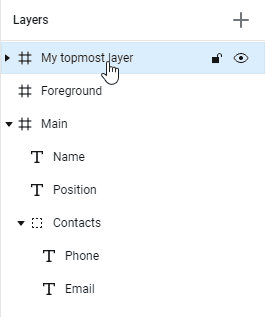
Adding new layers
To add more layers, click the plus (+) icon in the Layers area and then type in the layer name.

The new layer will appear at the top of the layers.
Changing a layer order
To change the z-order of a layer, just drag layers to a different position in the tree.
Note, the position of standard layers is fixed and cannot be changed. So you cannot move the Foreground layer under the Main layer. You may only drag custom layers.
Moving a layer to another page
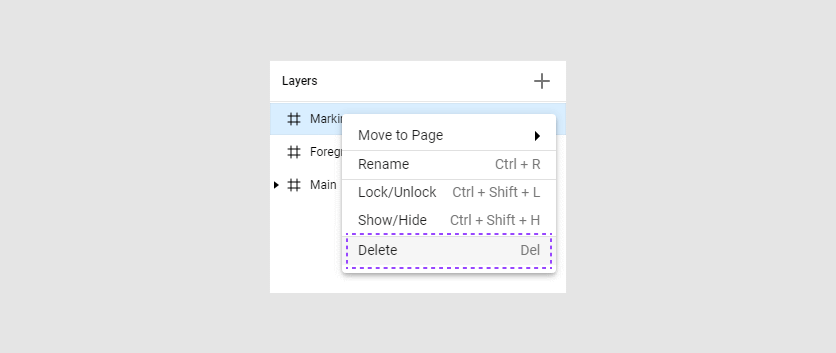
To move a layer to another page, right-click the layer, hover over Move to page, and select the required page.

You can move only custom layers you create yourself. Each page has its own standard layers, so you cannot move them. However, you may move its items - see the Manipulating items article for details.
Renaming a layer
To rename a layer, right-click the layer, click Rename, and then type in a new name. You can also double-click the layer or use Ctrl+R to rename the selected layer.
Standard layers cannot be renamed.
Deleting a layer
To delete a custom layer, right-click the layer, choose Delete. You can also use Del to delete the selected layer.
Standard layers cannot be deleted.
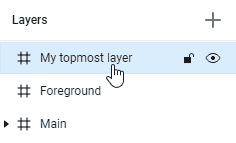
Hiding a layer
You can hide a specific layer in Template Editor. Unlike other operations, it is available both for the standard and custom layers.
![]()
For example, let's assume that you need to hide the Foreground layer to see all design elements overlapped by the items of the Foreground layer. Hover over the Foreground layer in the Layers tree and then click the eye icon.

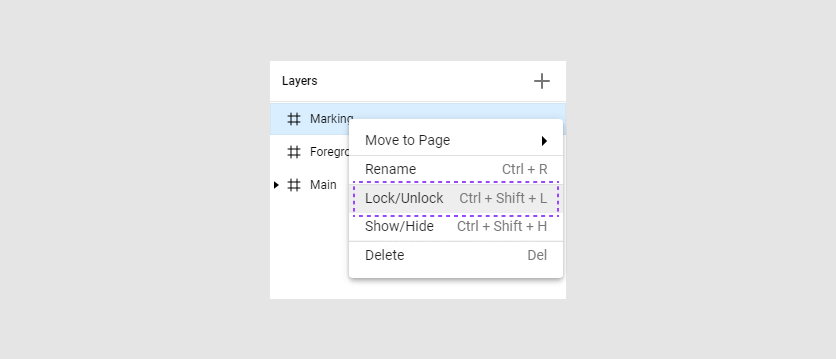
As an alternative, you can perform this using the context menu: right-click the layer name and then click Show/Hide.

You can also use Ctrl+Shift+H to hide the selected layer.
Note, it hides the layer only in the Template Editor. End-users will still see it. If you want to hide it for the end-users, use the Visible toggle in the right sidebar with the layer properties.
Locking a layer
You may lock an entire layer. It will work as if all its nested items are locked - a user cannot select and manipulate any items in a layer. You can lock both standard and custom layers.
![]()
To lock a layer, hover over it in the Layers tree and then click the lock icon. To unlock the layer, click this icon once more.

As an alternative, you can perform this using the context menu: right-click the layer name and then click Lock/Unlock. You can also use Ctrl+Shift+L to lock the selected layer.
Note, it locks a layer only in Template Editor. It will remain unlocked in the end-user's Design Editor. If you want to lock it for the end-users, use the Locked toggle in the right sidebar with the layer properties.
Now, let's go further and learn how to