Manipulating items
- 9-10 minutes to read
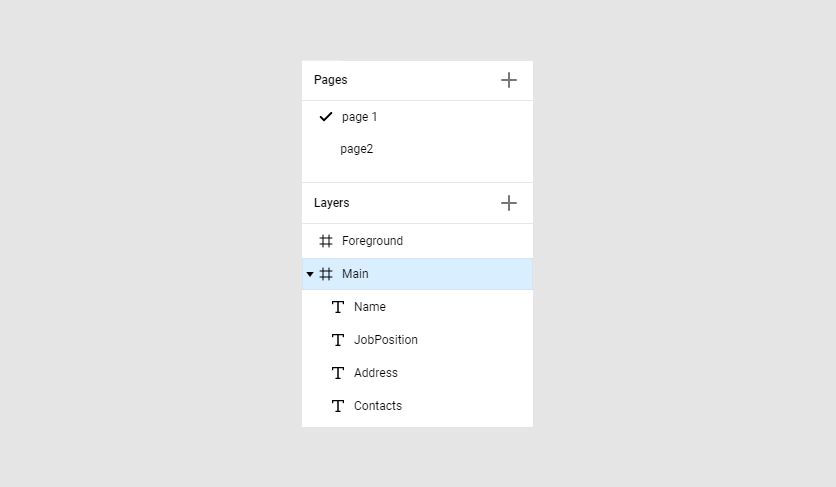
In the Template Editor, you can use both the context menu and the layer menu to manipulate design items. To access the available commands, right-click an item in the layer list or on the canvas. The menu may look as follows:

Now, let's look at how you can manipulate elements in more detail.
Select items
To manipulate design items, you first need to select them. You can do this by clicking the desired item in the workspace or in the Layers tree.
You can also select several elements at once. To do this, hold down the left mouse button on any space free of elements and stretch the frame to enclose those elements that you want to include in the selection. If an element enters the selection frame partially, it will not be selected.
You can select all the elements using the Ctrl+A hotkey.
By clicking another element, you will reset the current selection and select a new object. By clicking outside of any elements, you will completely reset the selection.
Note
You cannot select locked items. If you click on such an item, it will be considered as a click outside the items.
If you already have a selection and you want to add a new object to it, press the Ctrl or Shift key and click on the object. After that, this object will be added to the selection. In the same way, you can remove an element from the selection: hold down Ctrl or Shift and click on this element.
Move items between pages or layers
If you need to move an item to another page, you can use the Move to page command in the context menu. When you hover over this command, a list of available pages will appear. If there is only one page in your design, this list will be empty.
In the same way, you can move items between the layers of the current page: hover over Move to layer and select a layer. You can also drag and drop layers inside the Layers tree.

An alternative way to transfer items is to use the clipboard as described below.
Copy and paste items
You can select any item and either copy it to the clipboard or cut it (i.e. copy it to the clipboard and immediately delete it from the canvas). To do this, you can click the Copy or Cut command in the context menu or press the Ctrl+C or Ctrl+X hotkeys, respectively.
To paste the item from the clipboard, you can right-click the position on the canvas where you want to paste the item and then click the Paste command in the context menu. You can also use the Ctrl+V hotkey. In the latter case, the insertion will be made at the same place where the element was located.
If you only want to create a copy of the object, instead of copying and pasting, you can use the Duplicate command or the Ctrl+D hotkey. As a result, a copy of the element will appear in the same layer with an offset relative to the selected object.
Note
On a Mac, the keyboard shortcuts are different. For example, to reproduce the above combinations, the Command key is used instead of Ctrl. For details, see hotkeys.
The element is duplicated identical to the original except for the name. Since the name already exists, the suffix _1 will be added to it, and if an element with this name also exists, then this digit will increase.
You can paste the copied item into other layers or other pages. Moreover, if you open another design in the next browser tab, you can even transfer items between designs!
Warning
Copying and pasting is possible only in the same browser on the same computer. Using the incognito mode of the browser may make the clipboard unavailable.
Delete items
To delete an item, select it in the workspace and either press the Del button or click the Delete command in the context menu. You can also delete an item in the Layers tree.
Rename items
Each item has a name, which is displayed in the Layers tree.
To change an item name, either double-click it in the tree or click the Rename command in the context menu.
When you create a new item, a name is assigned according to the item type. We recommend giving the layers meaningful names. It is especially important for elements that will be filled in by the user. If your solution implements scripts with automatic design filling or VDP, these names are most likely the subject of naming conventions.
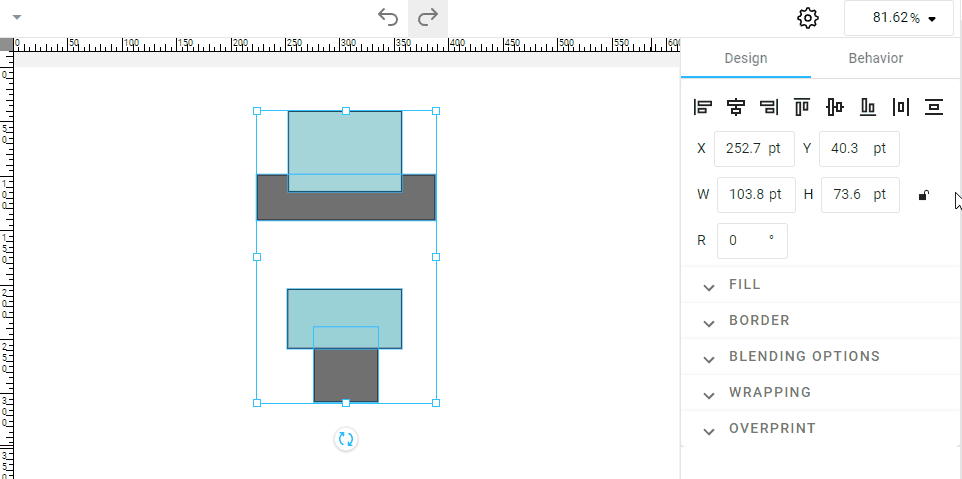
Group items
When you select several items, you can group them. After this operation, you will be able to manipulate the group as a single element: move, resize, rotate, or delete. This element appears in the tree with its own name, and the selected elements become nested in this node.
To create a group, select several items, right-click the selection, and click Group (or the Ctrl+G hotkey). You can add more elements to a group. You can also include other groups.

After you have created a group, the position of the elements in the group is fixed relative to each other. However, sometimes you may want to move a single item in a group. To perform this, select the group and then click its nested item. After that, you will be able to move this item separately. Note that the alignment buttons will align this item relative to the group bounds, and not the entire design.
If you work with nested groups and need to get an item inside one of these groups, click the group element on the canvas as many times as you need to go through the levels.
To split the group back into separate objects, right-click the group and select Ungroup. Note that after ungrouping, the objects remain selected, and you will still manipulate them together until you reset the selection.
Flatten selection
Sometimes you may need to convert several elements (a selection or group element) to a single image, similar to Photoshop's Flatten Image or Rasterize Layer command. It can be used to optimize the design size. Also, it is convenient when you create the stub images for a placeholder inside the editor.
To do so, select an element or several elements, right-click them, and choose the Flatten selection command (or the Ctrl+F hotkey). The selection will be converted to a single image item that will have the name Image.
The Template Editor tries to maintain the vector information whenever possible. For example, when flattening the text or shapes, the result will be the same as if you add them to Illustrator and export it as a PDF file.
If a selection includes a placeholder, the resulting image will include its content. However, if a placeholder is empty, it won't be rendered on the resulting image, even if there is a stub image. In other words, it works in the same way as when a design is rendered to a print file.
The same is true for other types of items supporting empty content, such as text placeholders or barcodes.
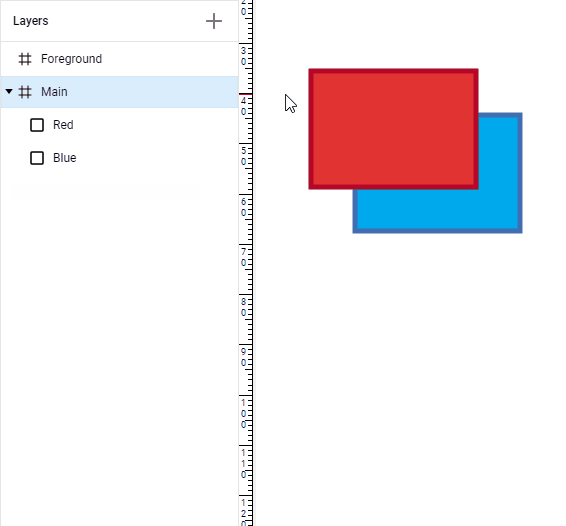
Z-index
The elements appear on the screen in the same order as they are displayed in the Layers tree. If several elements are in the same place, the lower elements overlap the upper ones. All elements of the upper group overlap all elements of the lower one. This order of elements is called the Z-index.
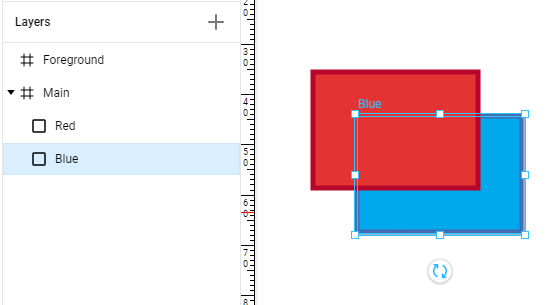
If you need to arrange the elements by z-index, you can just drag them in the tree.
You can also use the Arrange section in the context menu:
- Bring to front - moves the element to the top of its layer.
- Bring forward - moves the element one position up.
- Send backward - moves the element one position down.
- Send to back - moves the element to the bottom of its layer.
Note that the arrangement takes place within a layer. That is, if you have elements in the Foreground layer, you will not be able to move them lower than any of the elements of the Main layer until you explicitly move this element to Main or swap the layers.
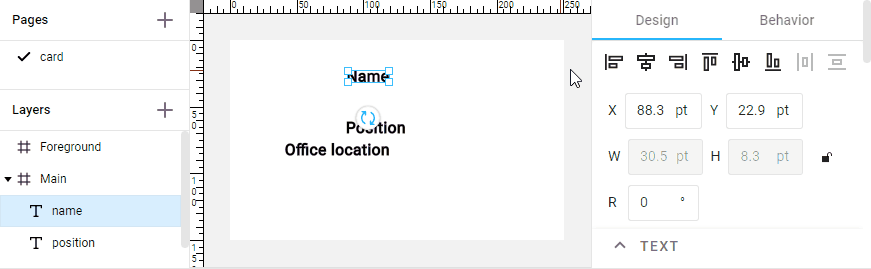
Align items
You can use the Align section in the context menu or the corresponding buttons on the Design tab to align elements relative to the edges and the center, both vertically and horizontally.
Alignment depends on the selection:
- If you select a single object, it will be aligned relative to the page.
- If you select several objects, alignment is performed relative to the selection bounds. For example, Align left will shift all elements horizontally so that the left edges of all elements will be on the line of the leftmost element.
- If you select a single object in a group, then alignment occurs along with the bounds of this group.
Distribute items inside a selection
When you select three or more design elements on the canvas, the interval distribution buttons become available on the Design tab and in the Align section of the context menu. These buttons (as well as the Alt + Shift + V and Alt + Shift + H hotkeys) allow you to redistribute and make the spacing equal vertically and horizontally within the selected area:
- Vertical distribution
- Horizontal distribution
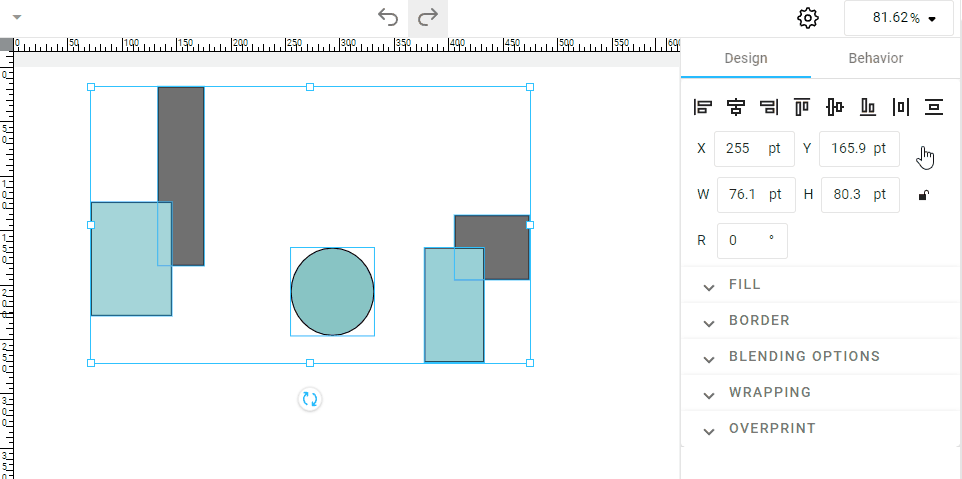
If less than three elements are selected, then these buttons are disabled.
Lock items
When you are working in the editor, you may need to lock some items so that you don't accidentally move or delete them. There are several ways how you can implement this:
- In the context menu, select the required item and click Lock (or press the
Ctrl+Shift+Lhotkey). - In the Layers tree, hover over the item and click the lock icon.
After that, you will not be able to select this element, and no operations will be performed until you unlock it.
To unlock it, you can use Unlock in the context menu, or click the lock icon again.
You can lock not only single elements but also the entire layer.
Warning
This lock only works in the Template Editor. The end-user will be able to fully work with this element when personalizing their design. If you want to prevent users from editing the element, turn on the Locked permission on the Behavior tab as described in the instructions for locking in the end user's Design Editor.
Item visibility
Another similar task is hiding items, usually temporarily. If an element is invisible, you can only select it through the Layers tree. You can perform all operations to such an element, although you will not see the results on the screen.
There are two ways to make an item invisible:
- In the context menu, click Show/Hide (or press the
Ctrl+Shift+Hhotkey). - In the Layers tree, hover over the item and click the eye icon.
Similarly, you can make the items visible.

You can change the visibility not only for single items but also for the entire layer.
Warning
This visibility only works in the Template Editor. In the end-user's editor, all elements hidden this way will be visible. If you want to change their visibility there as well, use the Visible property on the Behavior tab as described in the instructions for changing visibility in the end user's editor.
Now, let's go further and learn how you can transform and move items in the Template Editor.