Visibility
- Last updated on August 1, 2024
- •
- 1 minute to read
There are some scenarios when you may want to hide elements on a design. For example, you may want to hide some elements temporarily or display them only under certain conditions. Also, you may want to make elements visible only on a print file and invisible in the editor, or vice versa. Let's see how to configure this behavior in the Template Editor.
Hide elements
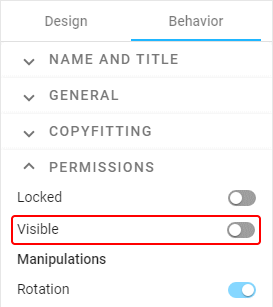
You can hide elements in both the editor and print files as follows:
- Select one or more elements.
- Switch to the Behavior tab.
- In the General section, select Hide in the Visibility drop-down list.
Note, the element is still visible in the Template Editor, but if you open it in an end-user's editor, it will be hidden. You can check it as explained in the Testing a design article.
If you would like to hide an element in the Template Editor as well, refer to the Manipulating items article.
Hide at an editor
You may want to hide an element in the editor but display it in a print file. For example, it may be cutting lines, registration marks, or some other sort of technical markup.
- Select one or more elements.
- Switch to the Behavior tab.
- In the General section, select Hide in editor in the Visibility drop-down list.
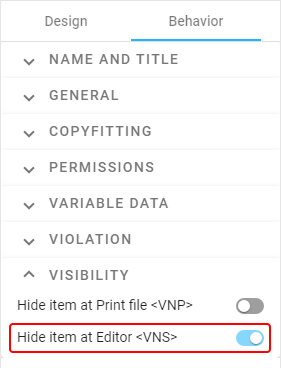
This property affects only the end-user's Design Editor, but the element is still visible in the Template Editor.
Hide at a print file
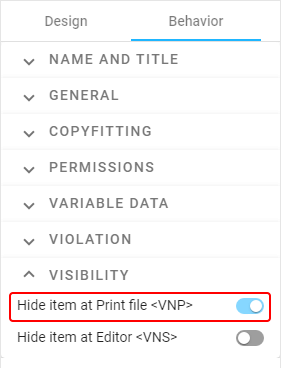
If you want the user to see an element in the editor but prevent it from being rendered to a print file, follow these instructions:
- Select one or more elements.
- Switch to the Behavior tab.
- In the General section, select Hide in print file in the Visibility drop-down list.
When would you want to do this? For example, when you are creating a design of a plastic card and would like to show the user where a magnetic strip will be added. You can also display the fastening holes on signs. An alternative way to achieve this is to use mockups.
Now let's learn how you can control how a user may manipulate items in the editor.