Working with projects
- Last updated on February 7, 2025
- •
- 3 minutes to read
In this article, you will learn what operations you can perform on your projects in Customer's Canvas.
Browsing projects
As described in the previous article, a new project automatically appears in the Customer's Canvas application after the order is submitted in your e-commerce platform. Once it appears, you can start working with projects.
Sign in to your Customer's Canvas account and click the Projects tab. You will see a list of projects. If you would like to narrow down this list, you can filter it by date or status. For example, to display only new projects, click the Status drop-down list and select New. You can also sort the projects by clicking the column headers.

To remove the filters, click Reset.
Searching for projects
If you know the order number associated with the necessary project or the project ID, then you can use a search box to find the project. Another way to select the project you need is using the customer name.

Opening a project page
To open the Project page displaying the details, click the desired project in the list.
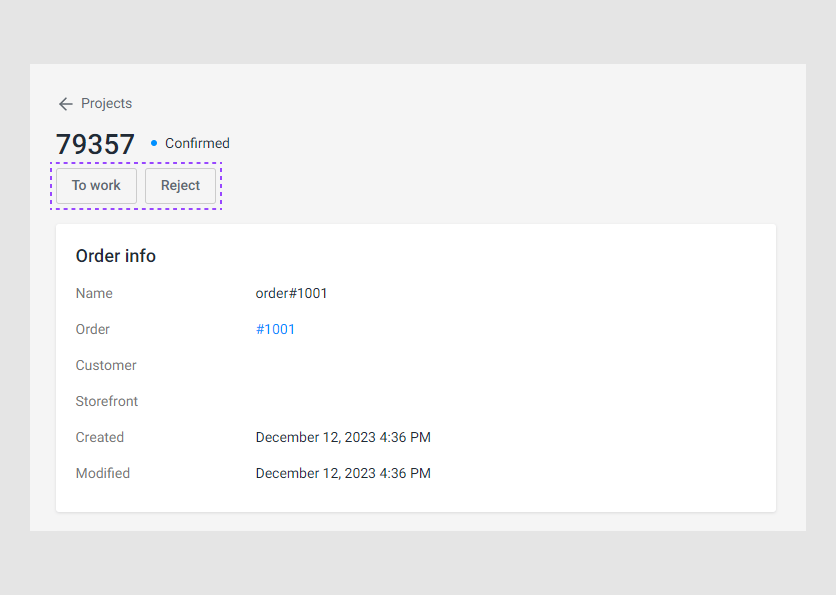
Then, if you click the order number on the project page, you will be redirected to the Orders section in your e-commerce platform. This way, you can verify that the project matches the order.
There are three tabs on the project page:
- General
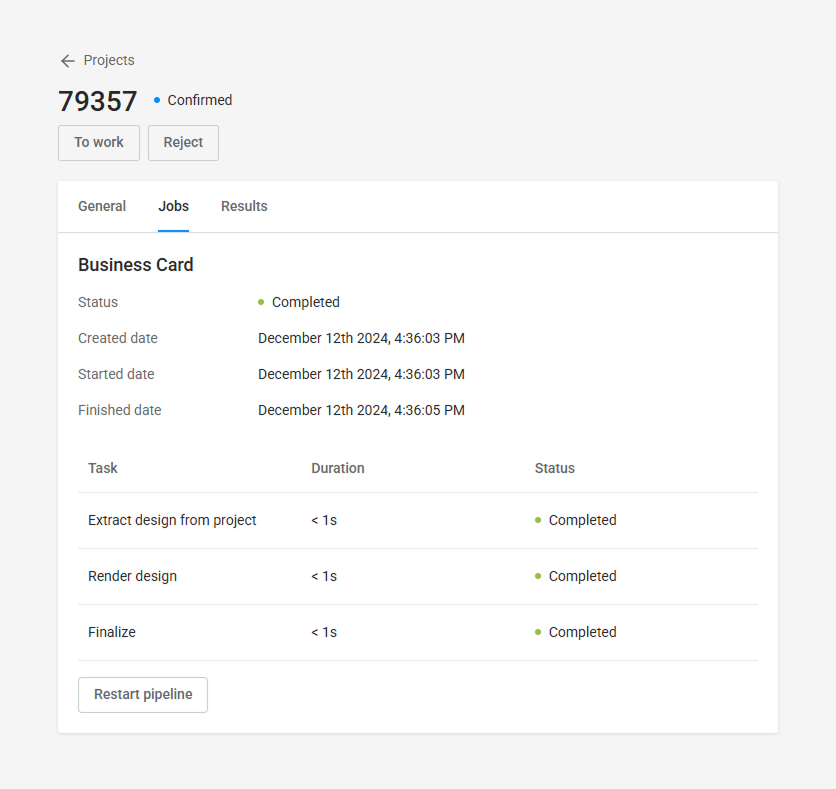
- Jobs
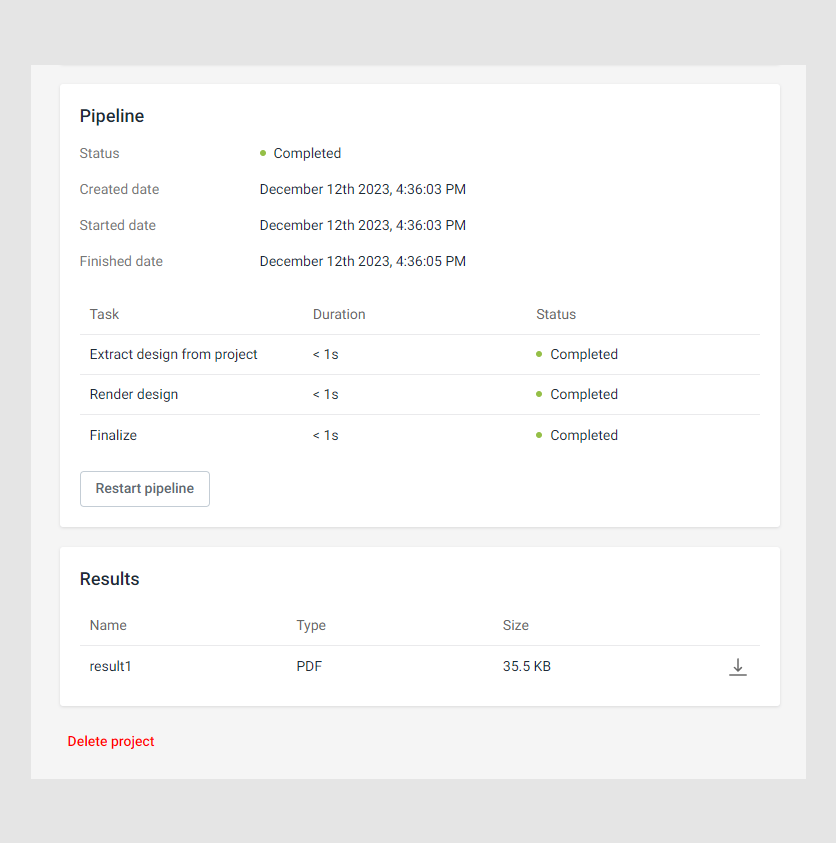
- Results
On the General tab, the Order info contains information about the customer, e-commerce platform being used, the creation date, and the modification date. The Item section includes the essential data you will need to fulfill the project. First, you will see a personalized design that you can open in the Design Editor. Next, you can find the quantity of items.

The Jobs tab contains pipeline details describing how an order from e-commerce system or your custom storefront was processed. You can read more about pipelines in the Order processing pipelines section.

From the Results tab, you can download hi-res print files.

Fixing mistakes in user's designs
Before you start fulfilling the order, we recommend you ensure that the data is correct by checking the resulting PDF file. If you find out that the customer has made a mistake like a misprint or another obvious error, then you can easily fix it without disturbing the client. Just click Open in editor, correct the errors, and save the changes. Then you can download the PDF file again to make sure the changes are applied.
Note
If you are operating in the Queued rendering mode and need to fix the design after the job is finished, you should restart it, otherwise, the changes will not be applied.
If the personalization workflow does not involve the creation of a design file, such as during a preflight check, then there will be no Open in editor button, and the only available option is to Download the print file.
Changing the project status
As a store admin, you will need to change the project status in several cases. For example, when you have checked the design file and made sure that everything is correct, the project can be sent to print. To do so, just click the To Work button, and the project status will change to Active.
If you are unable to fulfill the order for some reason and want to refuse it, click the Reject button, and the project status will switch to Rejected.

Downloading a print file
There are two ways how you may receive a print file - on-demand rendering and queued rendering. When you work in the On demand rendering mode, on the Results tab, you will see the Download button near the link to the resulting PDF file. If your workflow includes further manipulations with the print file, then you may use the Queued rendering mode. In this case, to download the proper print file, you may need to refer to the Job interface.
You can learn about it in more detail in the Downloading print files article.