Managing files
- Last updated on June 24, 2024
- •
- 1 minute to read
To set up a tool for product personalization, you need to create a workflow, which is described in a workflow file in the JSON format.
In the Workflow editor topic, you have already learned a workflow editor. In this article, you'll learn how to create and manipulate workflow files in Customer's Canvas.
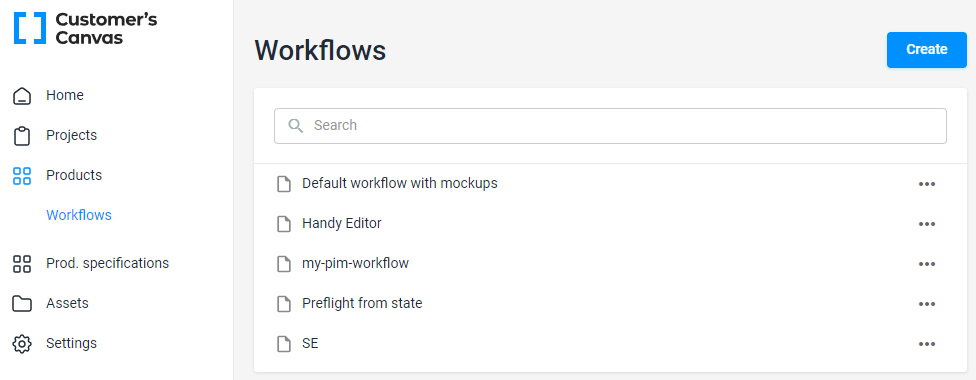
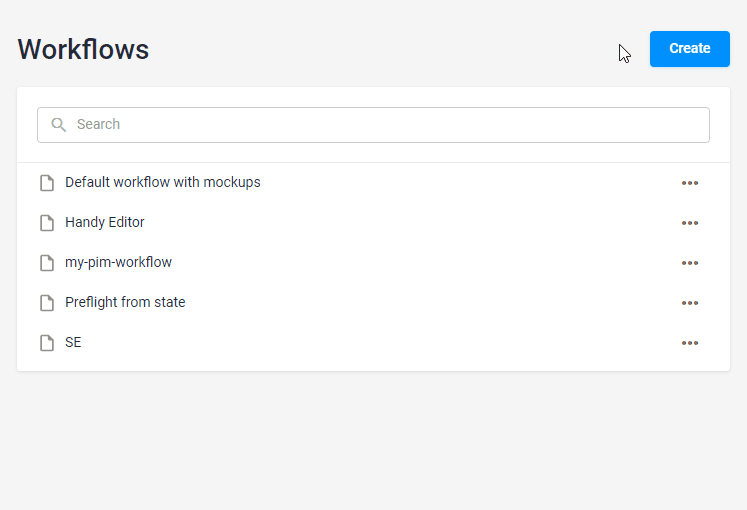
Opening the workflow manager
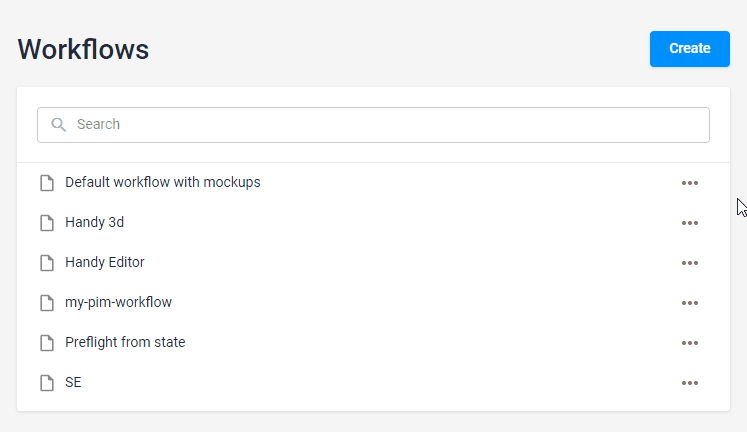
To browse your workflow files, navigate to the Products > Workflows.
Creating a new workflow from scratch
To create a new workflow file, click the Create button and select New blank workflow. The blank editor will open in the same tab. Input the name of a new workflow file and select its type. Press Ctrl + S or the Save button to save the changes.
Editing a workflow
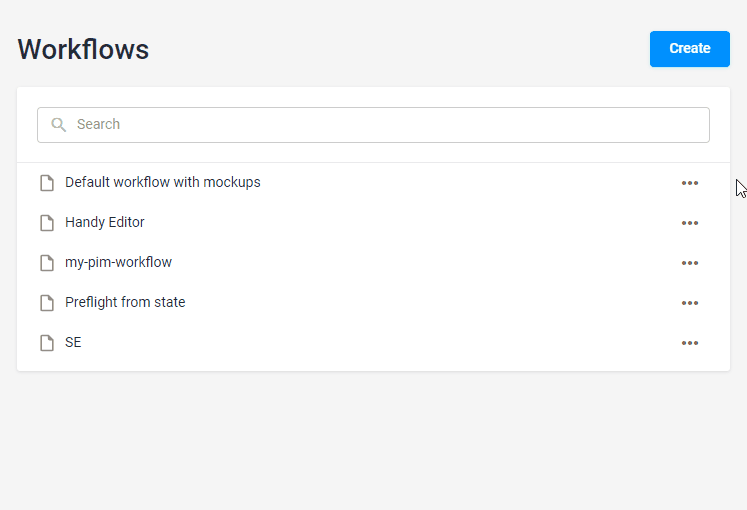
To edit a workflow file, right-click the ellipsis and select Edit. A workflow file is opened in the same browser tab.
Renaming a workflow
To rename a workflow file, click the ellipsis and select Edit. In the Name text box, rename a file and click Save.
Deleting a workflow
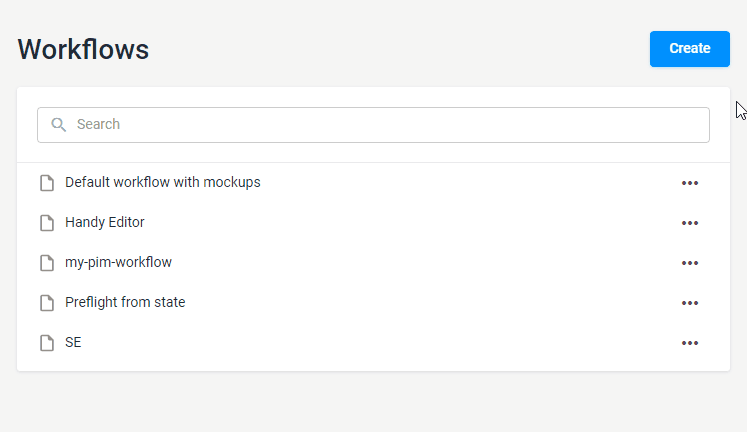
To delete a workflow file, click the ellipsis and select Delete.
Duplicating a workflow
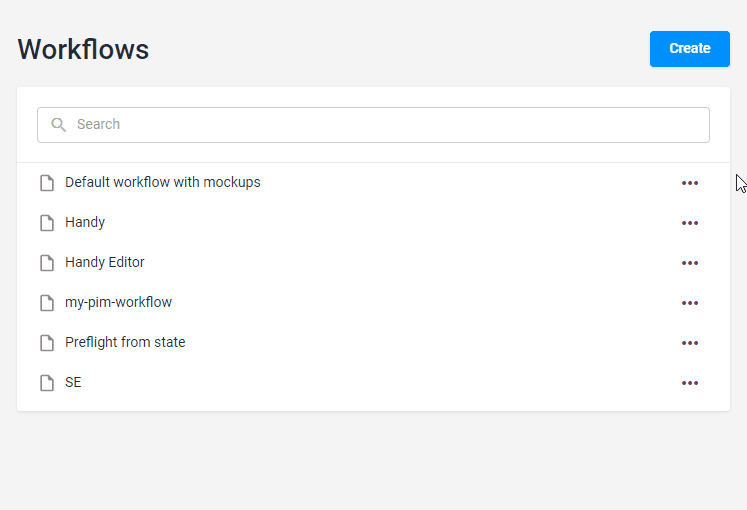
To create a copy of a workflow file, select a workflow file, click the ellipsis and select Duplicate. A copy of this file will appear.
Connecting and testing a workflow
You can read the Creating products article about the process of connecting a workflow file to a product. Then, read about Testing product links to test a workflow.