Creating and editing workflows
- Last updated on November 11, 2024
- •
- 2 minutes to read
When you configure a personalization process for a product, you need to create a workflow. It is described in a workflow file in the JSON format.
Note
If you have some experience in integrating Customer's Canvas into your site, then you have already interacted with workflows and the UI Framework JS library. To learn more, read the What is UI Framework article.
In this article, you'll learn how to create and manipulate workflow files in Customer's Canvas.
Creating a workflow file
In Customer's Canvas, you can work with your products using two approaches: The Product Information Management and Product Specifications. You may have already learned about working with workflow files for PIM products in the Managing files topic. Now, let's learn how you can work with workflow files for products based on the Product Specification approach.
Managing workflows for Product Specification
Opening workflow manager
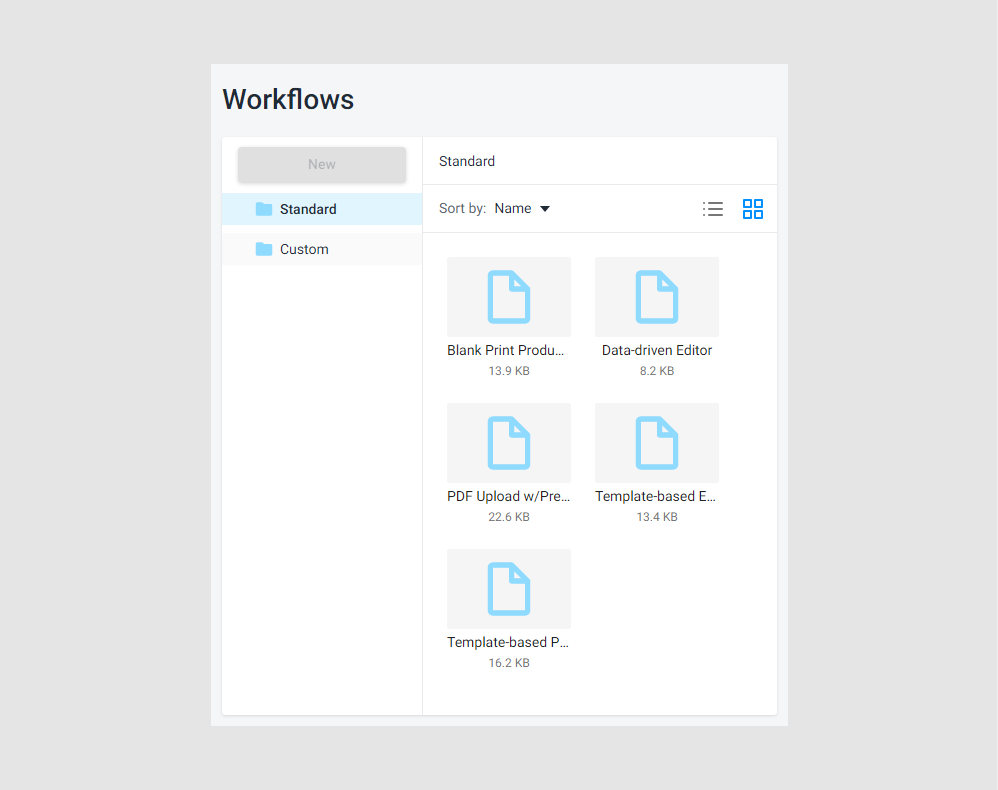
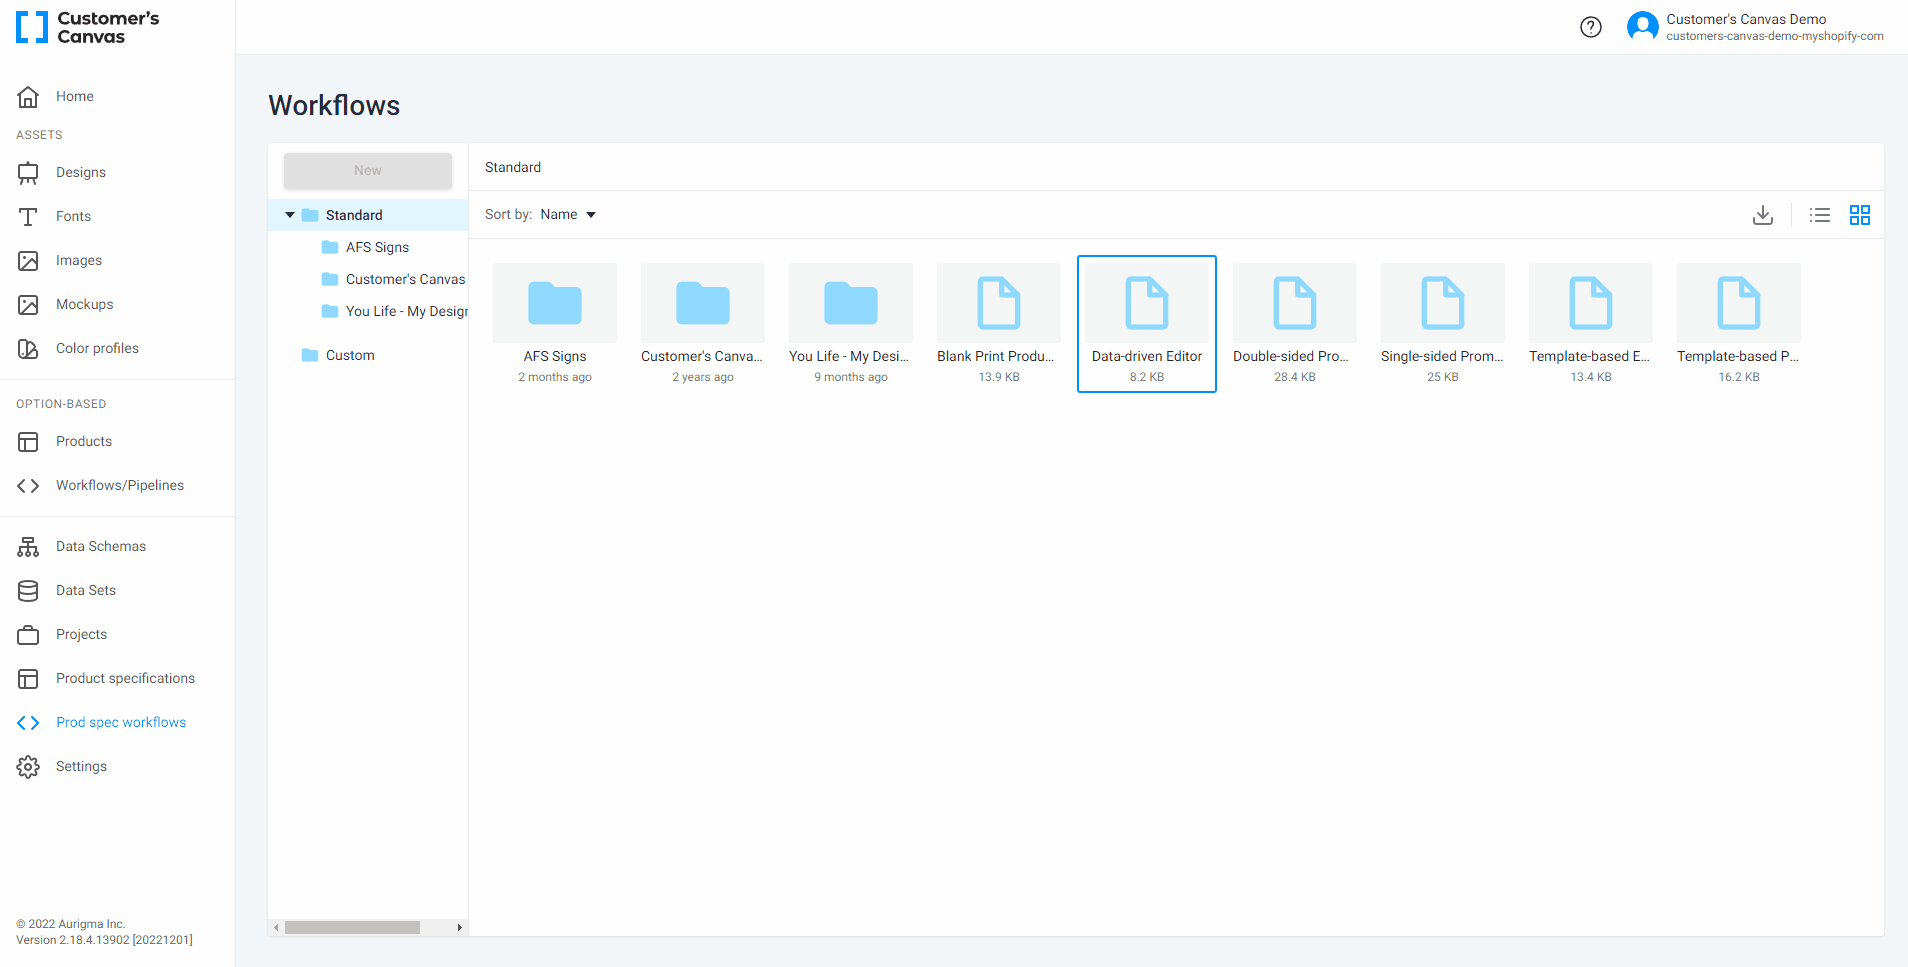
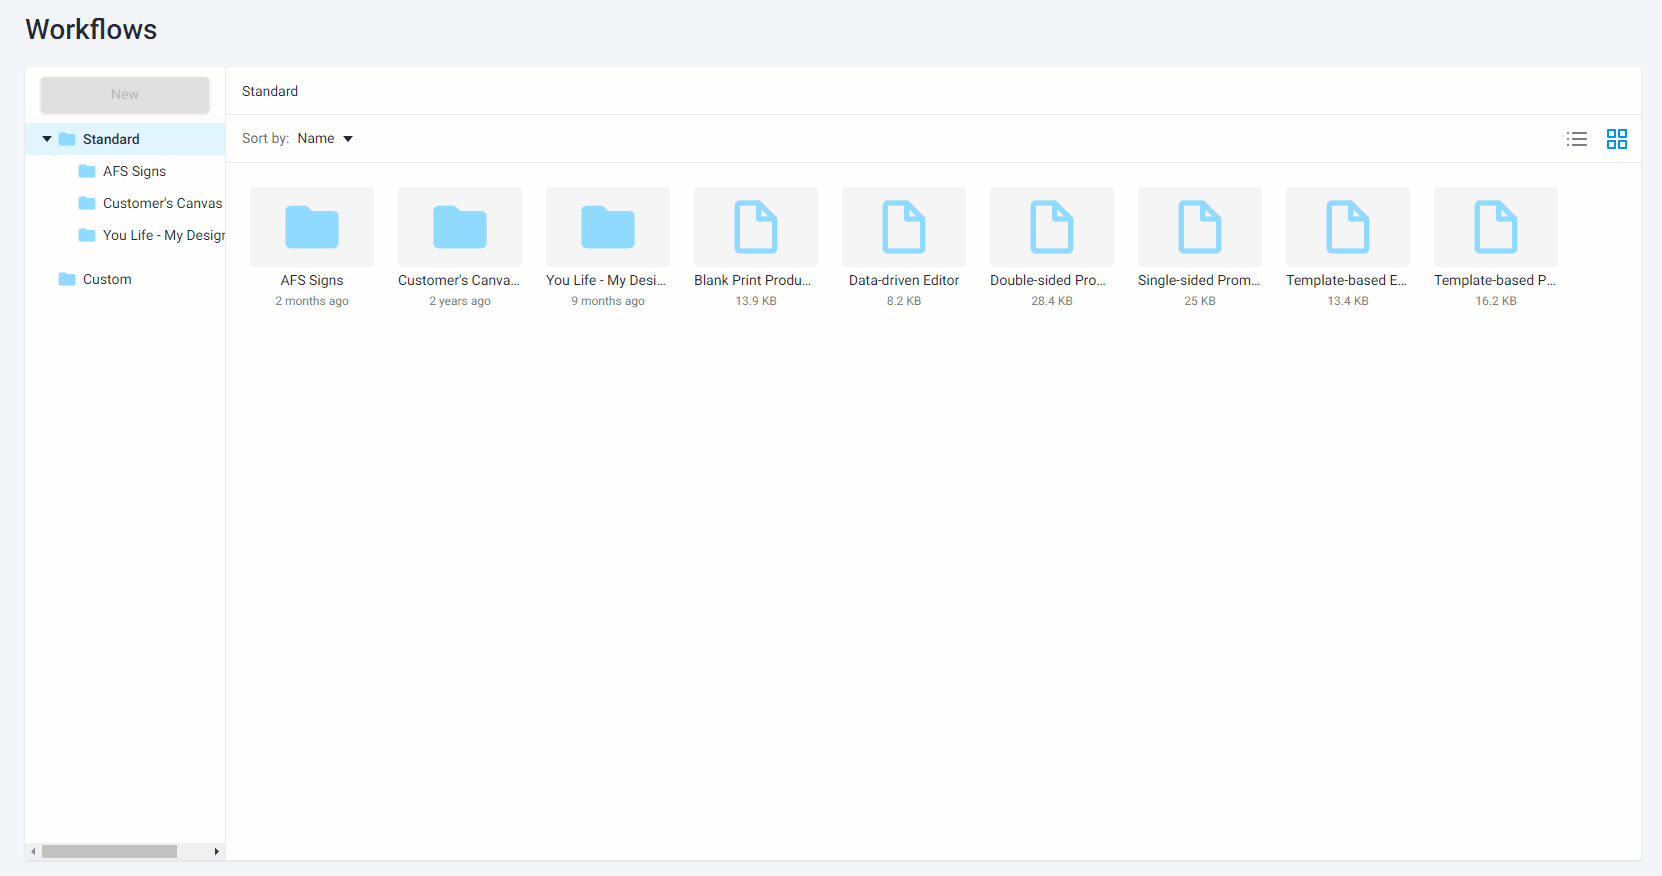
In the Workflows for Product Specification, you can see a file manager for manipulating workflow files. There are two folders: Standard and Custom.
In the Standard folder, you can see the default workflow files. They have restrictions for manipulating. You can only copy them to the Custom folder to create your own workflow file based on a default one. In the Custom folder, you can create your own workflow files and manipulate them as assets.
Let's consider how you can manipulate files in both folders.
Manipulating workflows in the Standard folder
In the Standard folder, you can see default workflows. You can only download and open these workflow files.
If you want to change something in a default workflow file, you need to copy this file to the Custom folder and edit the new workflow file.
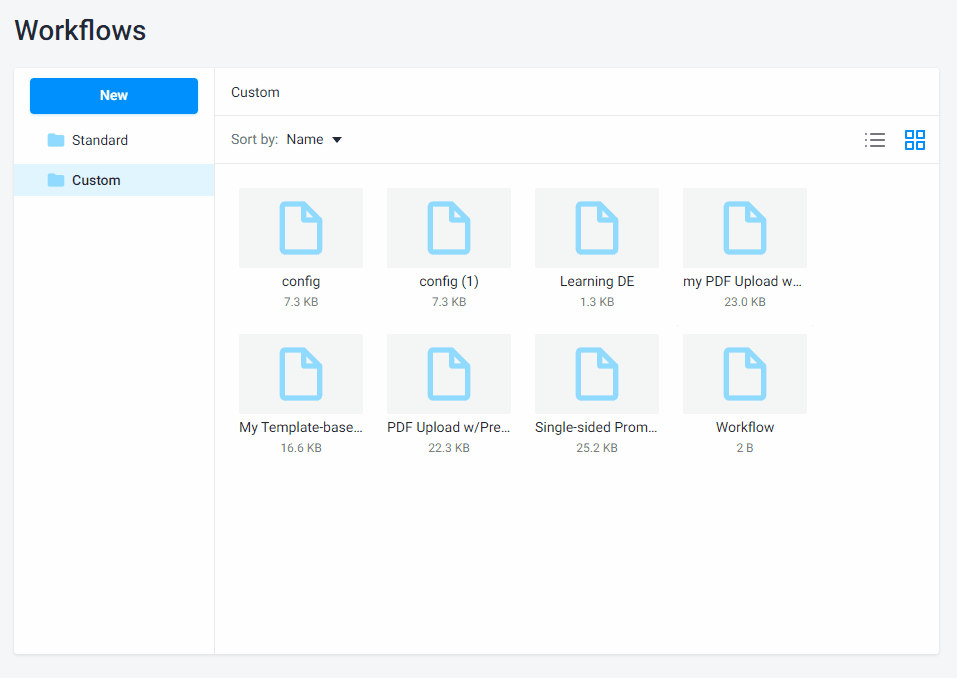
Manipulating workflows in the Custom folder
In the Custom folder, you can manipulate files as assets: download, upload, delete, copy, move, rename, and create from scratch. To learn more, read the manipulating assets section. Let's see some typical examples for workflow files.
Creating a new file
To create a new file, click the New button > Workflow, or right-click anywhere on a blank space in the file list of the current folder and select Workflow. A blank workflow editor will be opened.

Editing a workflow file
To edit a workflow file, double-click the item or right-click and select Edit. A workflow file opens in a new window.

Connecting and testing a workflow
Before connecting a workflow to a product, you need to make a permission for this. Go to the Custom folder, right-click a file and select Properties. Then, click Actions and select Enable test.
To connect a workflow file to a product in Product Specification, read the Blank Print Product Editor article.
Now that you know where to find workflow files, let's take a look at their typical structure in the Structure article.