Image placeholders
- Last updated on April 15, 2024
- •
- 4 minutes to read
Placeholders allow you to define an area where images should be inserted. Your customers can upload their images to them while personalizing your designs. These images will be limited by the placeholder's bounds. In the following screenshot, you can see that the image inside the placeholder is visible, but the other part is hidden.
You can manage the appearance of placeholders and how the user manipulates them by using markers. For example, you can define how the image will be inserted.
However, we recommend only arranging design elements in InDesign and setting up their behavior in the Template Editor.
In this article, you will learn how to create image placeholders in InDesign for Customer's Canvas.
Types
You can define three types of image placeholders in InDesign:
- Displaying an image
- Displaying a special prompt that encourages customers to upload an image
- Without displaying content
To create all these placeholders, use the <PH> marker but with different values. Let's consider each type in the following paragraphs.
Creating placeholders
You can create a placeholder with or without an image inside. Customers can upload a new image in both cases. In the Design Editor, such placeholders look like this:
Starting from version 7.1.14, Customer's Canvas creates empty placeholders from graphic frames by default. To add a placeholder, click the Frame Tool in the toolbox and then drag a shape. This will create a placeholder without a content.
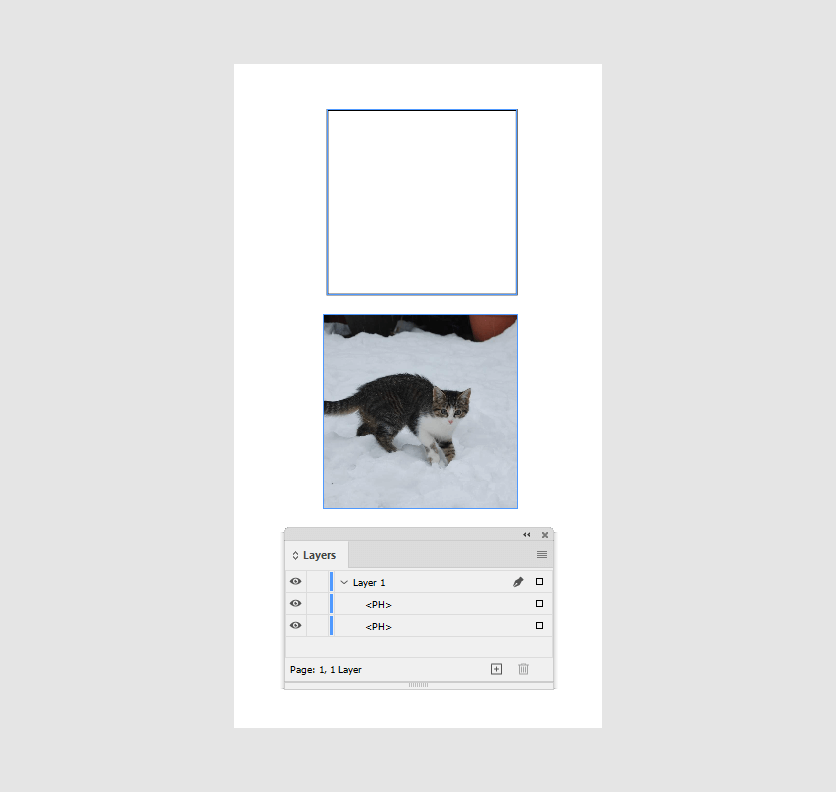
However, you can still do the same by using markers. For example, place an image, a shape, or an empty image frame and add the <PH> marker to the layer's name. To define a placeholder without its content, add the <PH_empty> marker.
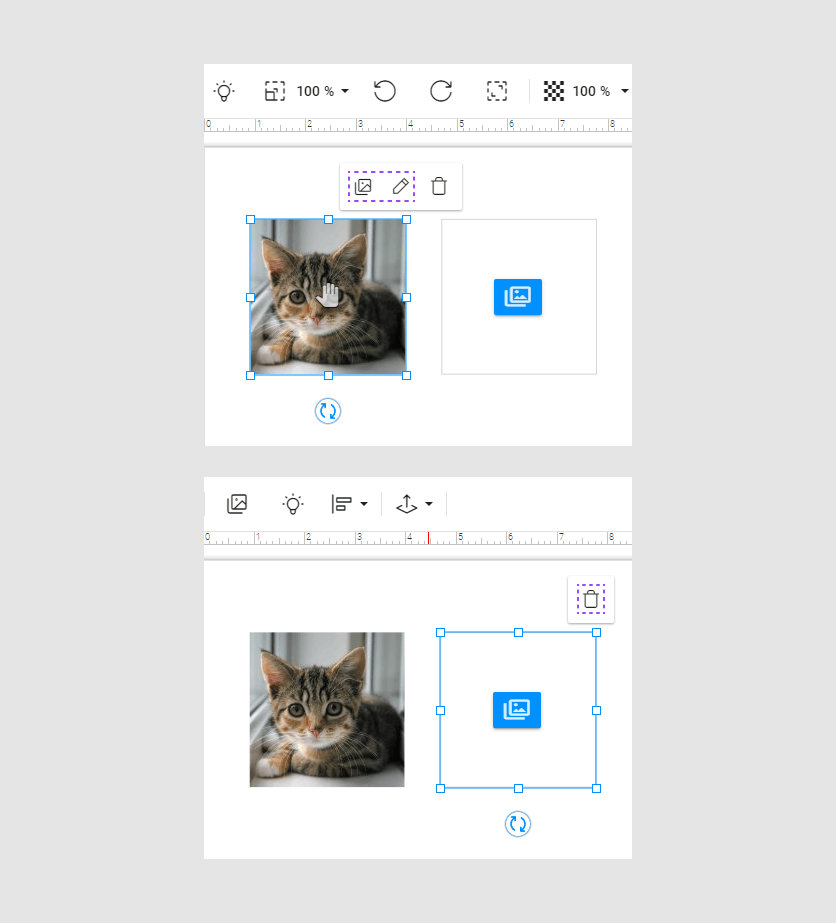
Encouraging customers to select images
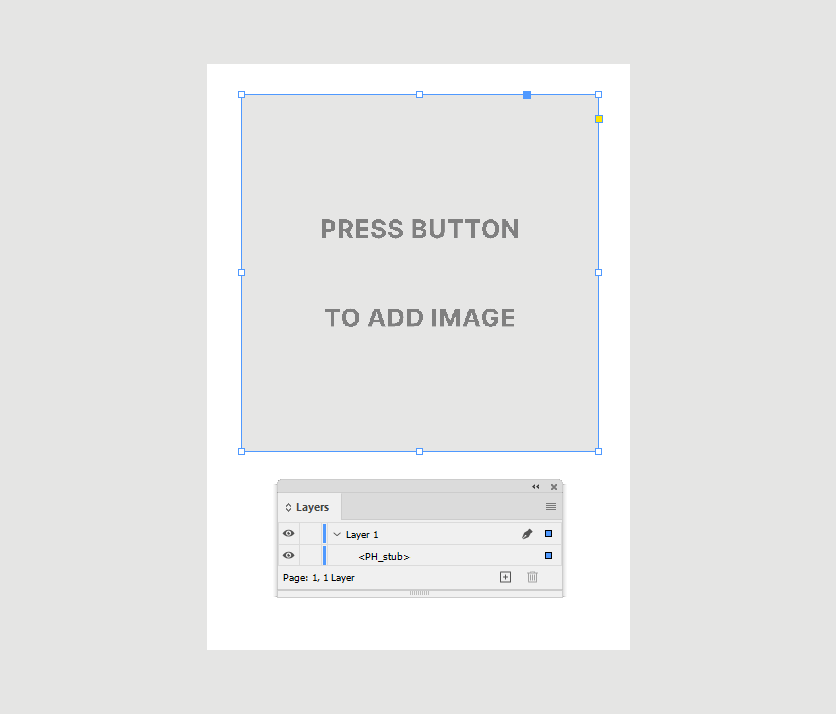
You can add an image inside a placeholder that will motivate customers to upload their images. Such an image is called a stub image. For example, this image may display messages Upload an image here, Press button to add image, etc.
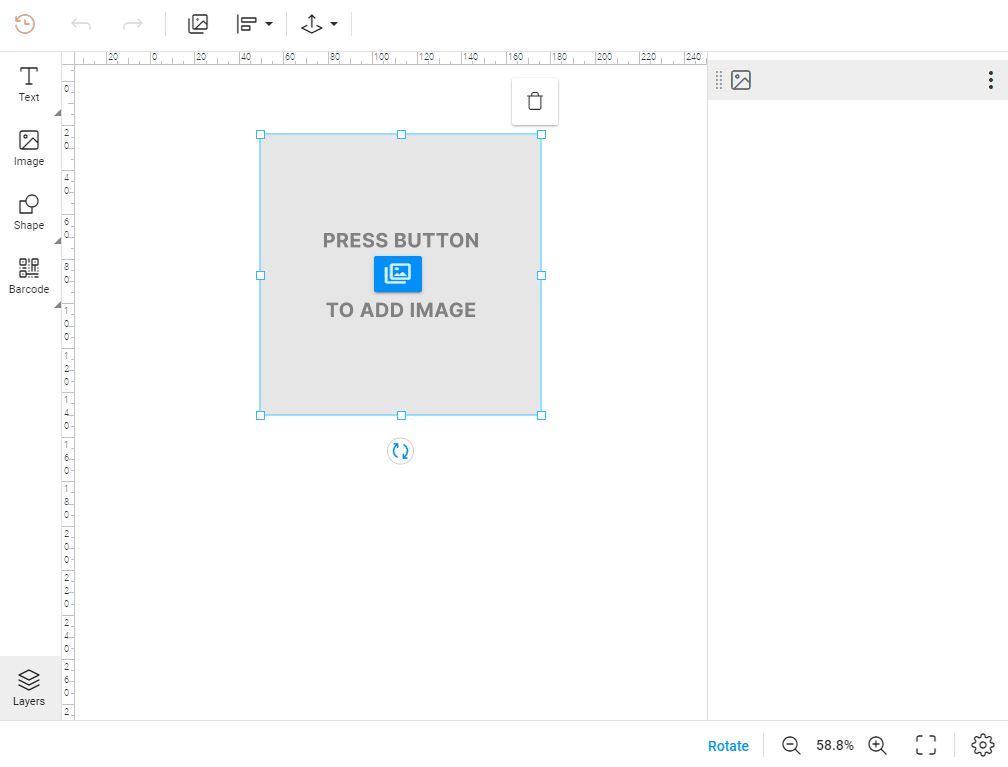
Customers can click this placeholder and upload their image.
Note
If your customers don't upload an image in this placeholder, a stub image won't be printed. You can't see this placeholder in your hi-res print file.
To create a stub placeholder in the IDML file, add such an image to your design and insert the <PH_stub> marker.
Defining the image insertion mode
Let's learn how to manage the appearance of an image in the placeholder.
Fitting mode
The fitting mode defines how Customer's Canvas will resize images when you place a new image in the placeholder. You can see how these modes look like in the Image placeholder behavior article.
You can define fitting modes with markers.
| Fitting mode | Marker |
|---|---|
fill |
<PH><PHRM_fill> |
fit |
<PH><PHRM_fit> |
original |
<PH><PHRM_original> |
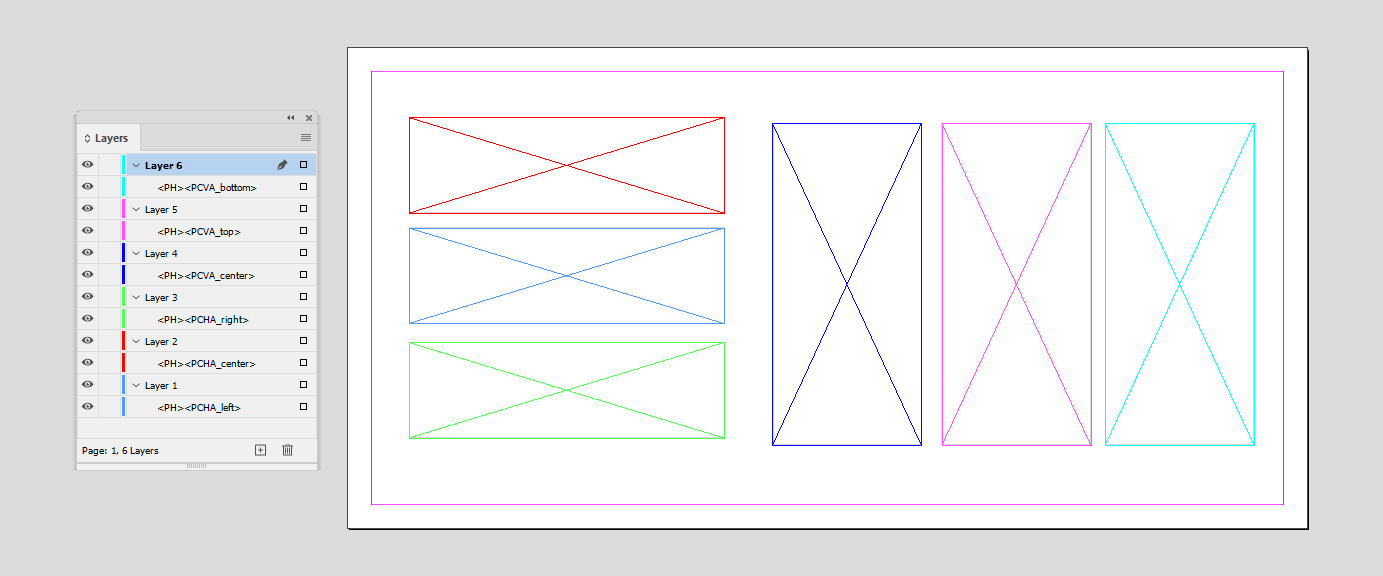
Image alignment
You can align the image horizontally and vertically.
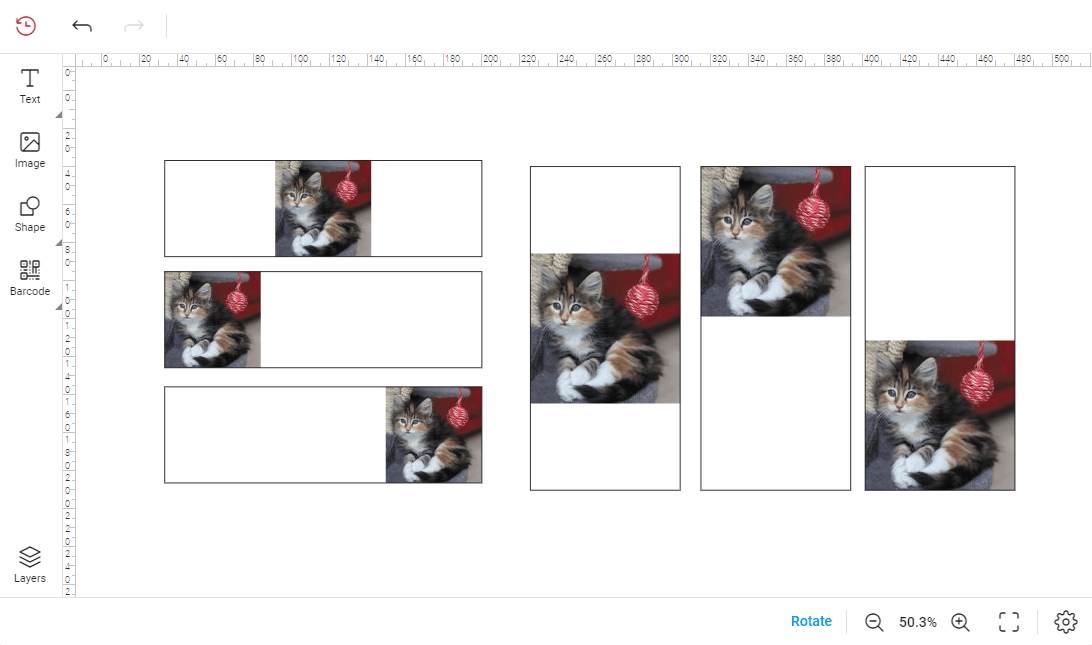
To create a placeholder with such properties, add the following markers to the layers.
| Axis | Markers with values |
|---|---|
| Horizontal | <PCHA_center>, <PCHA_left>, <PCHA_right> |
| Vertical | <PCVA_center>, <PCVA_top>, <PCVA_bottom> |
Note
You can use several markers in the same layer. For example: <PCHA_center><PCVA_bottom>.
Manipulations
You can manage what customers can do with a placeholder and the content inside the placeholder. Manipulations include the following actions: rotation, movement, resizing, and scale.
Let's consider what markers you can use for these cases.
Placeholder
The following markers manage the rotation, size, and movements of a placeholder.
<MAR_f>disallows rotating.<MRC>disallows resizing.<MAMH_f>disallows moving the placeholder horizontally.<MAMV_f>disallows moving the placeholder vertically.
Content
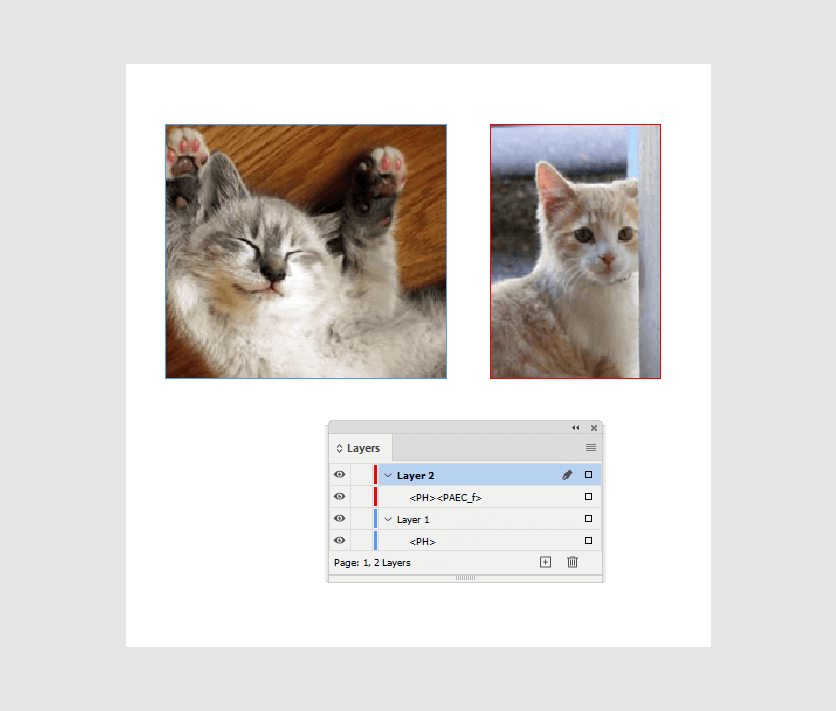
You can manage how customers can move, scale, resize, and rotate the content in the placeholder with the <PAEC_f> marker. In the Design Editor, this marker hides the grips and buttons for rotation, scaling, resizing, and moving for the selected image placeholder. This is how the grips look by default.
In InDesign, this marker looks as follows:
Select button
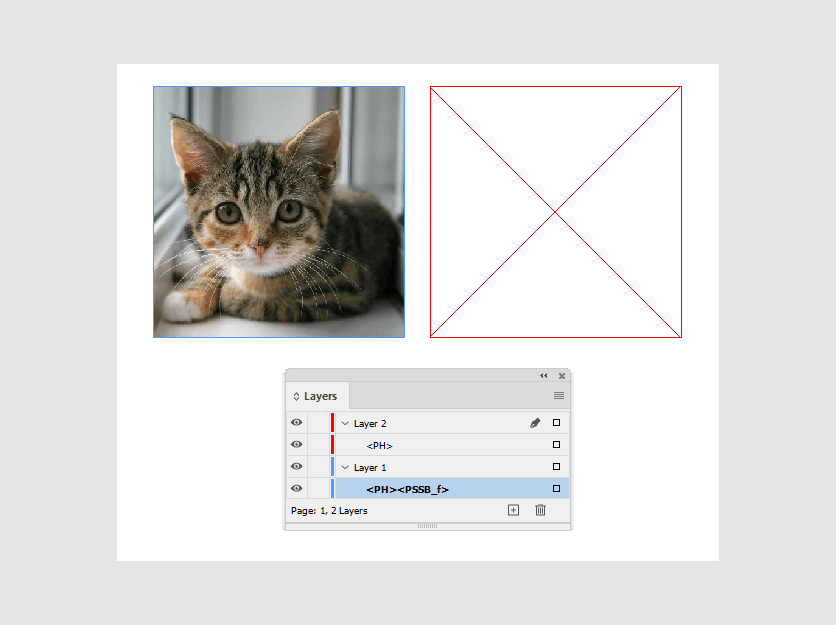
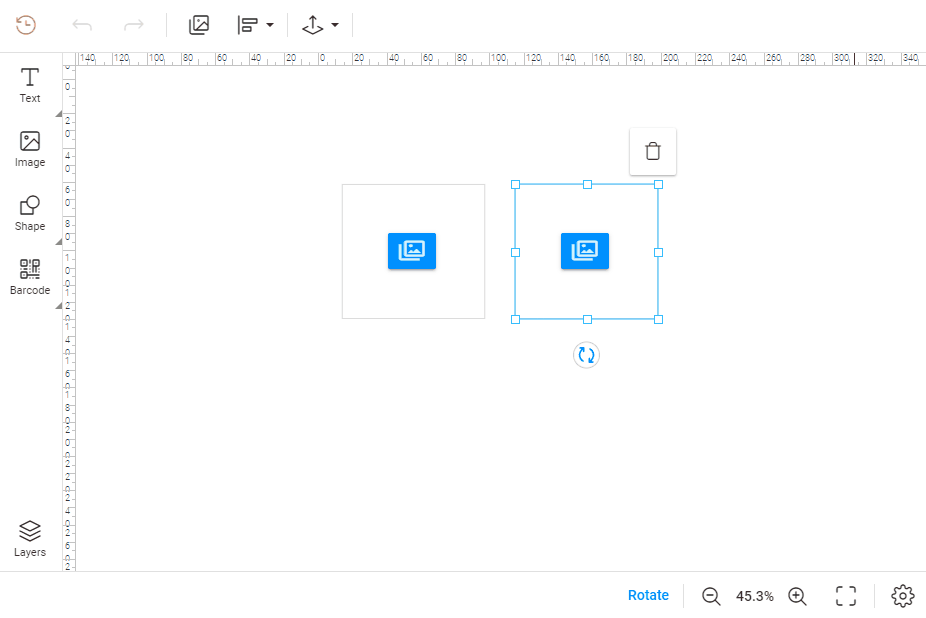
In the Design Editor, you can hide the Select button. In this example, these images are placeholders, but you can change an image only in the right placeholder.
You can hide the Select button by the <PSSB_f> marker.
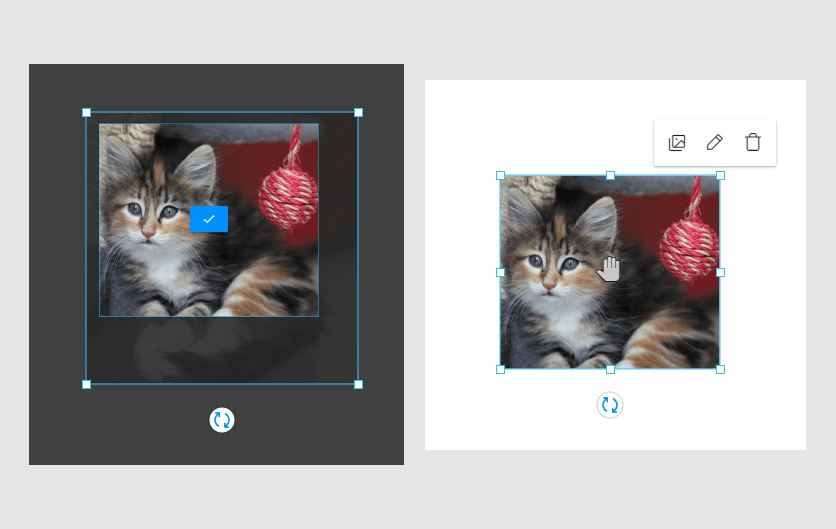
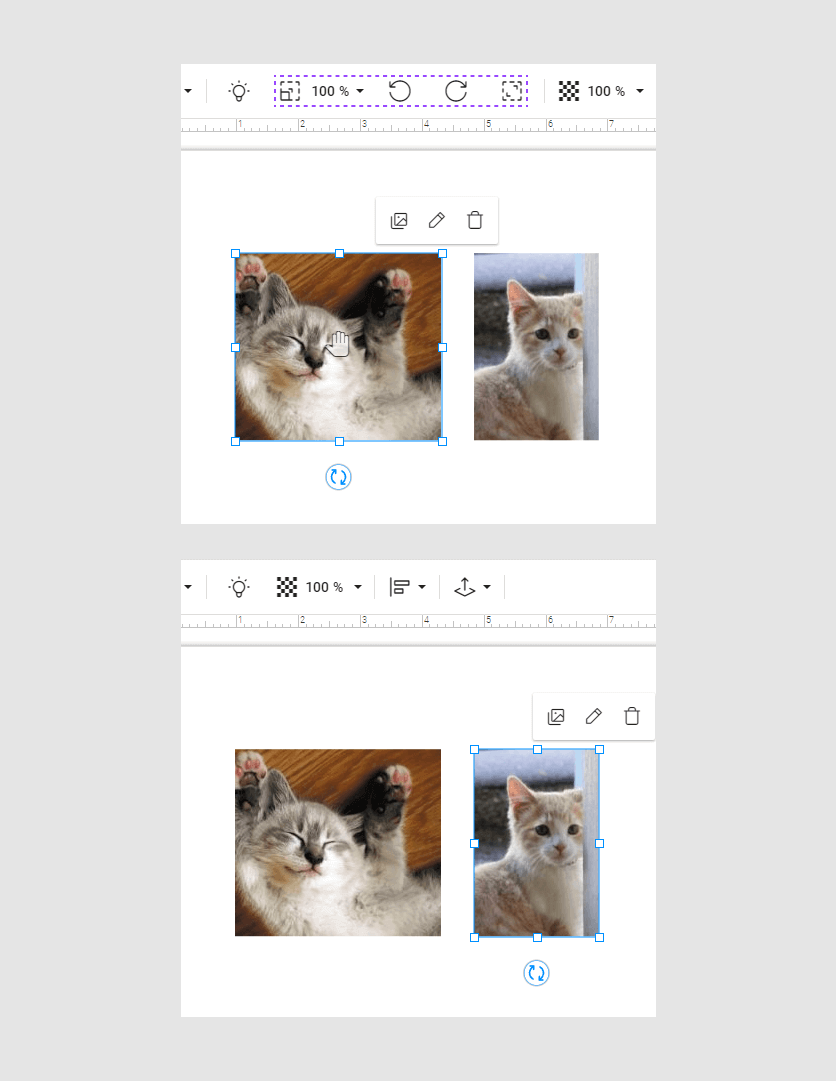
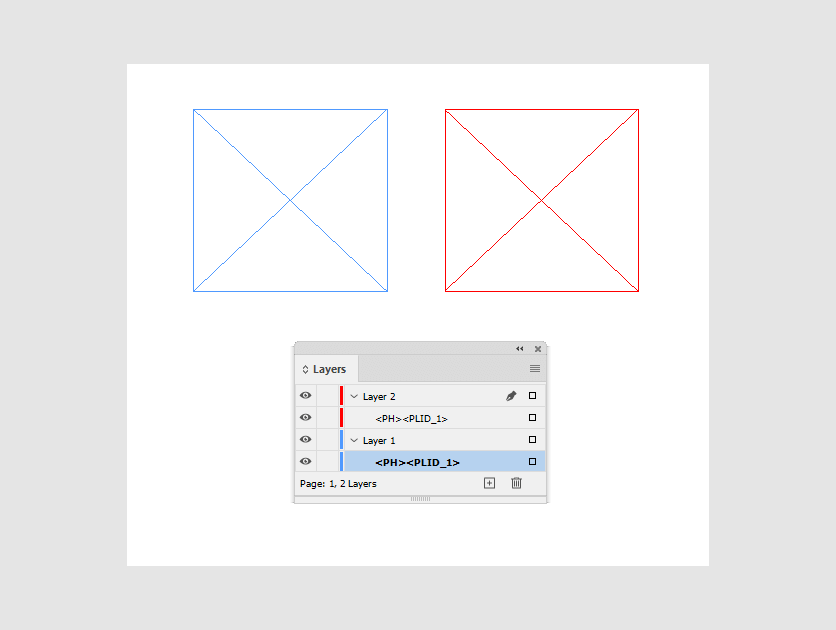
Using the same image in several placeholders
In the Design Editor, customers can upload one image to all image placeholders. Such an effect looks like this:
To create such placeholders, use the <PH><PLID_id> marker. Add these markers to image placeholders with the same ID. The id is the symbols or numbers of your ID.
For example: <PH><PLID_1>
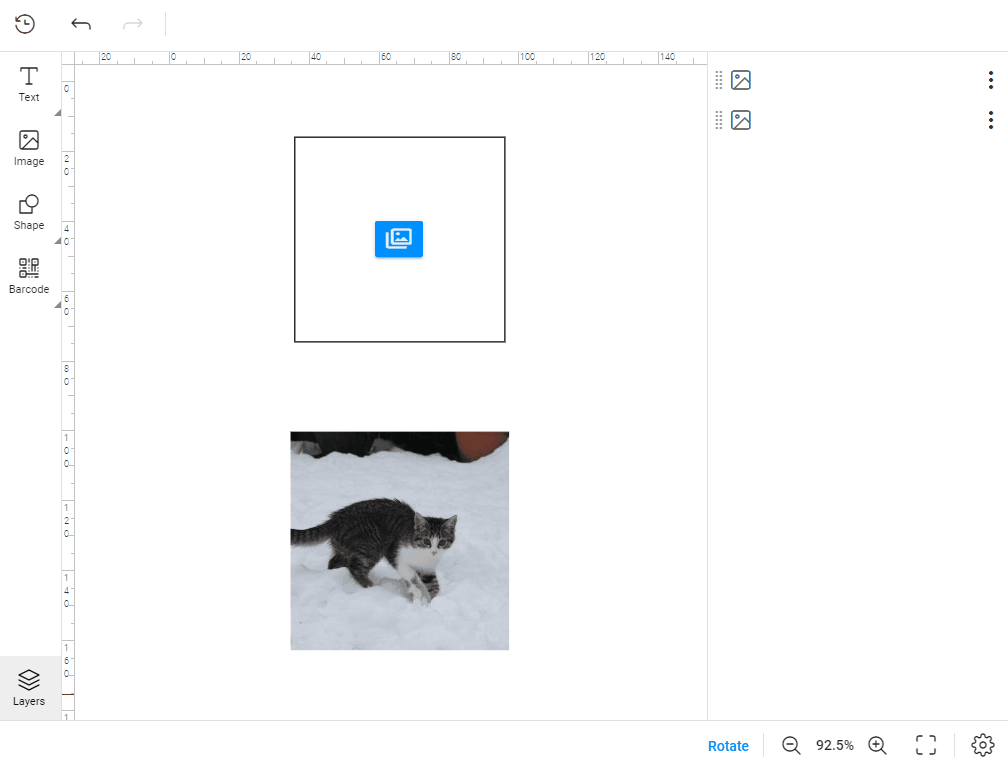
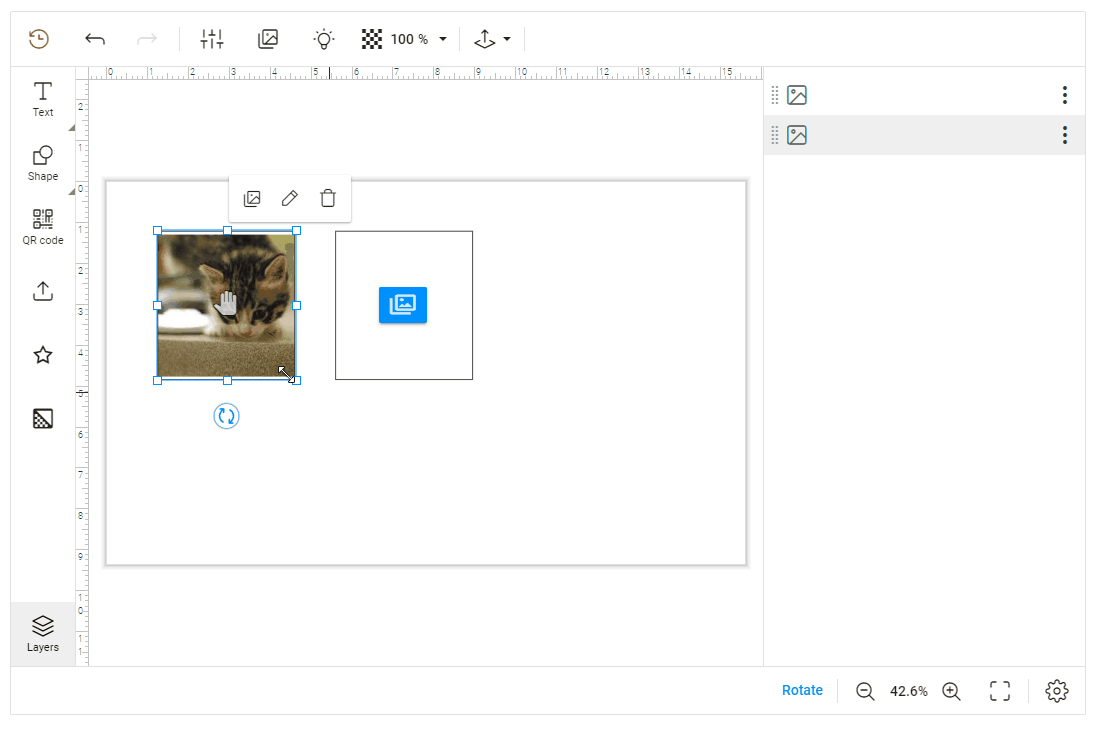
Dragging images between placeholders
You can drag and drop images between images placeholder in the Design Editor.
This is how such placeholders look in the Design Editor.
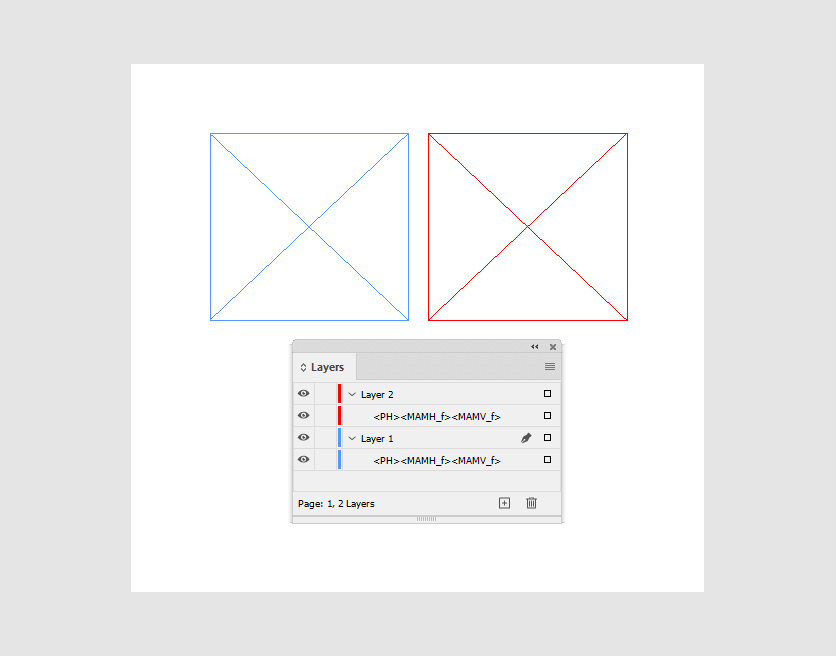
To create such placeholders, add the <PH><MAMH_f><MAMV_f> markers to shapes or images.
Note
These markers disable vertical and horizontal movements.