Mockup with different sides
- Last updated on December 29, 2023
- •
- 4 minutes to read
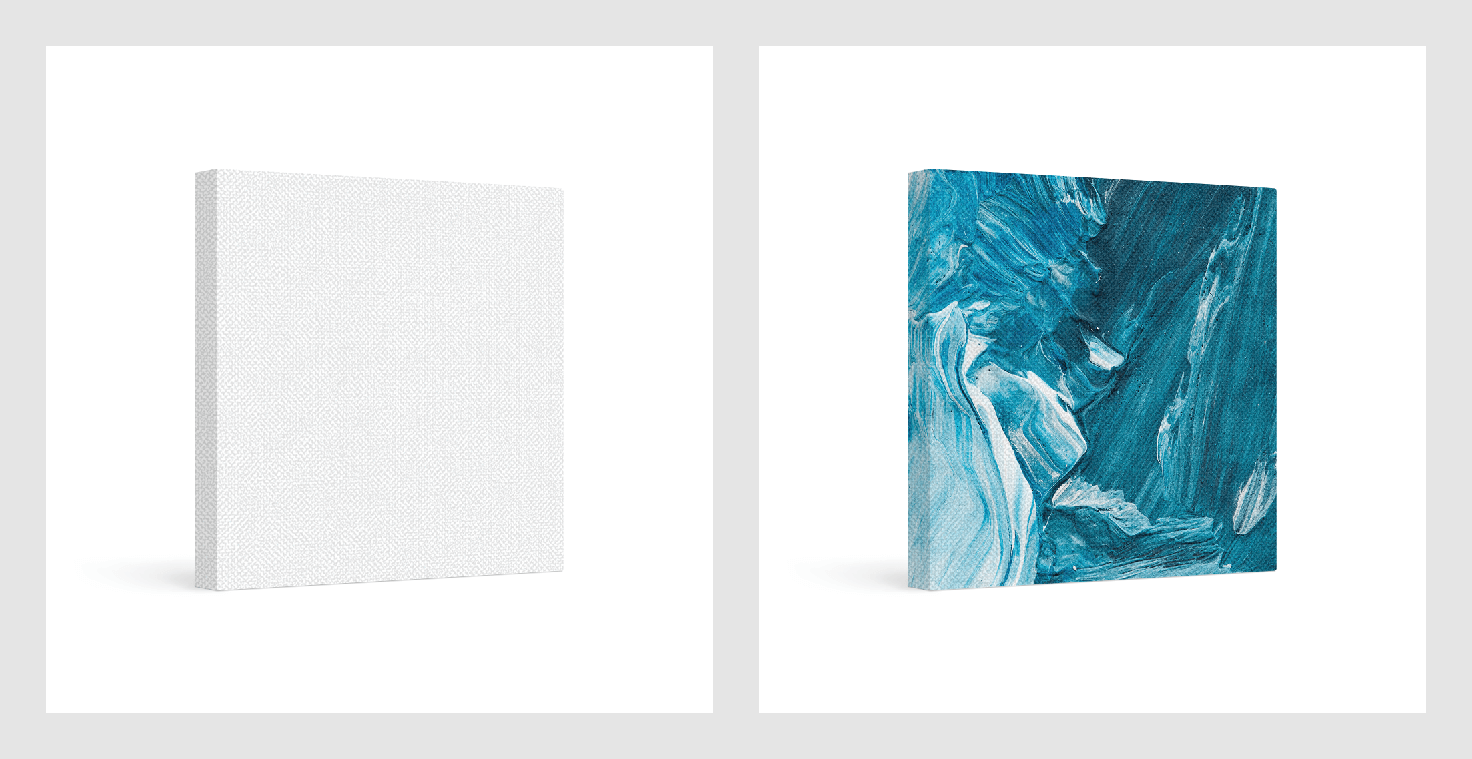
In this article, you will learn how to create a mockup that displays your design on several surfaces. As an example, you will create a mockup for a canvas. You can see this product in our demo.
Creating a new file
To create a mockup in Photoshop, select File > New. When a new dialog box opens, fill in the following fields:
Width and Height. For this mug, the size is
1000px * 1000px. The measurement units are pixels. To read more about sizes, see the Creating thumbnail and preview mockups article.Resolution. Set to
72DPI.Color mode. Select
RGB Color.In the Background Contents drop-down box, select
White.
Rasterizing the layer
Now your file has only the Background layer. To create a regular layer, right-click this layer and select Layer from Background. In a new dialog box, insert a new name, for example, Background.
Now the layer is rasterized, you can add new layers and place some artwork.
Adding substrates and overlays
Let's add a substrate and overlay layers. To embed them, click File > Embedding or just drag and drop them.
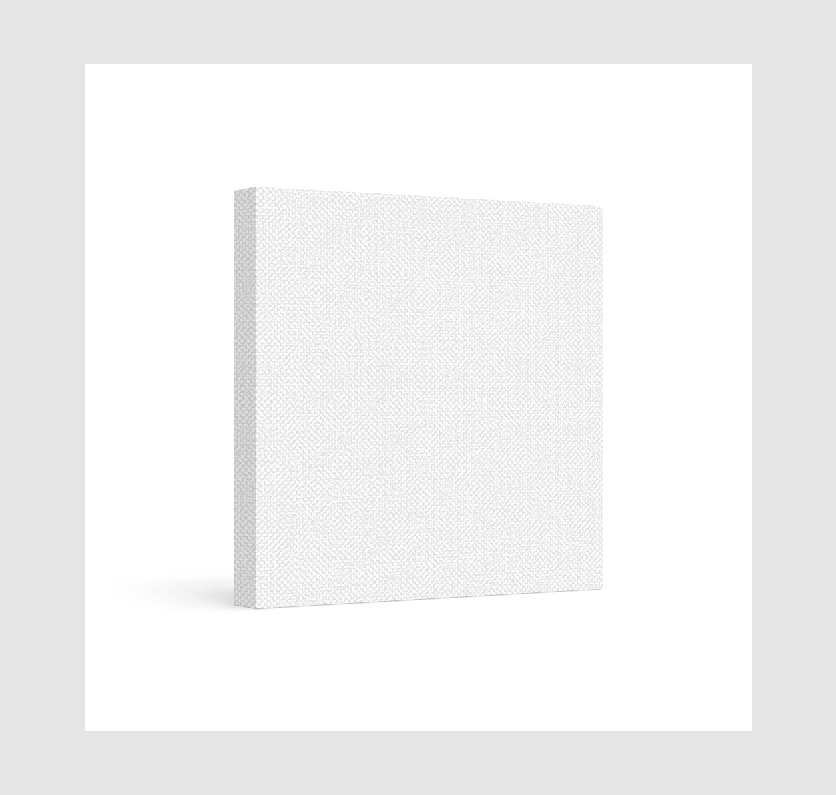
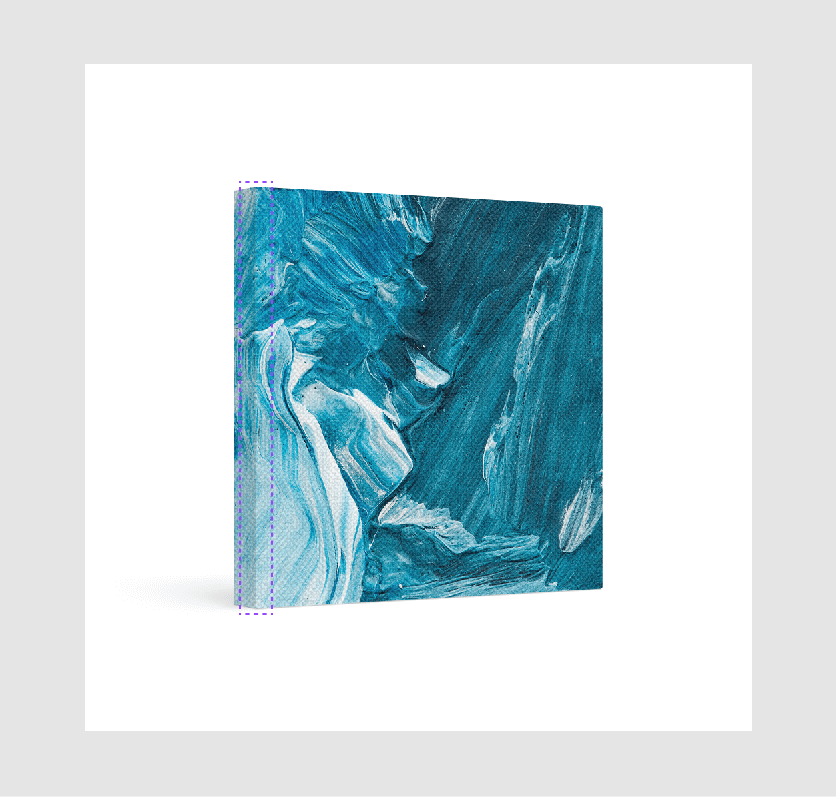
In this case, there is an image of a canvas with shadows.
Smart Objects
In this mockup, there are two surfaces displaying different fragments of a design: a front surface and a side surface.
To create such a mockup, you need to:
Count exactly what part of your design is supposed to be on the main surface and on the side surface.
Create a nested smart object for each surface. In this example, there are two surfaces.
Crop each smart object according to your counting.
Front surface
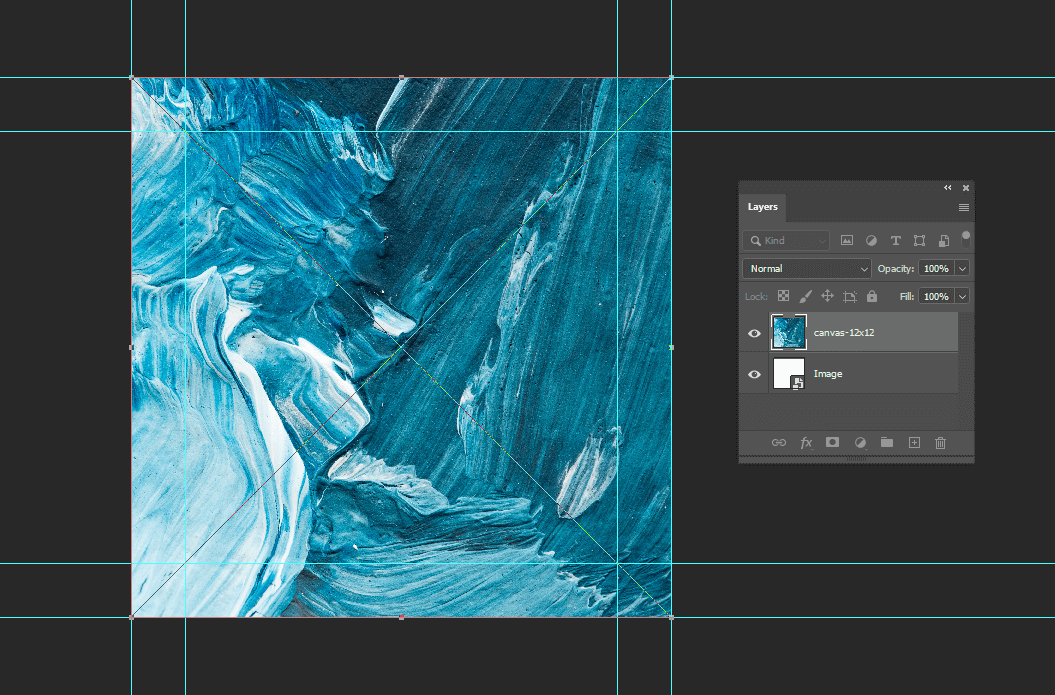
Let's create a smart object for the front surface of a canvas.
Create a new rectangle with the Rectangle tool. The color is white.
Match the aspect ratio of this rectangle to the aspect ratio of your whole supposed design, not a front part or a side part. The exact size doesn't matter.
Rename this layer to
Template.Right-click this layer and select Convert to Smart Object.
Rename this smart object to
Design.Open this smart object by double-clicking the thumbnail.
Right-click the
Templatelayer and select Convert to Smart Object. Then, rename it toImage.Now you need to define what part of your design is visible on the front surface. For this, define folding lines of your canvas by guides. To add guides, go to View > New Guide.
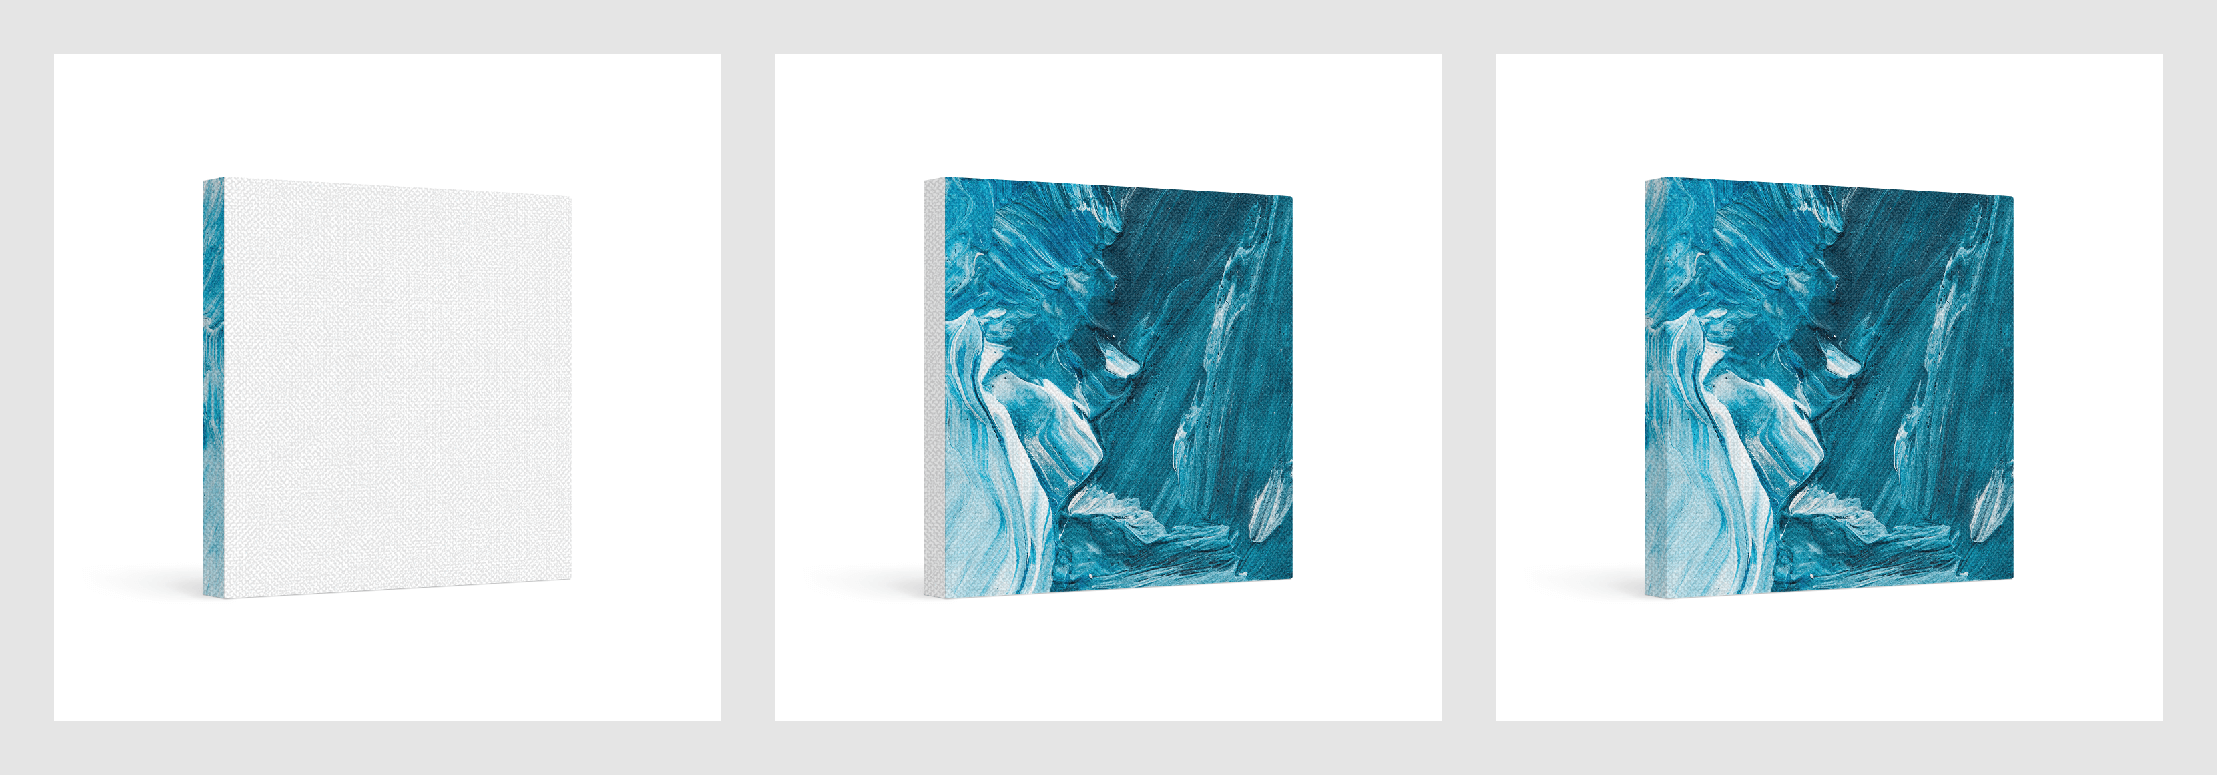
So, your smart object can show two visible sides for a canvas: a front cover or a side cover.
Tip
Before creating this mockup, you can draw folding lines on your design. Then, you can embed this design here and place the guides according to your marks in your design.
Embed your design as a new layer and place the design according to your guides. You can see how your design will look like on your mockup.
Let's crop the visible part of a front surface with the Crop tool. Here you need to select the central part of a design for the front surface. Click Ctrl + S to save the result.
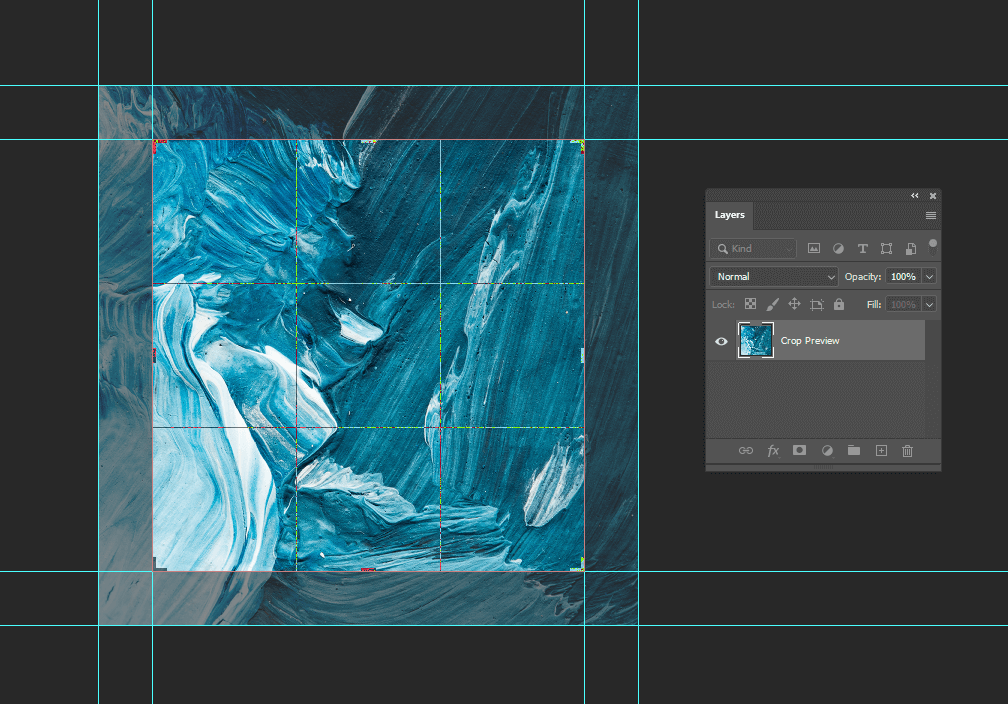
Here, you can see how to crop the visible part.
Go back to the mockup file. Now you need to adjust the rectangle on the visible surface on the canvas. For this, use the Edit > Transform > Distort. The edges of your design match the edges of the canvas.

Now, you have finished the front side of your mockup.
Important
Don't delete your design now because you need to add your design to the side surface and check the joint.
Let's create a new smart object for the side surface.
Side surface
In this paragraph, you will create a smart object for the side surface.
Create a new smart object. To do so, right-click the Design layer and select New Smart Object via Copy. Then, rename the layer to
Design. You need to have two layers with the same names.
Double-click this smart object, it will open in a new tab. Then, crop the side surface.
Go back to the mockup. Now you need to adjust the rectangle on the side surface. For this, use the Edit > Transform > Distort. Place the design according to the side surface of the canvas. Make sure that the joint between the side surface and the front surface is correct.
Delete your design from both smart objects. To do so, double-click your smart objects and delete your design. Your smart objects will contain only the Image smart object inside.
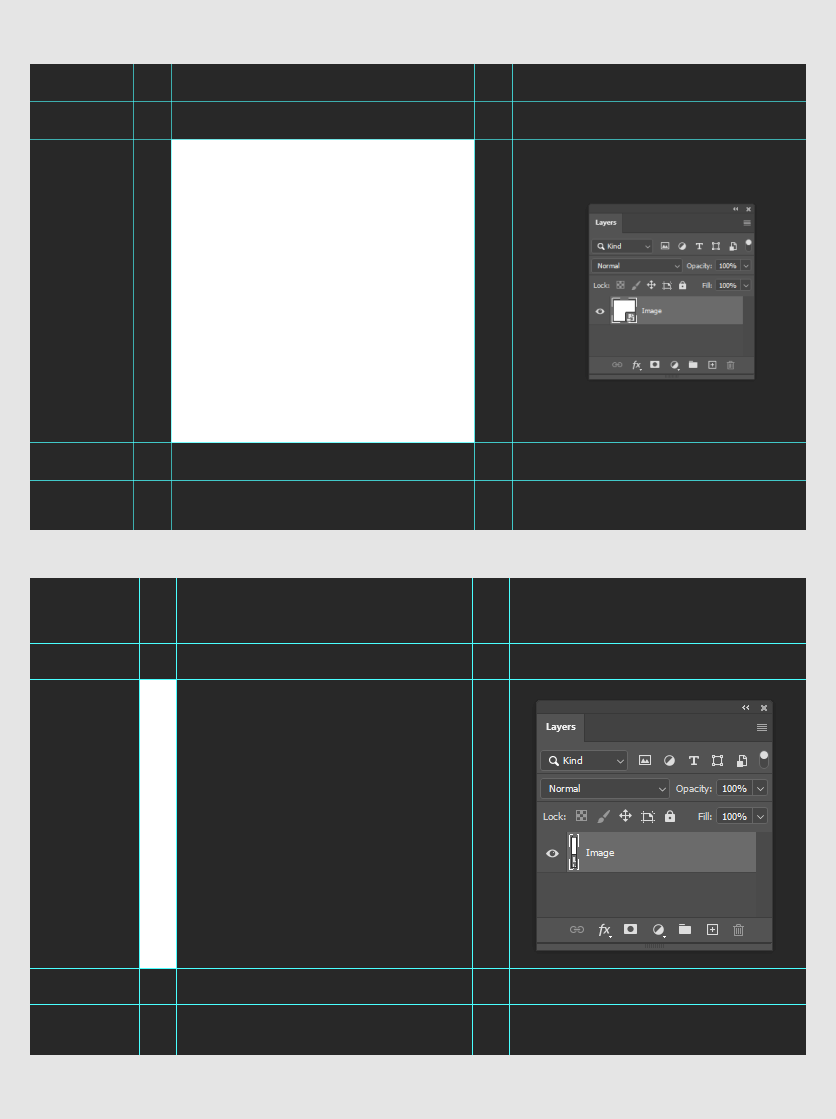
The structure of smart objects is the following: Design > Image > Template.
Tip
You can create any number of smart objects if you want to show several sides of your product.
Saving the mockup
To save the product, click Ctrl + S or click File > Save and select the PSD format.
Uploading a mockup
To upload a mockup to the Customer's Canvas cloud, read the File manager article.
Connecting a mockup to a product
To read how to connect this mockup to a product, read the Connecting assets to products article.