Product specifications
So, you have added some assets to the system – designs, fonts, image galleries, and now you are ready to publish them and make it possible to personalize the products in your online store using them. You can do it using the Product specifications section.
You may think of product specifications as a personalization workflow configuration for a specific product in your online store. You are choosing which workflow to use (design editor, preflight tool, etc.) and setting up its attributes – e.g., design files, image gallery, and any other settings of a specific workflow. Then you connect this configuration to a product in your online store.
Once you do it, when you open this product in the storefront, you will be able to personalize it in accordance with the selected attributes. As usual, you are doing it using the Personalize button, but depending on a personalization workflow, a different user interface may appear.
You can connect only one product specification to a single product in your online store, but you can connect the same specification to multiple products. If you have several online stores, the same specification can be reused across different stores.
Let's see how you can work with product specifications.
Creating a product specification
To add a new product specification, you can either create one from scratch or duplicate and edit another specification in the gallery. First, let's learn how to create a product specification from scratch.
New product specifications
- Go to the Product specifications section in your BackOffice panel.
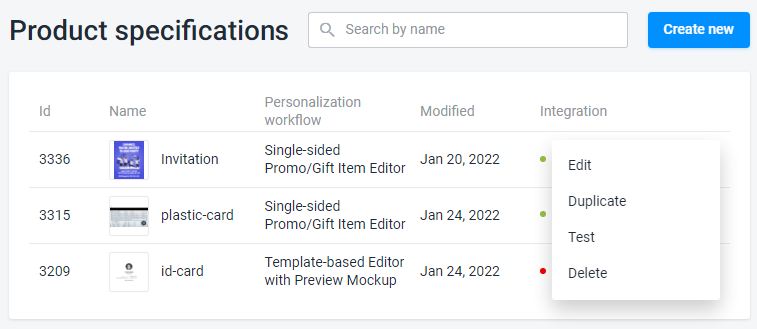
- Click Create new.
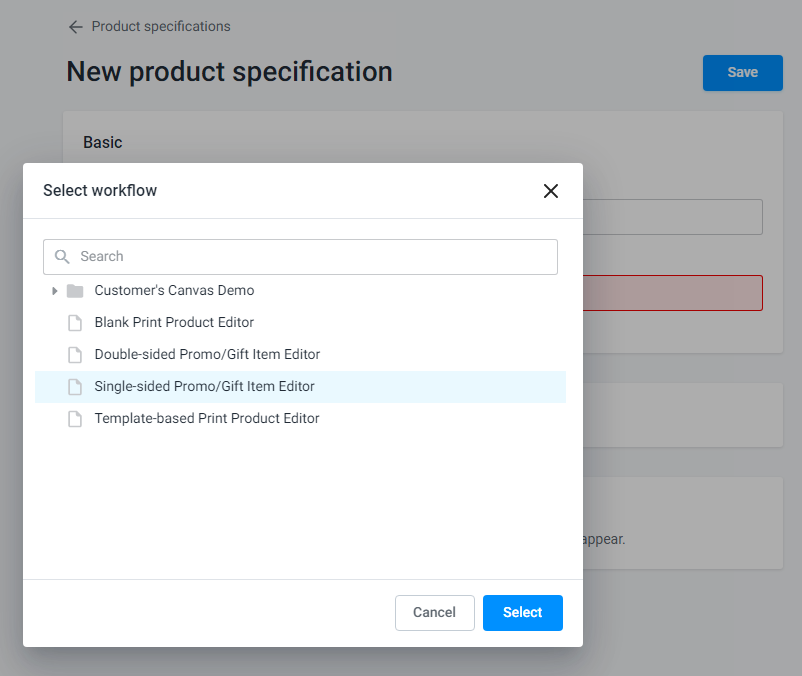
- In the Basic settings, type in a name and click the Personalization workflow.
- When the Select workflow window opens, select a predefined configuration, for example, Single-sided Promo/Gift Item Editor.
- Once a workflow is selected, you will see the required attributes. You can follow the prompts to fill in the attributes.

To learn more about attributes in product specifications, read the Attributes article.
You can find more instructions on how to fill attributes for all standard personalization workflows in this section:
- Template-based Print Product Editor
- Blank Print Product Editor
- PDF Upload with Preflight
- Single-sided Promo/Gift Item Editor
- Double-sided Promo/Gift Item Editor
Note
A list of standard workflows may vary for different Customer's Canvas accounts. If you don't see the workflow you need in this list, or you need any instructions on how to create a new workflow, feel free to contact our support team.
Copying product specifications
To add a product specification based on another specification, find it in the list and click the ellipses. When the Options menu opens, click the Duplicate command and define a new specification name.
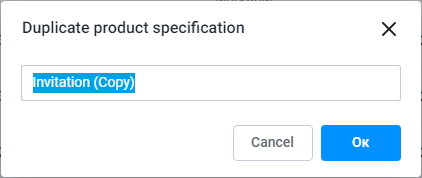
Now, you can change the previous settings: click the Edit command in the Options or just click the new product specification in the list. Then, follow the previous procedure starting from the third step.
Note, when you duplicate a specification, the copy is no longer associated with any product in an online store. You need to connect it to another product.
Connecting to an online store product
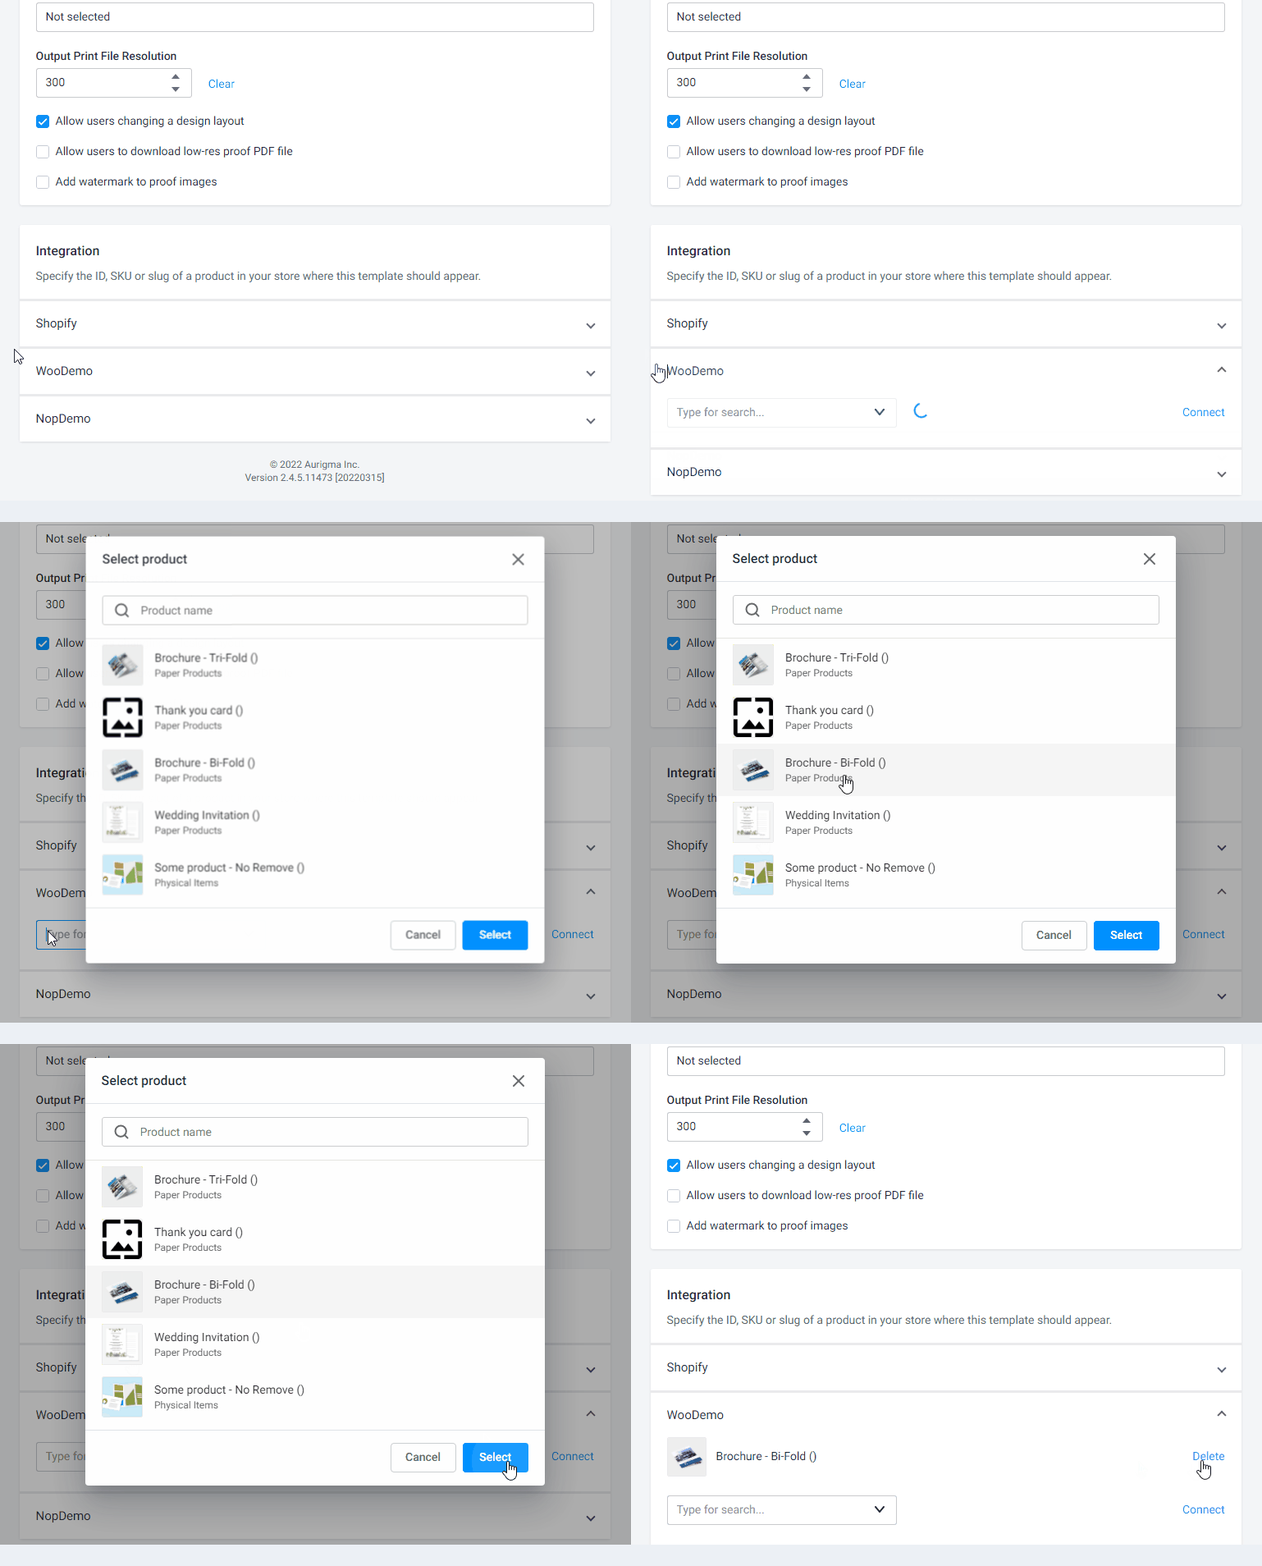
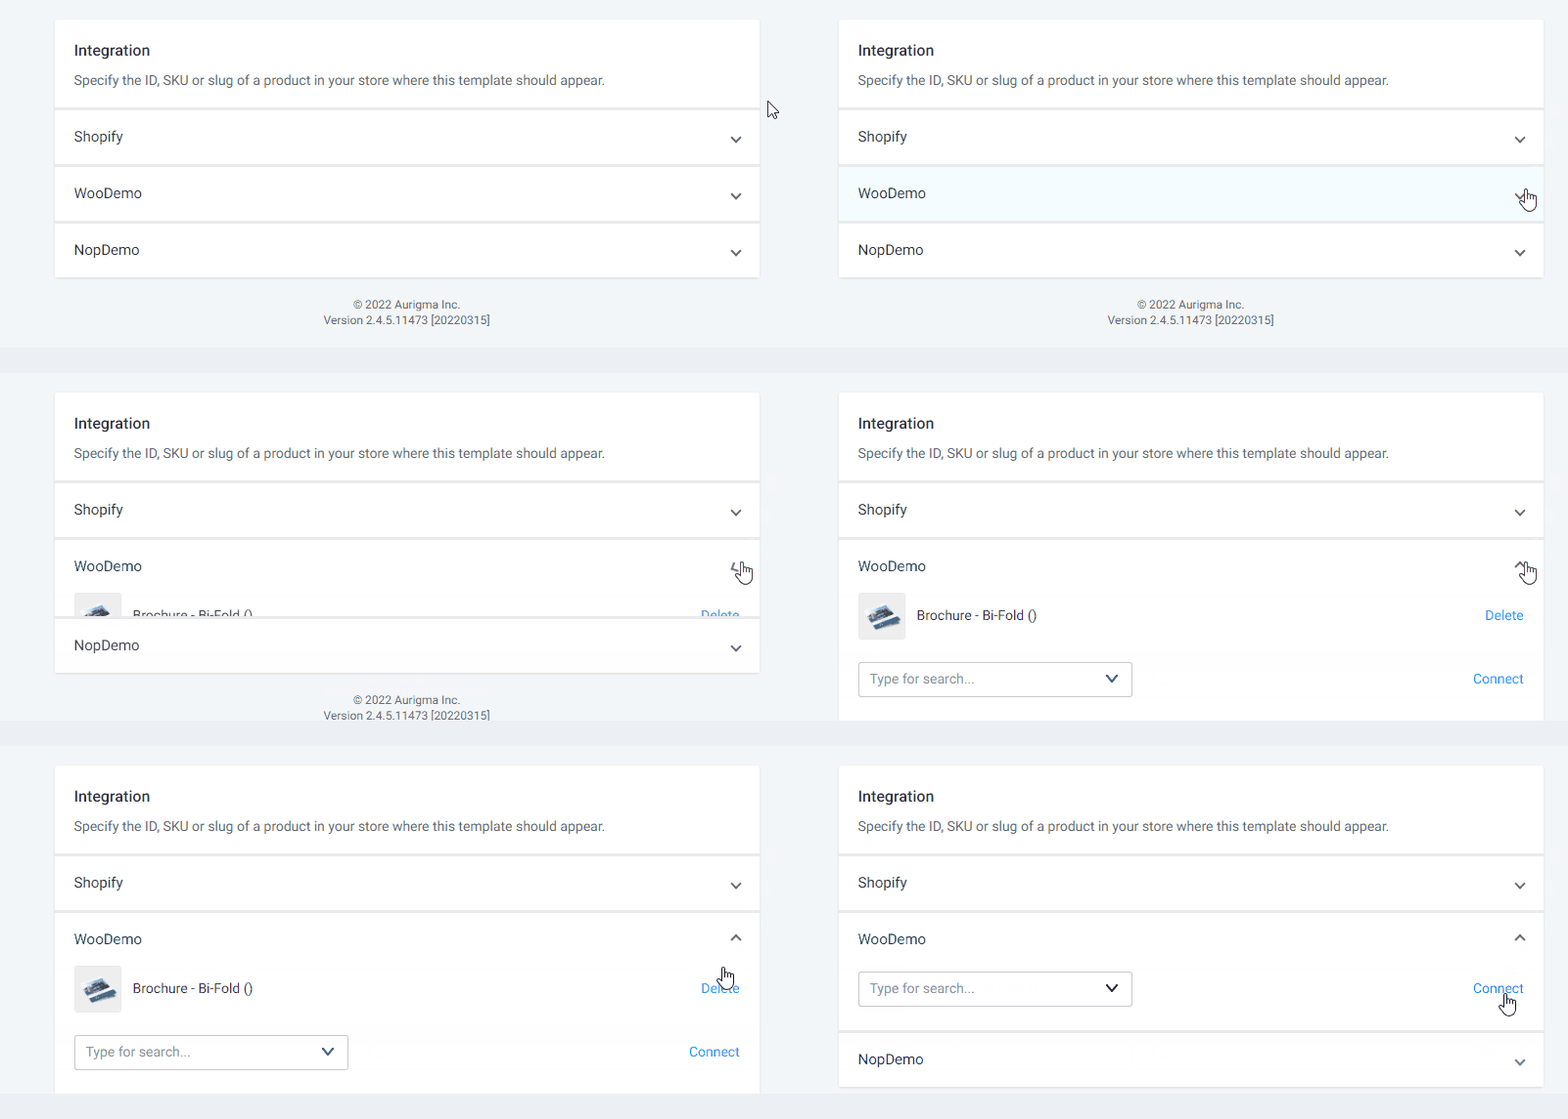
Scroll down to the Integration section. Here you will see a list of the integrations configured for your account.
Note
If you don't see any integrations here, contact our support team for more details.
Expand the appropriate integration and choose a product from your online store there. Don't forget to click Connect.
Testing the product specification
There are two ways to ensure that the product specification works as expected:
- You can open the product you connected a specification to in the storefront.
- You can use the Test button on a product specification screen.
In the latter case, the editor is opened inside the BackOffice, without the product page. It is a quicker way to test the personalization workflow with the specified design and other attributes.
Note that the Test button appears only after you click the Save button. If you make changes to an existing product specification, it is necessary to save them before you can test it.
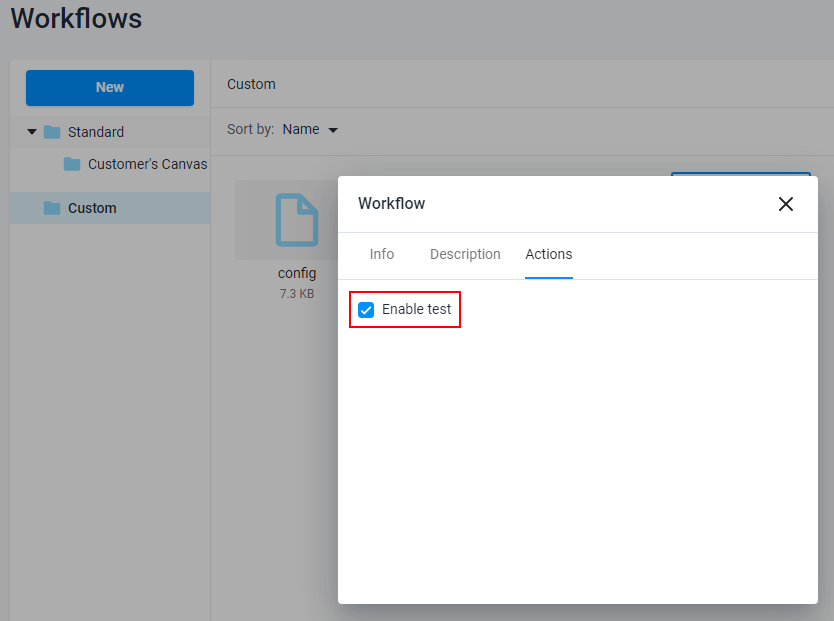
For certain personalization workflows, the Test button may be unavailable. If this is a custom workflow you have created yourself or imported from a list of standard workflows, you can enable test functionality as follows:
- Navigate to the Workflows section
- Right-click the workflow's config
- Click Properties
- Click the Actions tab
- Select Enable test.
Disconnecting a specification from a product in an online store
If you want to unpublish a product specification without deleting it, expand the integration and click Delete near the product name.
Deleting a product specification
You can delete product specifications through the Delete command in the Options menu.
When you do it, it automatically disconnects from the online store product.