Creating mockups for the PIM module
- 5-6 minutes to read
The PIM module supports three mockup types: thumbnail mockups, editor mockups, and preview mockups. You can read more about mockup types in the Concepts article. You can use one mockup file in the role of several mockup types at the same time. For example, a mockup with an isometric image can be used as a preview mockup and a thumbnail mockup. The idea is that you can use some mockup files as any of the types at the same time. This feature allows you to show your creative ideas in different ways. In this article, you'll learn how to create a mockup from the beginning, connect it to a product, add a design, and see the final result.
Let's first learn how to create a mockup for the PIM module from scratch.
Creating a mockup in Adobe Photoshop
Since the PIM module supports only PSD file format for mockups, we will use Adobe Photoshop to create a mockup.
Let's assume you have a T-shirt product in your Customer's Canvas account. Later we will see how to connect a design and a mockup to this product. You can learn more details about the PIM module in the Creating a product article, which includes a video tutorial.
In this example, a design is graphics displayed in the center of the T-shirt.
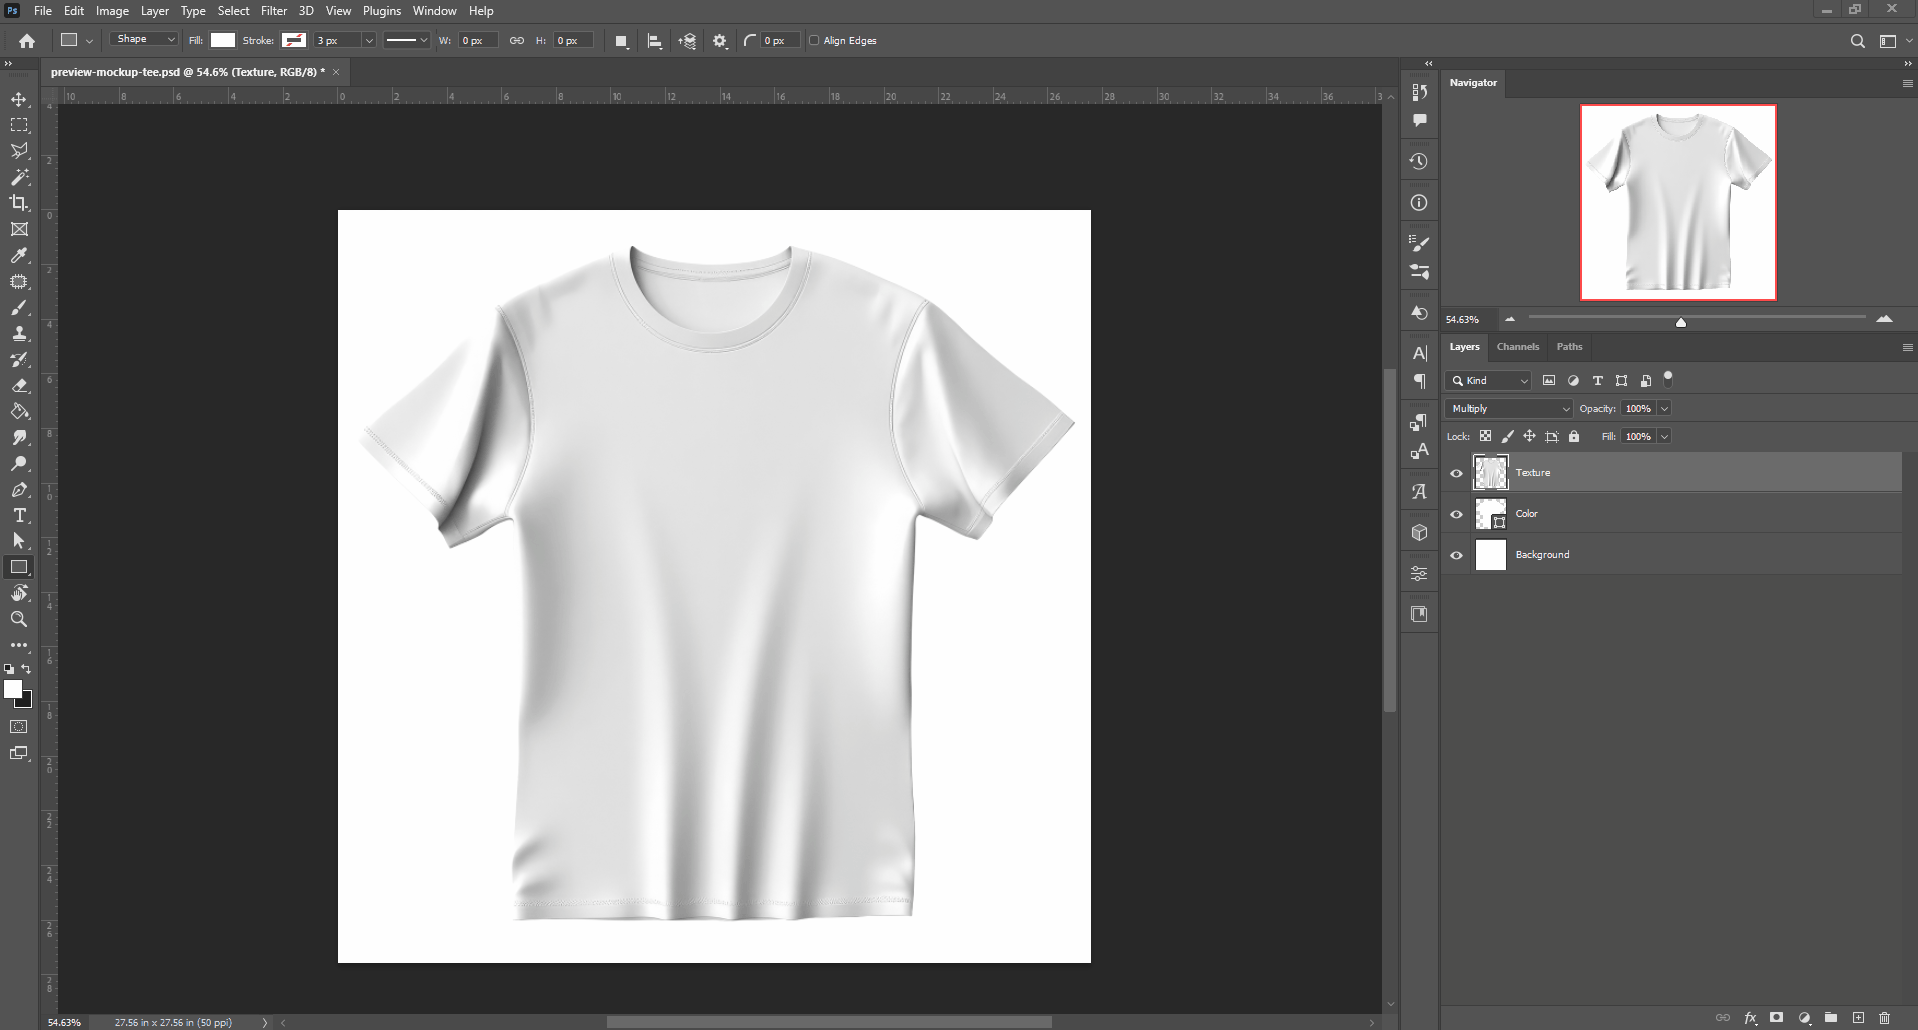
A mockup is an image of the T-shirt. This PSD file will consist of three layers:
- Upper: a transparent rectangle in the center to make the smart object visible.
- Middle: a smart object, where the design will be located.
- Lower: a background displaying the T-shirt.
This PSD file will be used to display mockups of all the types: as a thumbnail, as the background in the editor, and as the preview of the personalized product.
Defining PSD file settings
To create a file in Photoshop, launch the program, and navigate to File > New. In the New document dialog box, select Pixels as the measurement unit and fill in the following fields in Preset Details:
- Width -
1000pixels - Height -
1000pixels - Resolution -
72DPI
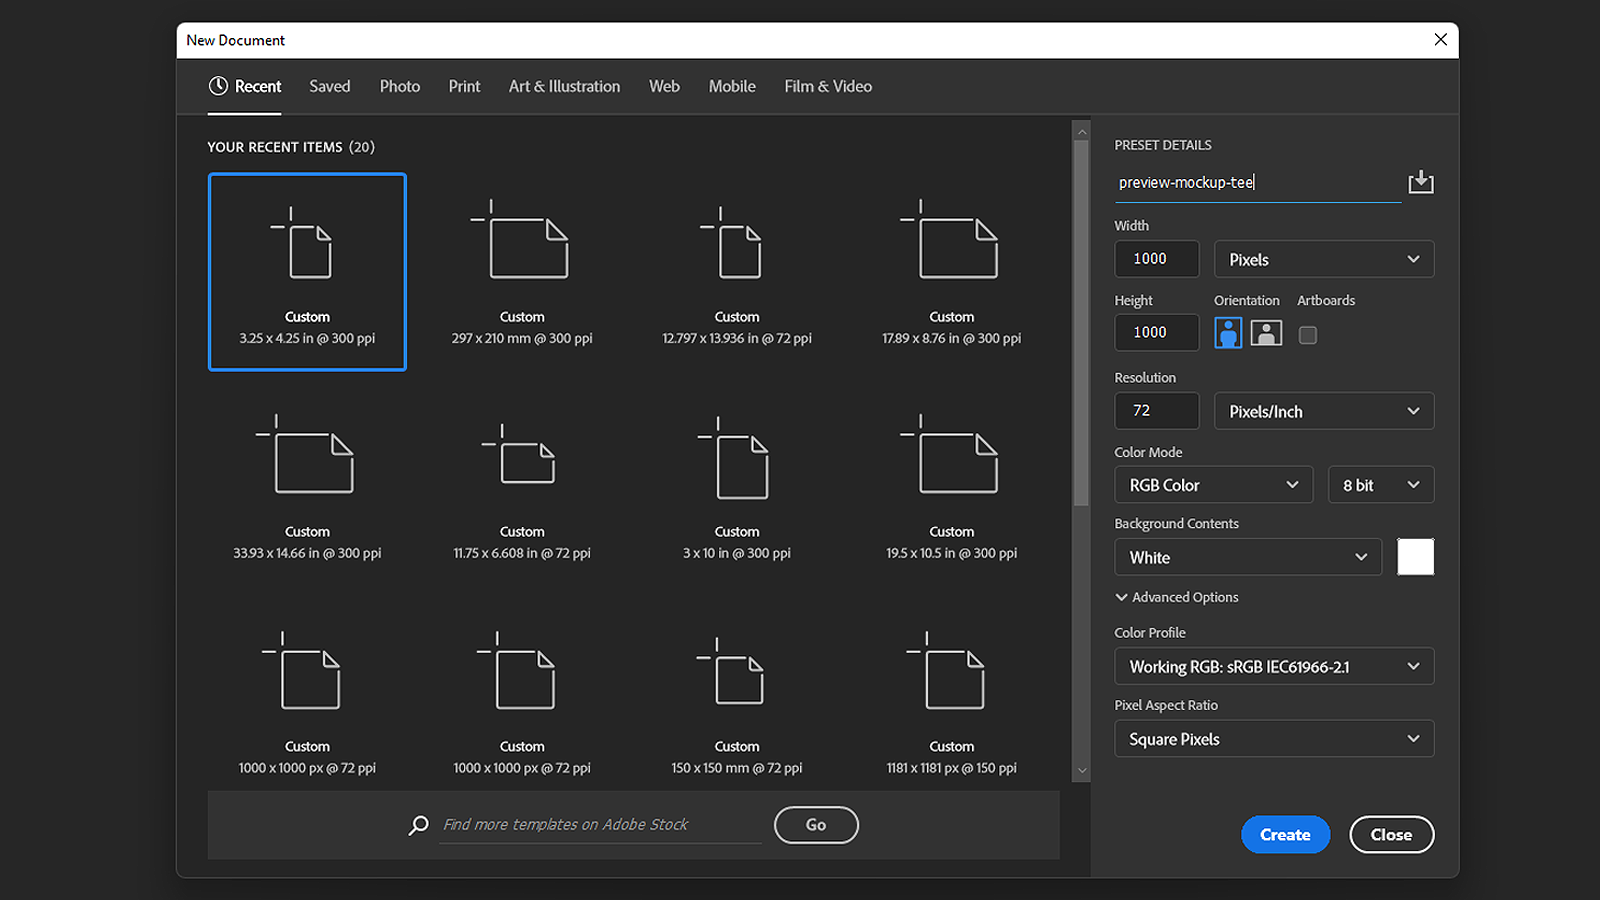
The 1000 x 1000 pixels is the size of our mockup file. In the PIM module, the physical size of mockups doesn't affect the final result. As for DPI, the more DPI is, the more image quality is. However, if you scale a mockup file with high DPI, its quality will be good enough, but it will take longer to load.
Adding layers to the mockups file
Mockups can have both a background image and an overlaying image. A substrate is the mockup, where the smart object is over it. An overlay is the mockup, where the smart object is under it.
In the PIM module, a mockup file can combine these two types in one file. For more details, you can refer to the Concepts article.
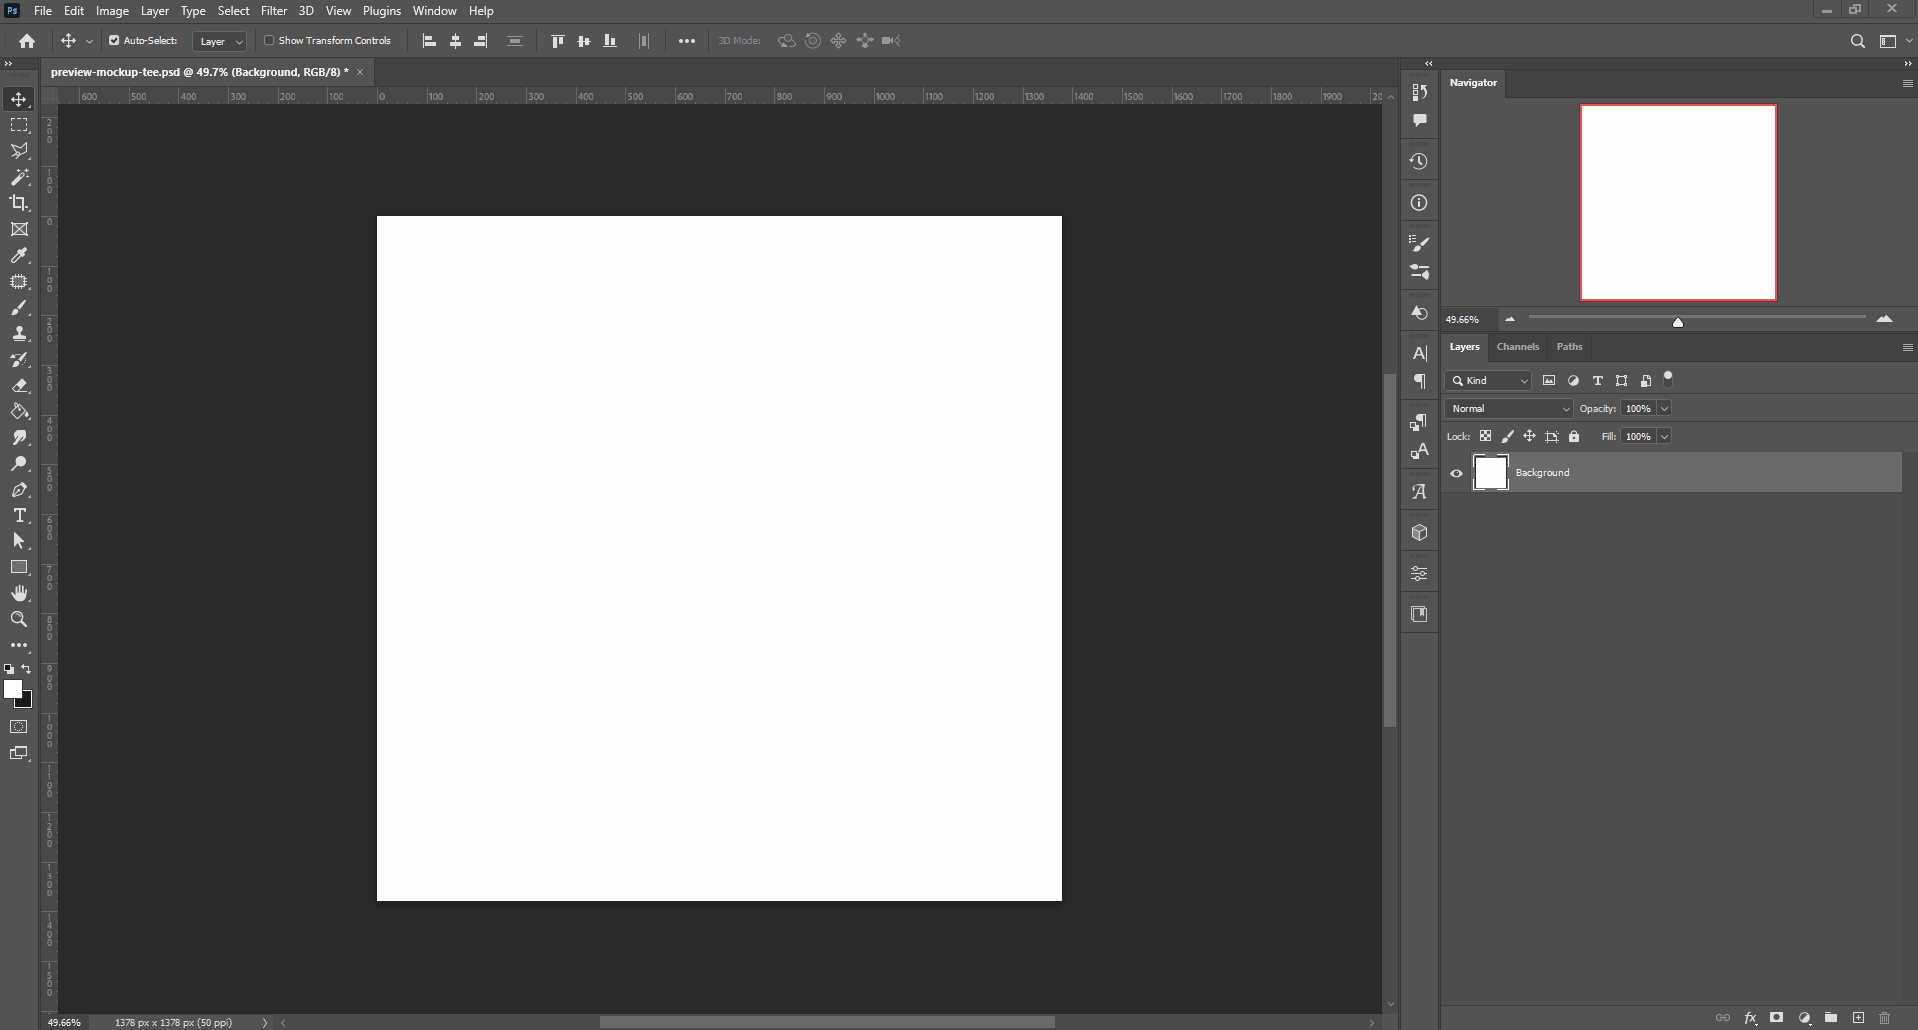
After you have created a new file, let's add a layer for the substrate. Now your file has only a layer Background. To create a regular layer, right-click the layer and select Layer from Background. In a new dialog box, rename the layer, for example, to Background. After the layer is changed, you can add some artworks there.
To add the background images, navigate to File > Place Embedded or just drag-and-drop files. The image will appear in a new layer, and you can scale it. The next step is converting this layer to a usual layer, where you can edit it if needed. To do so, right-click this layer in the layer list and select Rasterize Layer. Then, click the Blending mode drop-down box and select Multiply to apply the mockup texture to the design.
Note that the texture image is gray. If you try to apply a color to this texture, for example, when selecting a product variant, the resulting color will be dirty. To resolve this, you can add another layer with a vector mask applied to the outline of this T-shirt and set its color to white.
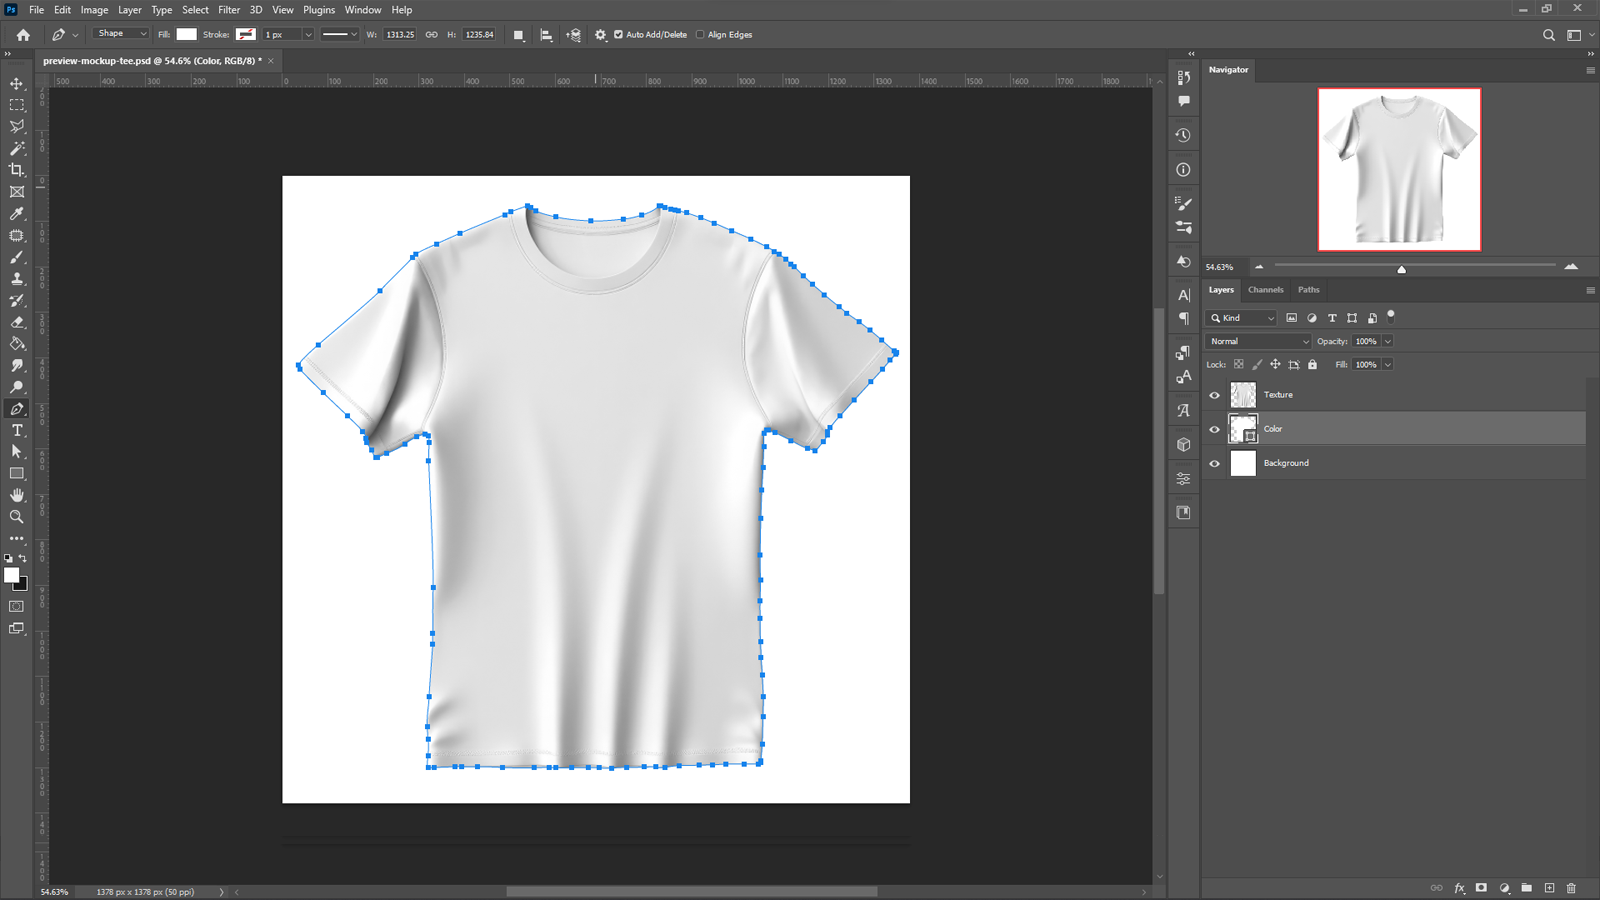
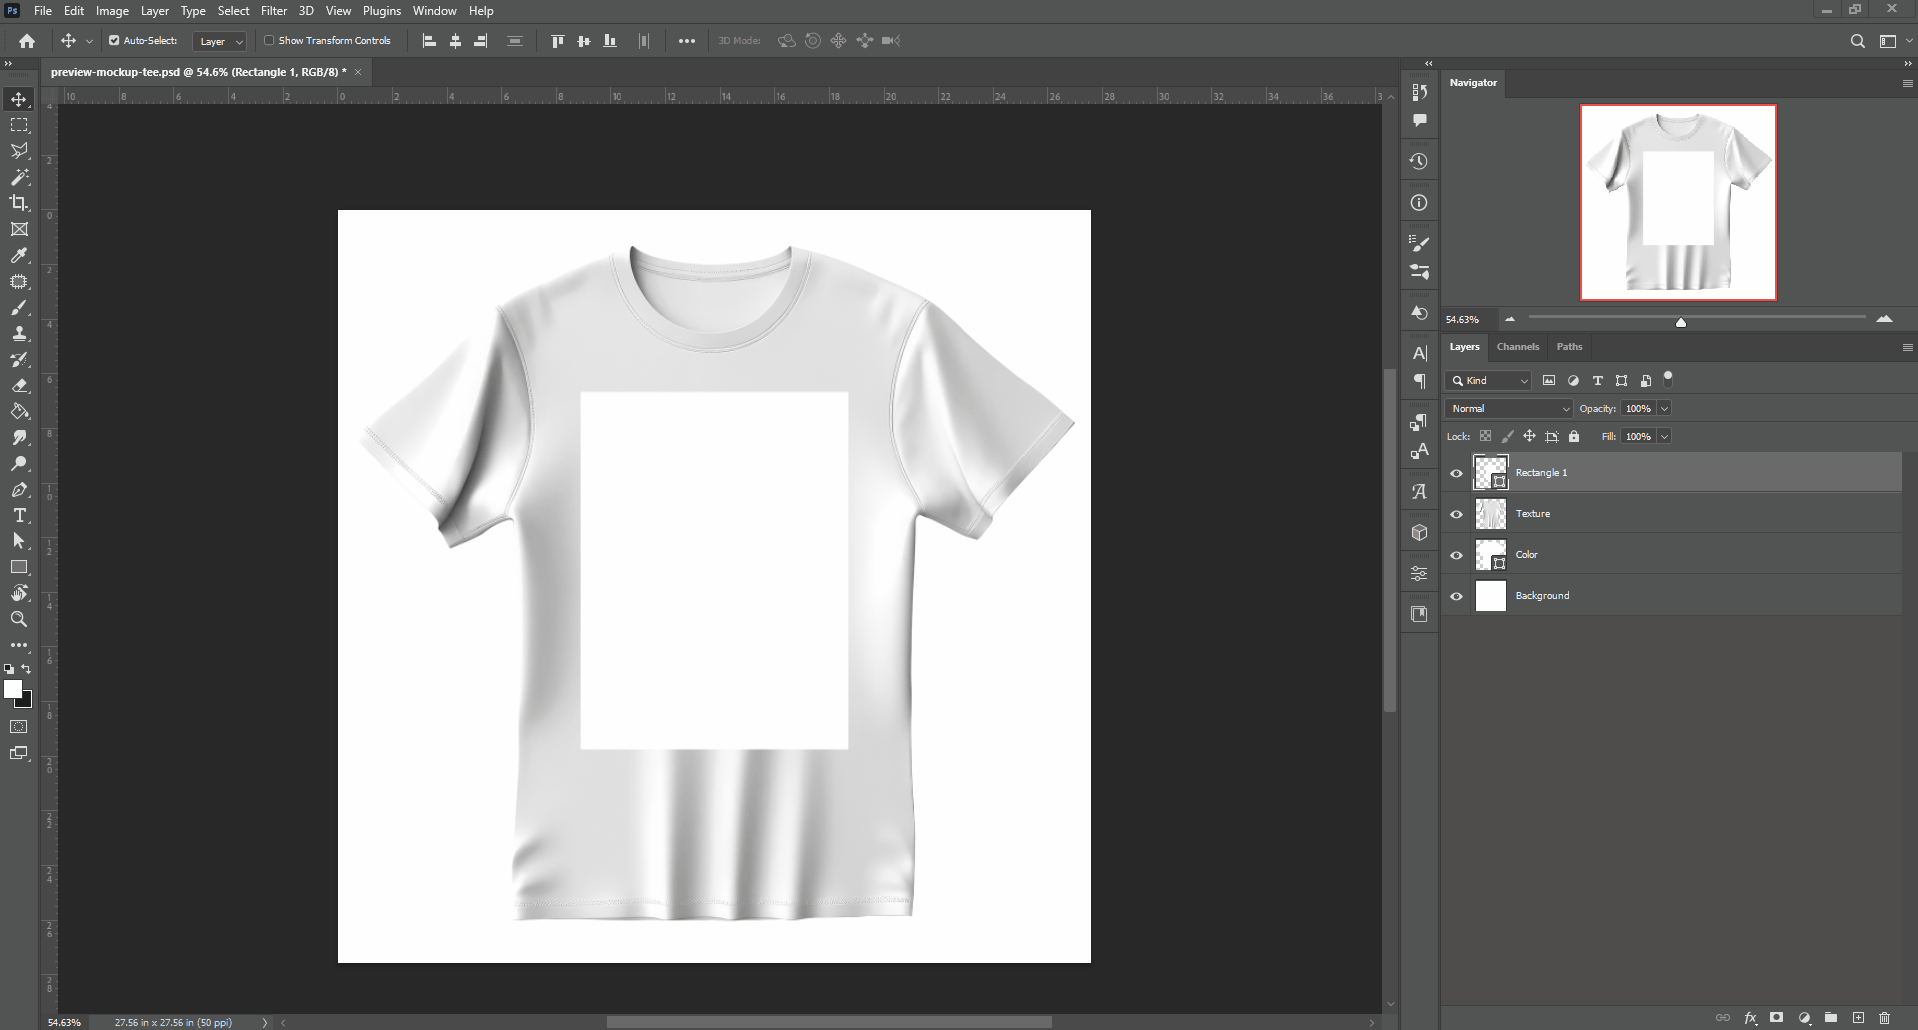
The substrate and overlay are ready. Now let's create another layer - a smart object.
Creating a smart object
A smart object is a place in a mockup, where a design will be embedded. In the PIM module, a smart object size matters not so much as its ratio. The design ratio must be the same as the smart object's ratio. Otherwise, the design will be scaled with losing DPI, or will be aligned or increased by the widest side.
In this example, the design is 12 x 16 inches.
To create a placeholder for our design, let's add a rectangle to the mockup. Select the rectangle tool in the toolbox and click inside the T-shirt outline. When the Create rectangle dialog box opens, type 12 and 16 in the width and height fields, and then click Ok. Adjust the rectangle if needed.
Now, let's create a smart object from this placeholder.
First, click the rectangle layer name to change it to Design. Right-click this layer and select Convert to smart object. Then,drag this layer below the texture in the layer list.
Finally, let's save the mockup file. Click File > Save.
Results
When the mockup file is ready, you can use it to create a product in the PIM module. To learn how to create products and connect them with a design and the mockup you've made, you can refer to the PIM Module section and the video tutorial.
Let's import the designs and mockups you need. To do this, go to your Customer's Canvas account, navigate to Assets > Designs and upload the designs there. For mockups, go to Assets > Mockups and upload the designs.
In this example, for this product, the mockup will be connected as a thumbnail mockup and a preview mockup. Let's connect the mockup you've created. For this, right-click the mockup file and select Connections. When a new dialog box opens, find the product you need and select it. Next, a new dialog box appears, and you can define how this mockup will be connected to the product.
This mockup file will represent all the mockup types: a thumbnail, an editor mockup, and a preview. In the Apply to pages text box, input 1 because the design you've used is one-sided. Next, select options and values you need. They have already predefined in the product. Finally, click Apply. For more information about connecting designs and mockups to a product, you can refer to the Connecting assets to products article.
When mockups and designs are connected to the product, you can start personalizing them.
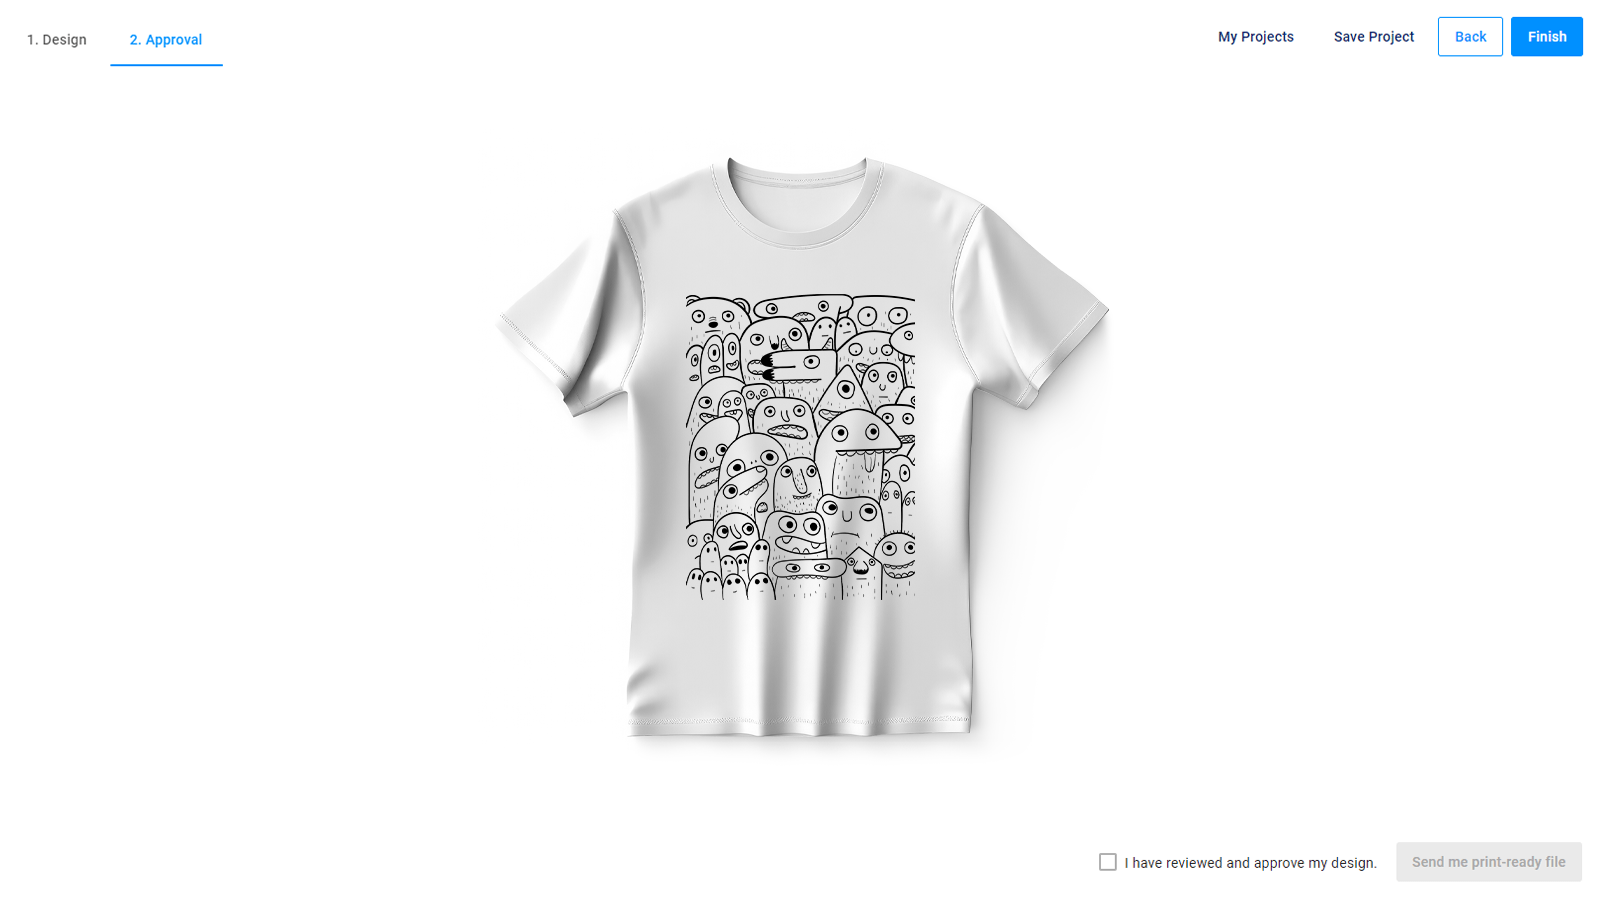
Let's see how the final result may look at the Approval step.