Overview
When customers personalize your design, you can visualize your designs at different personalization steps by using mockups.
A mockup is a PDF image that is a realistic representation of a product. For example, this could be an image of a cup, a book, business cards, and so on. You can present your designs on such a mockup to your customers.
In the PIM module, three mockup types are available:
- Thumbnail mockups.
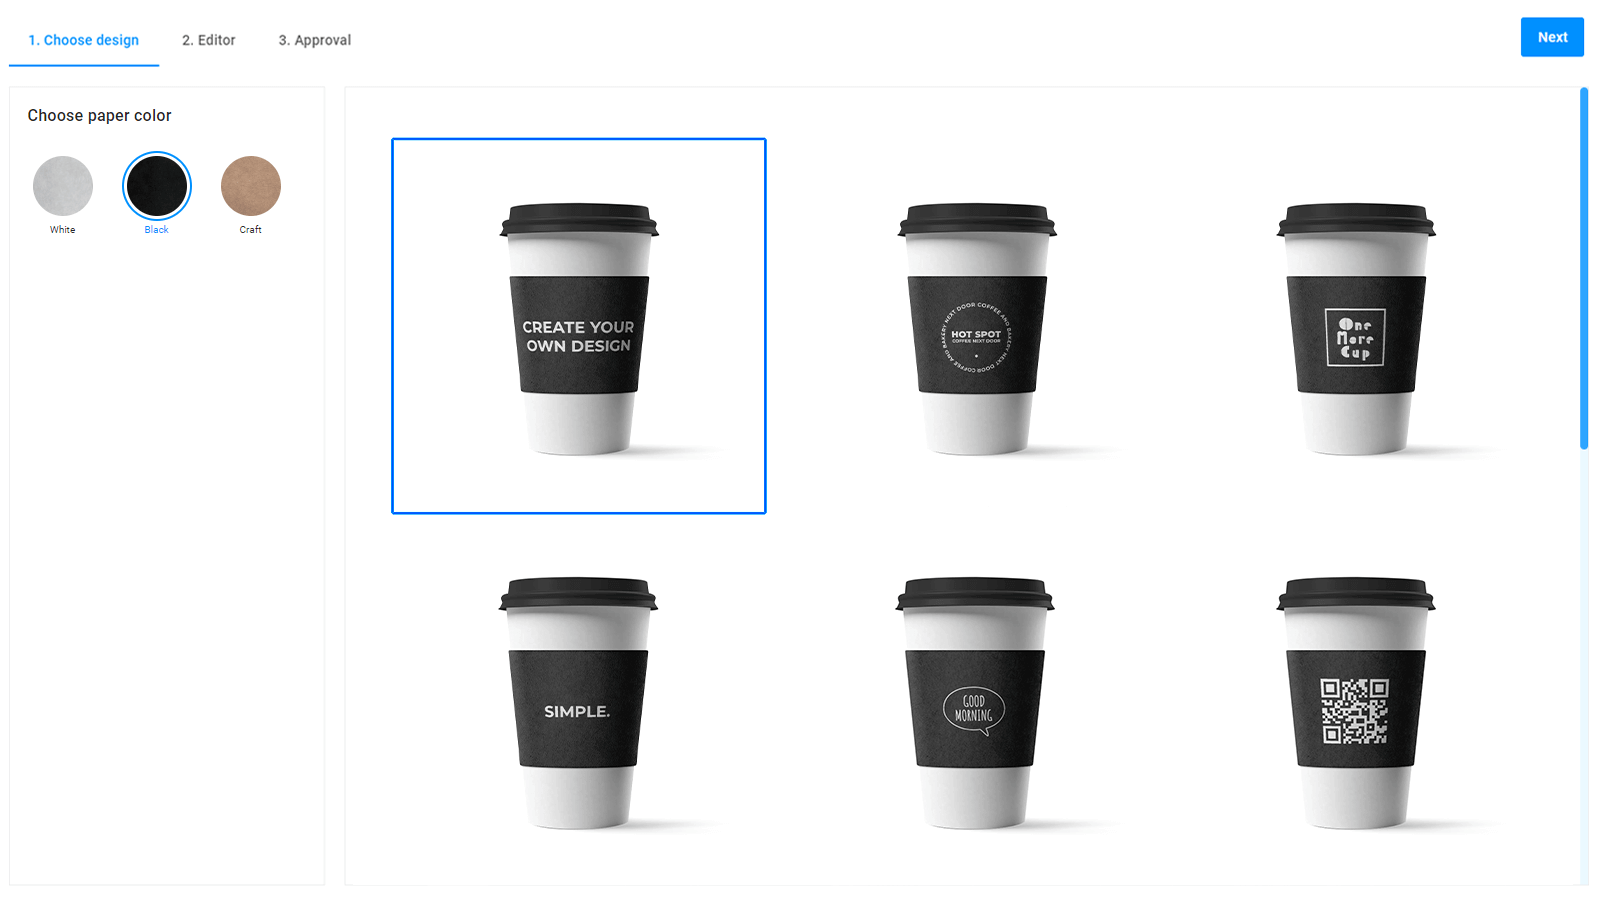
- An editor mockup.
- A preview mockup.
Each type shows a design at different personalization steps. To learn more mockup types and steps, read the Concepts article.
Here you can find articles about creating mockups in Adobe Photoshop. In the following guidelines, you will learn how to create mockups from scratch.
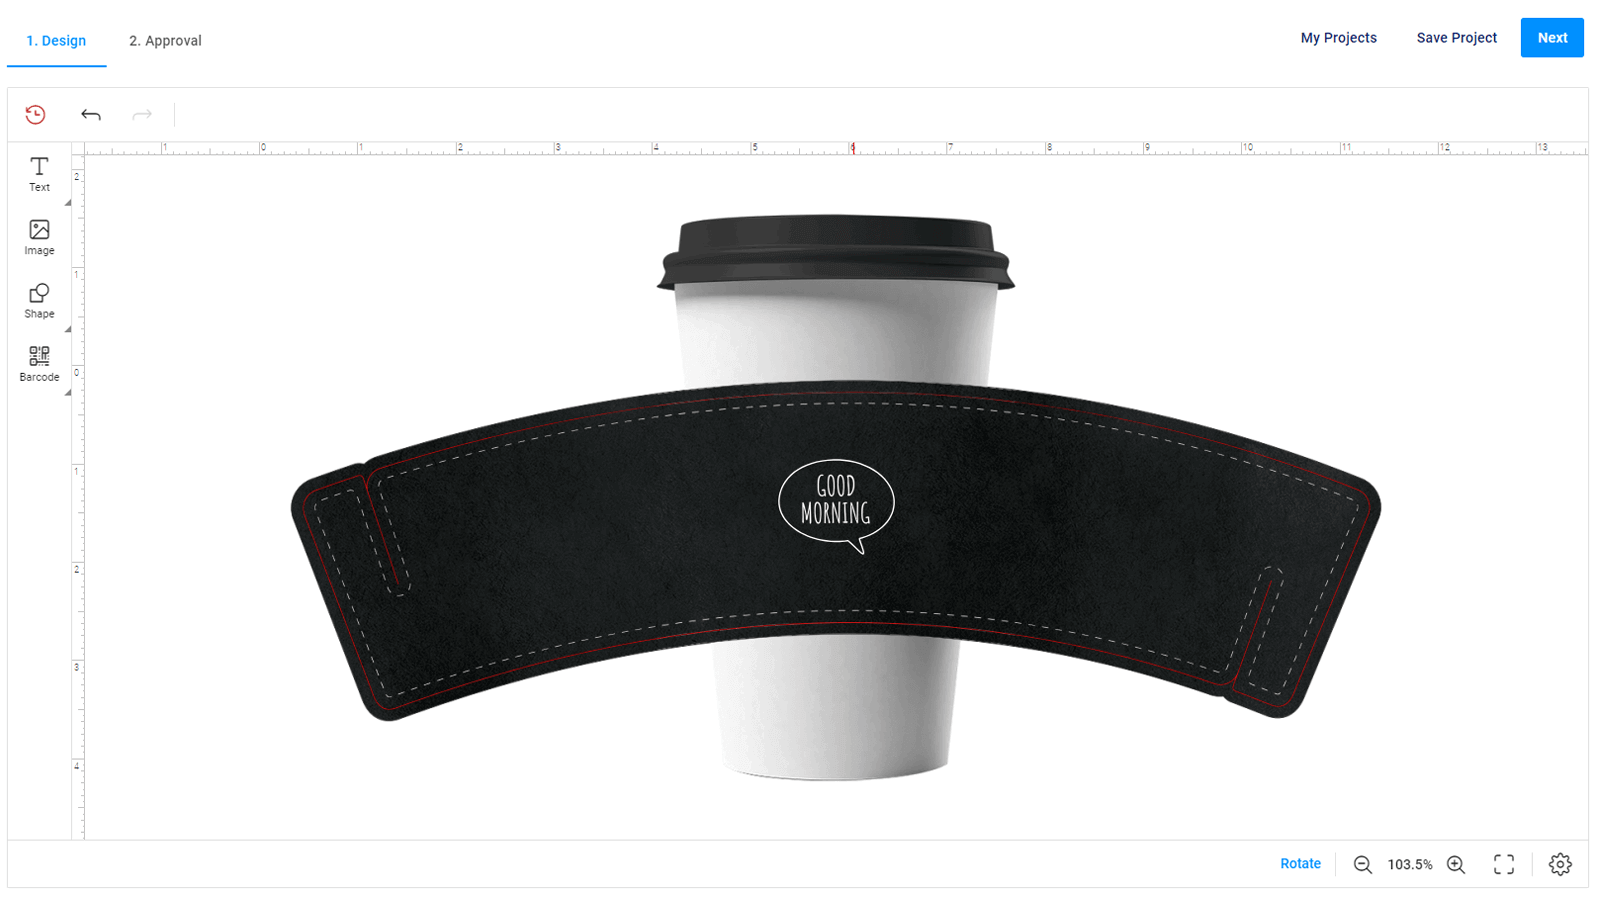
Let's take a look at the editor mockups. This mockup represents a design when customers personalize a design in Design Editor. To read more about editor mockups, see the Creating editor mockups article.
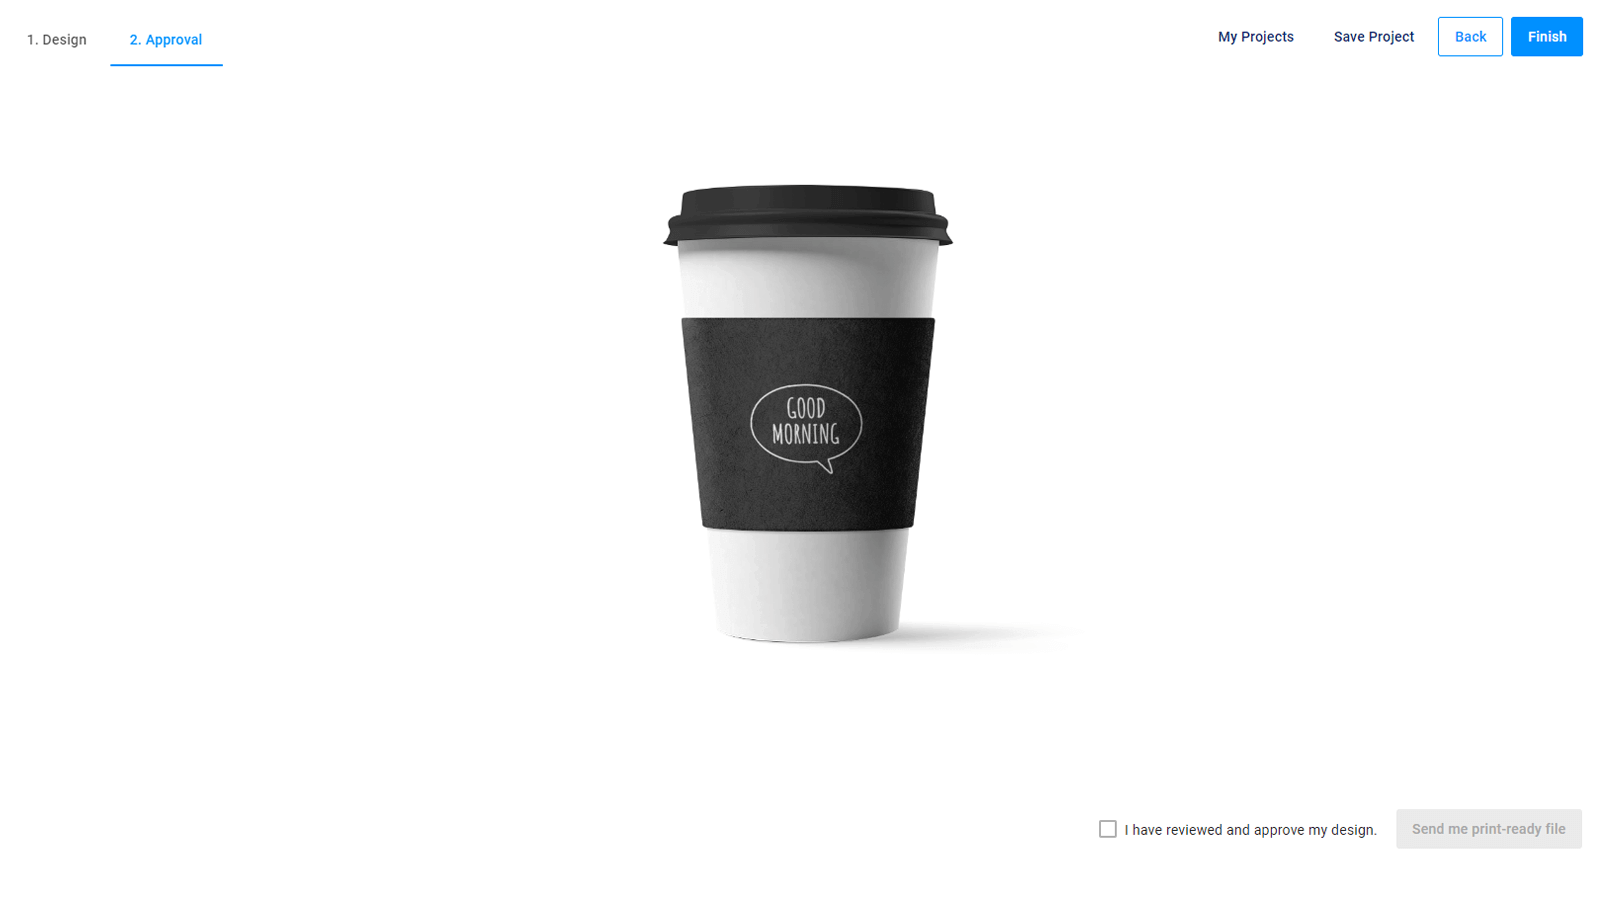
In Customer's Canvas, you can create thumbnail and preview mockups using the same guidelines. Read more about these mockup types in the Creating thumbnail and preview mockups section.
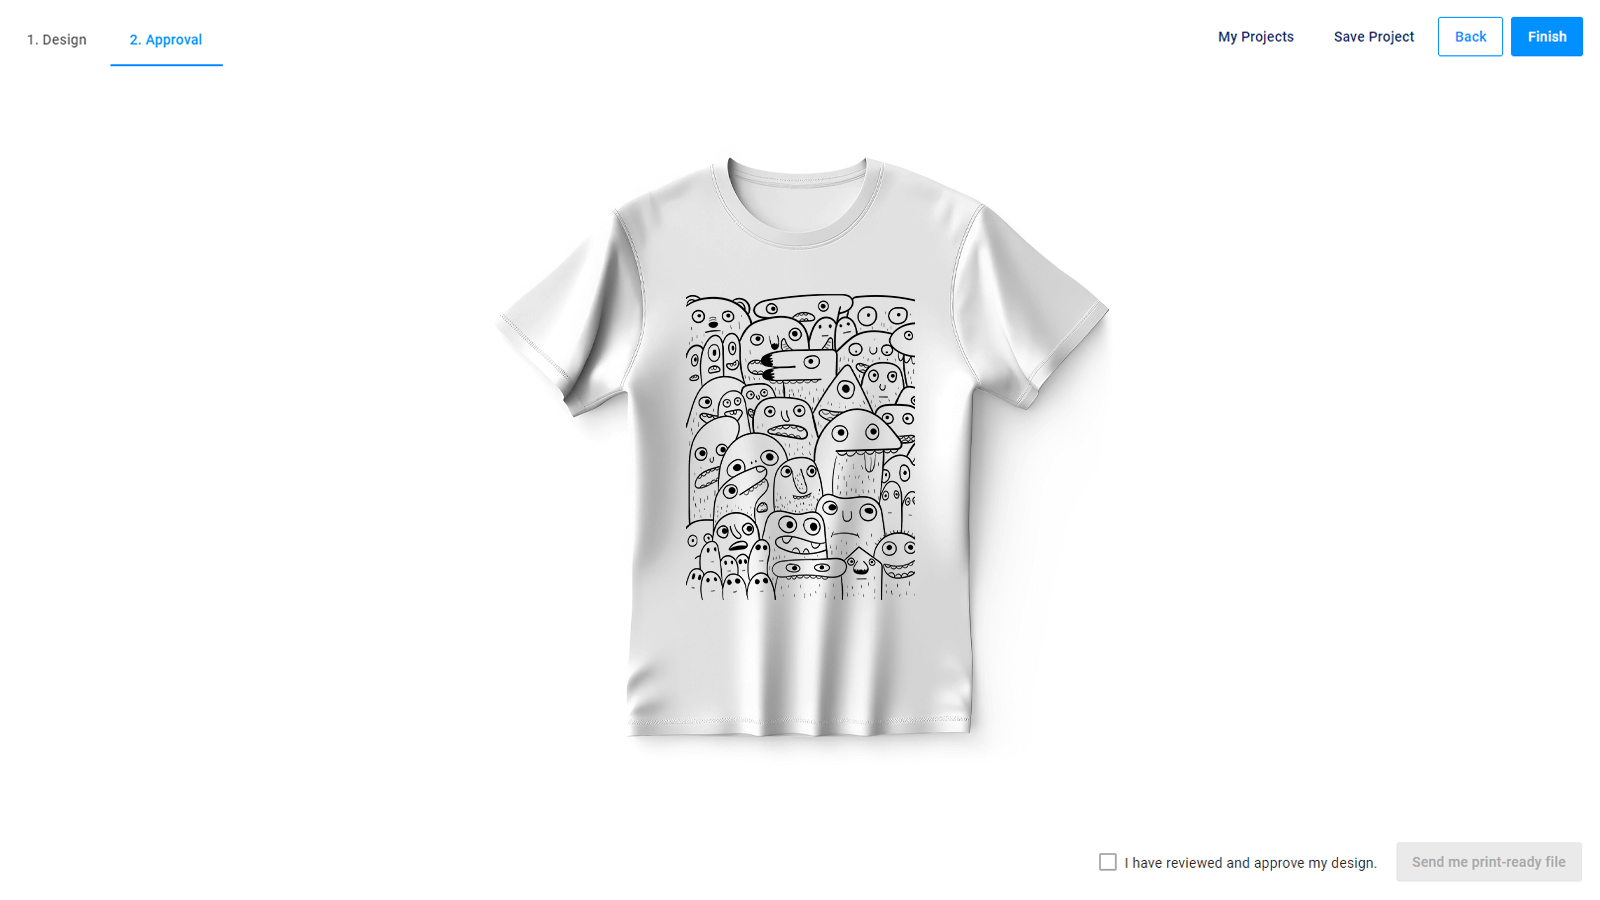
Thumbnail and preview mockups can be flat.
This mockup represents a design on a flat surface, for example, a T-shirt mockup. You can learn more about flat mockups in the Simple mockup article.
The PIM module supports mockups with the embossed or debossed effect. This is the effect of engraving some shapes, text, or graphics on a product surface. For example, these features are used on medals, some plastic or metal products, and so on.
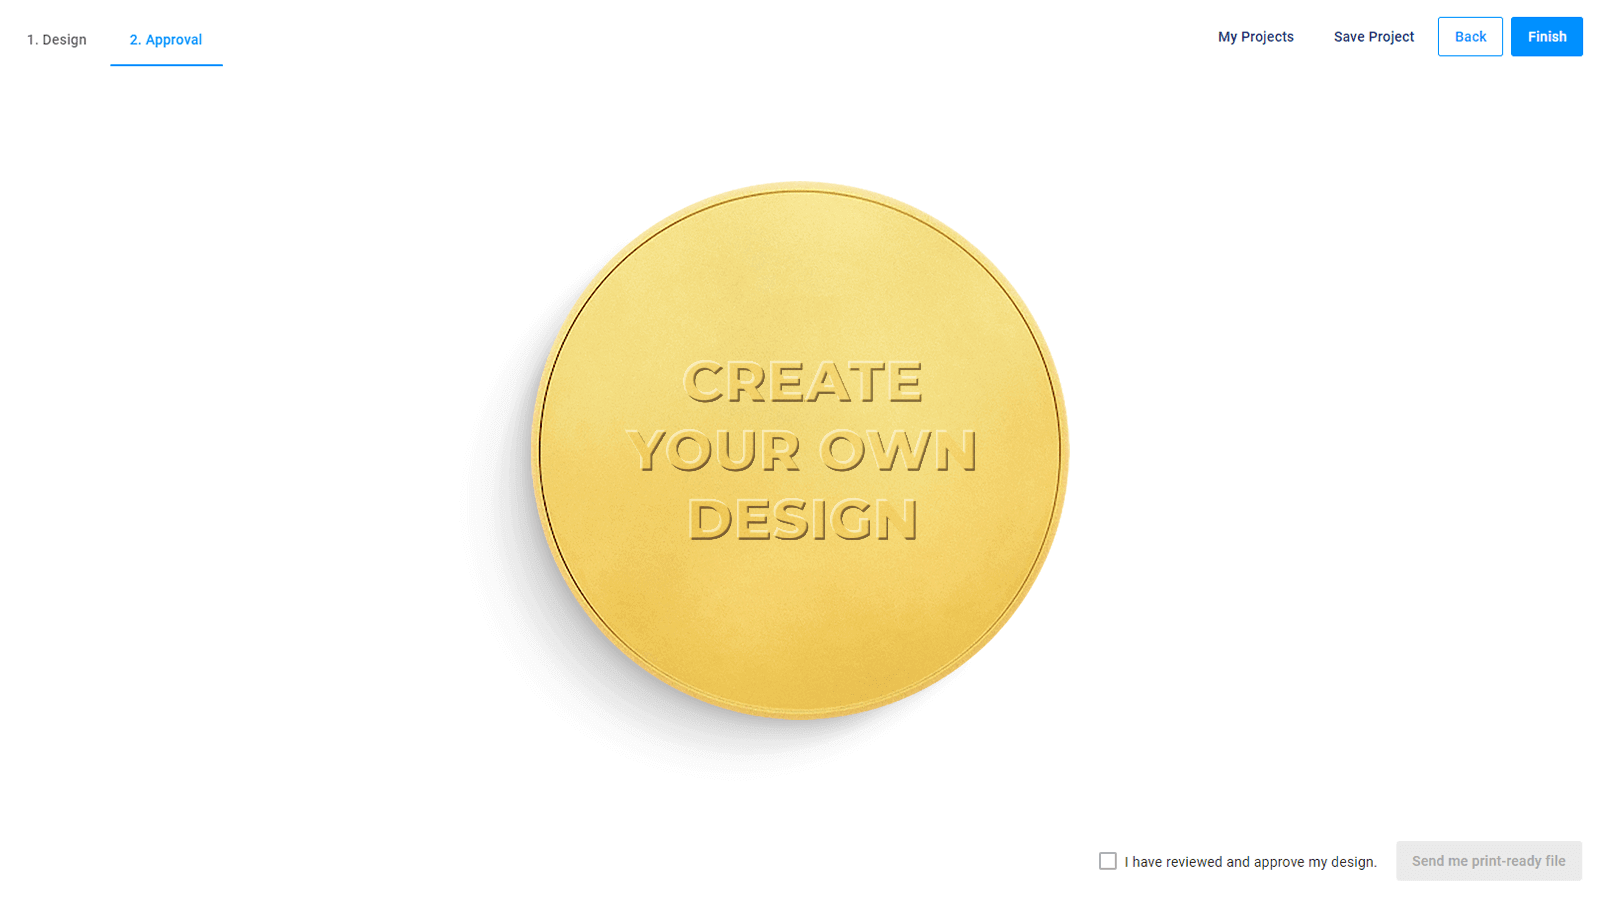
You can learn more about the embossed mockups in the Embossed and debossed mockups article.
In Troubleshooting, you can read recommendations about using the mockups and their features and limitations.