Importing from Photoshop
- Last updated on March 29, 2024
- •
- 6-7 minutes to read
This article explains all aspects of importing Customer's Canvas templates created in Adobe Photoshop. Let's assume they are valid PSD files that are created in accordance with the Photoshop templates section of the Designer's Manual.
Identify dependent files
Before you import a PSD file to Customer's Canvas, make sure that you know where you can get the additional files your template may require. There are basically two kinds of these dependencies:
- Fonts used in the text elements of your design.
- Images referred to in certain markers, e.g.
<BGIMG>or<TFP>.
Unlike InDesign, Photoshop does not allow you to create a package and thus quickly get a list of all used fonts. You need to click each text element and check its font name. Another way to find a list of all used fonts is to export a Photoshop file to PDF, open it in Adobe Reader, and then click File -> Properties... -> Fonts.
As for the images referred to in the markers, their file names are specified inside the marker.
Fonts
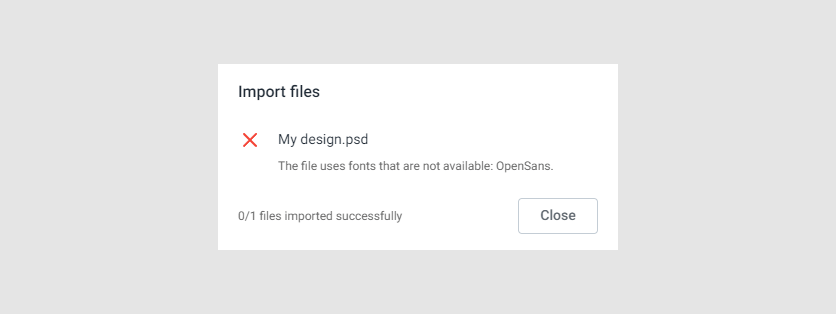
Once you identify all fonts used in your PSD file, ensure that they are available in your Customer's Canvas account. If any of them are missing, upload them as discussed in the Fonts article.
If you import a PSD file and Customer's Canvas does not find the required fonts, it will fail with the following error.
External Files
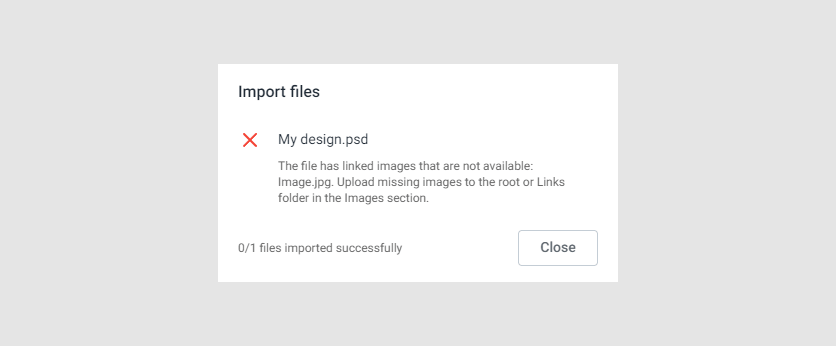
If your PSD files include the <BGIMG> or <TFP> markers, you need to add the files referred to by them to Customer's Canvas prior to importing a design.
- Go to the Images section of your Assets.
- Create the Links folder in the root folder.
- In the Links folder, upload the files with the same names that are used in these markers.
If you try to import a design with missing links, you will see the following error.
Importing PSD files
When all required files are added to Customer's Canvas, you can import a PSD file as follows.
- Go to the Designs section of your Assets.
- Upload a file either by clicking New -> Import or by dragging them from your computer to the file manager.
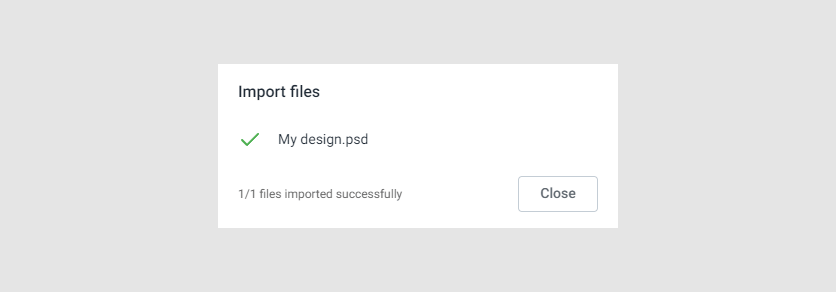
You will see the import dialog. When it is successfully completed, you will see a confirmation.
Now, your file is ready. You can open it in the Template Editor to see whether everything is correct and test it in Design Editor.
If it fails for some reason, you will see an error message. The failure could be due to missing fonts or external files, as explained above, but could also be the result of some unexpected problem. In this case, please contact our support team and send the original PSD file that caused the problem so that we can troubleshoot it.
Important
You might have noticed that we call this operation import rather than upload. We use this term because we are not using the PSD file directly. Instead, we are converting it to our own internal ST format. This approach allows you to edit these designs in Customer's Canvas editors and save the result.
This conversion has two important consequences:
- If you download the file again, you will get the ST file rather than the original Photoshop file.
- Not all of Photoshop's features are supported. If Customer's Canvas does not recognize some elements or features, they are discarded.
Re-importing a design
Let's assume that you have successfully imported a design. Later, you may decide to make changes in your Photoshop file and update it in Customer's Canvas.
One way to perform this action is to delete the previously imported file and import it again. However, in this case, you will lose the metadata and the asset ID will be changed. If the file is already published, it may break the integration and make this design unavailable on your online store.
To avoid this issue, you need to update the file as follows:
- Select a design you would like to replace.
- Right-click it and choose Update file.
- Choose an updated PSD file on your computer.
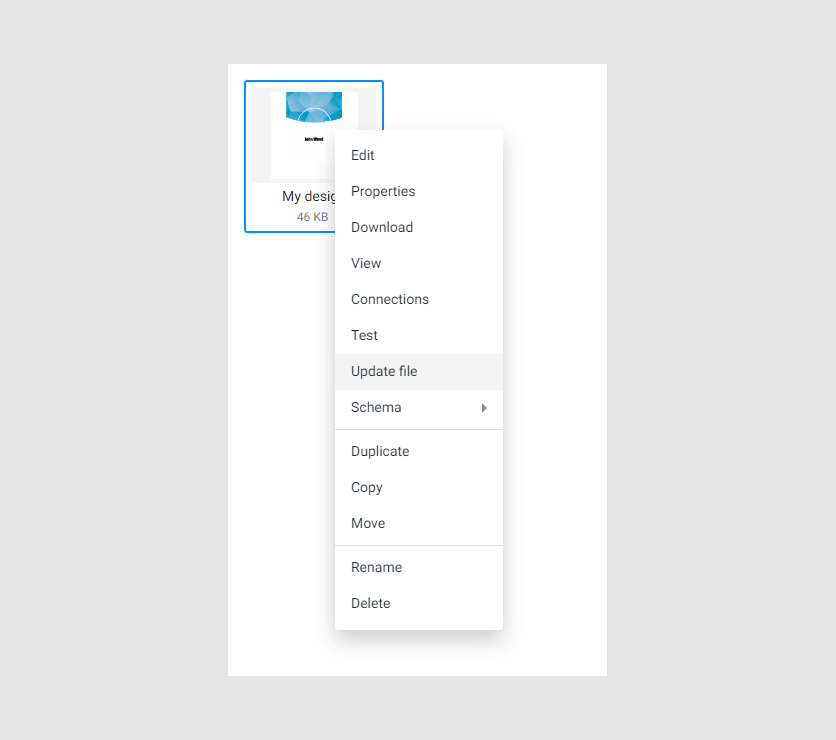
It will re-import the design and update the asset keeping its name, ID, and other metadata intact.
Some notes about legacy PSD templates
If you are trying to migrate from older versions of Customer's Canvas (such as the Design Editor prior to version 6), you may run into a few obstacles.
Bleed zone
Photoshop does not support bleed areas. In the past, if you needed to add a bleed zone, you had to make a design file a bit larger than the target product size and configure the Design Editor to include safety lines inside this product. For example, if you make a 3.5x2 inch business card, you had to create a 3.75x2.25 Photoshop file to add a 1/8-inch bleed zone.
As you know from the Pages article, in Customer's Canvas, the page size means the size of the trimmed product, and the bleed settings add space to the outside of the product, not inside it. Therefore when you import this design, it will have a size equal to 3.75x2.25 with no bleed.
That's why after you import a design that was artificially enlarged to include a bleed zone, you will have to open it in the editor, set the proper bleed size and modify the page size. See the Pages article in the Template Editor Guide for details.
Multipage Designs
If you have prepared Photoshop templates for the Design Editor and needed to create multi-page or double-sided designs, you created several files - one per page or side. You needed to combine them into a single multi-page/double-sided product in the editor's configuration.
Now you can just create multi-page designs as explained in the Pages article in the Template Editor Guide. However, when you import PSD files, you are creating individual single-paged designs.
Currently, Customer's Canvas does not offer a native way to merge multiple designs into a single multi-page design. However, you can do it manually. For example, assume that you have a double-sided business card.
- Open a design containing a front side.
- Add a new empty page in this design. Ensure that it has the correct size/bleed settings.
- Open a design containing a back side in another browser tab.
- Select elements on this design and copy them (
Ctrl+C). - Switch to the first design. Ensure that you are on a new empty page.
- Paste elements from the clipboard (
Ctrl+V).
Text engine
Customer's Canvas supports two text engines: a classic text engine and a new WYSIWYG text engine called TextWhizz. The classic engine supports a few more features, but it does not allow you to edit text directly on a design. Although we are working hard to make the TextWhizz engine on par with the classic text engine, you may sometimes get a text element during the import that cannot be edited in WYSIWYG mode.
When you open such designs in the Template Editor, these elements will be displayed like this:
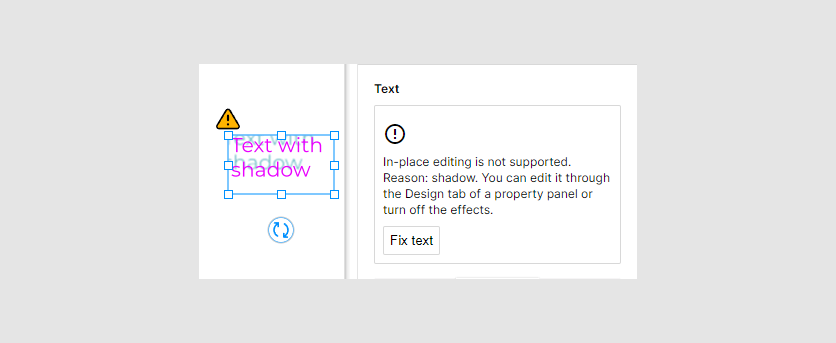
You won't be able to edit its text by double-clicking the element and editing it on a design, but you can still do so using the Content field in the property panel.
If you open such designs in the end-user's Design Editor, the user will be able to edit this text in a popup window, like they used to do in the Design Editor prior to version 6.
The warning displays the reason why Customer's Canvas falls back to the classic text engine, and if you want, allows you to fix the problem by removing the text settings that prevent WYSIWYG mode from being enabled. If you would not like to sacrifice this feature in exchange for the WYSIWYG mode, you can leave it as is.
Now, let's look at how you can download and upload designs in the internal Customer's Canvas format.