Shapes
- Last updated on August 28, 2024
- •
- 3 minutes to read
Shapes represent design elements like rectangles, ellipses, or more complex figures.
When creating a printed file, shapes are saved as vector elements, which means that they will always be printed in high quality. It is also easy to set the color and stroke for shapes, including in the end-user editor.
In the Template Editor, you will deal with three types of shapes: rectangles, ellipses, and complex shapes based on SVG files. We will learn how to work with all of them below.
Creating rectangles and ellipses
You can use the toolbox to create a rectangular or circular shape.

You can also press R to create a rectangle or E to create an ellipse.
When you have activated a shape tool, click the left mouse button, stretch the necessary frame, and release the button. A rectangle or ellipse will appear in place of the frame. By default, they will be gray, and the stroke will be enabled.

Adding a complex shape from SVG
If you need a more complex shape than a simple rectangle or ellipse, you need to create a single-color SVG file, if possible, consisting of a single path.
You can download it from the Internet (the license for this file must allow you to use it in your designs), or use an editor like Adobe Illustrator, CorelDraw, or Inkscape.
Note
When saving SVG files in Illustrator, uncheck Preserve Illustrator editing capabilities, otherwise, Customer's Canvas will not be able to recognize this file.
To add such an SVG to the design, either drag and drop it in the editor, or use the Image tool (or press the M key). You can either select an image from asset storage or upload one from your computer.

Editing shape properties
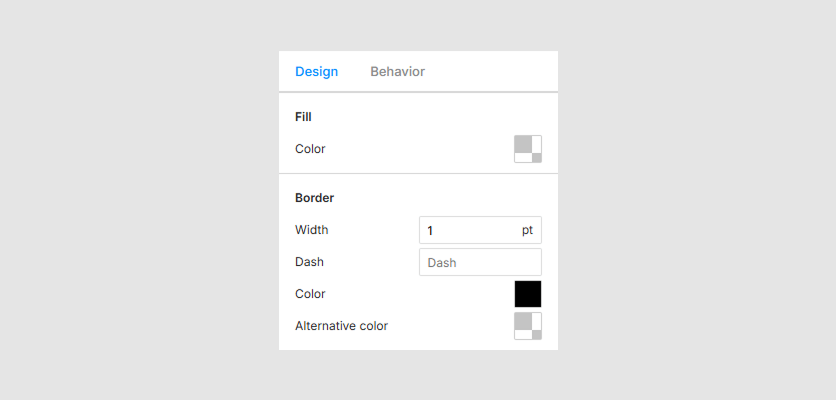
As for other types of elements, the shape properties are edited in the properties panel on the Design tab.
See how you can work with the following properties:
Below we will discuss how to perform several common tasks.
Adding a shape outline
You may want to add a shape as an outline instead of a filled figure. It's quite easy to do.

- Upload the SVG file.
- In the Fill section, choose No Color as the color.
- In the Border section, set a width other than
0(for example,1pt). If necessary, adjust the stroke.
Adding die-lines
If you make non-rectangular product designs, one of your likely tasks is to introduce die-lines to the design.
Usually, it is a certain shape, painted with a special spot color. Suppose it is called CUT. For simplicity, let's assume that our line is a circle (for a more complex shape, you will need to upload it as an SVG).
Create a circle and place it where you want.
Turn it into the outline as described above.
Edit the stroke color. On the Spot tab, create a spot color with the name CUT. For details, see the Color picker section.
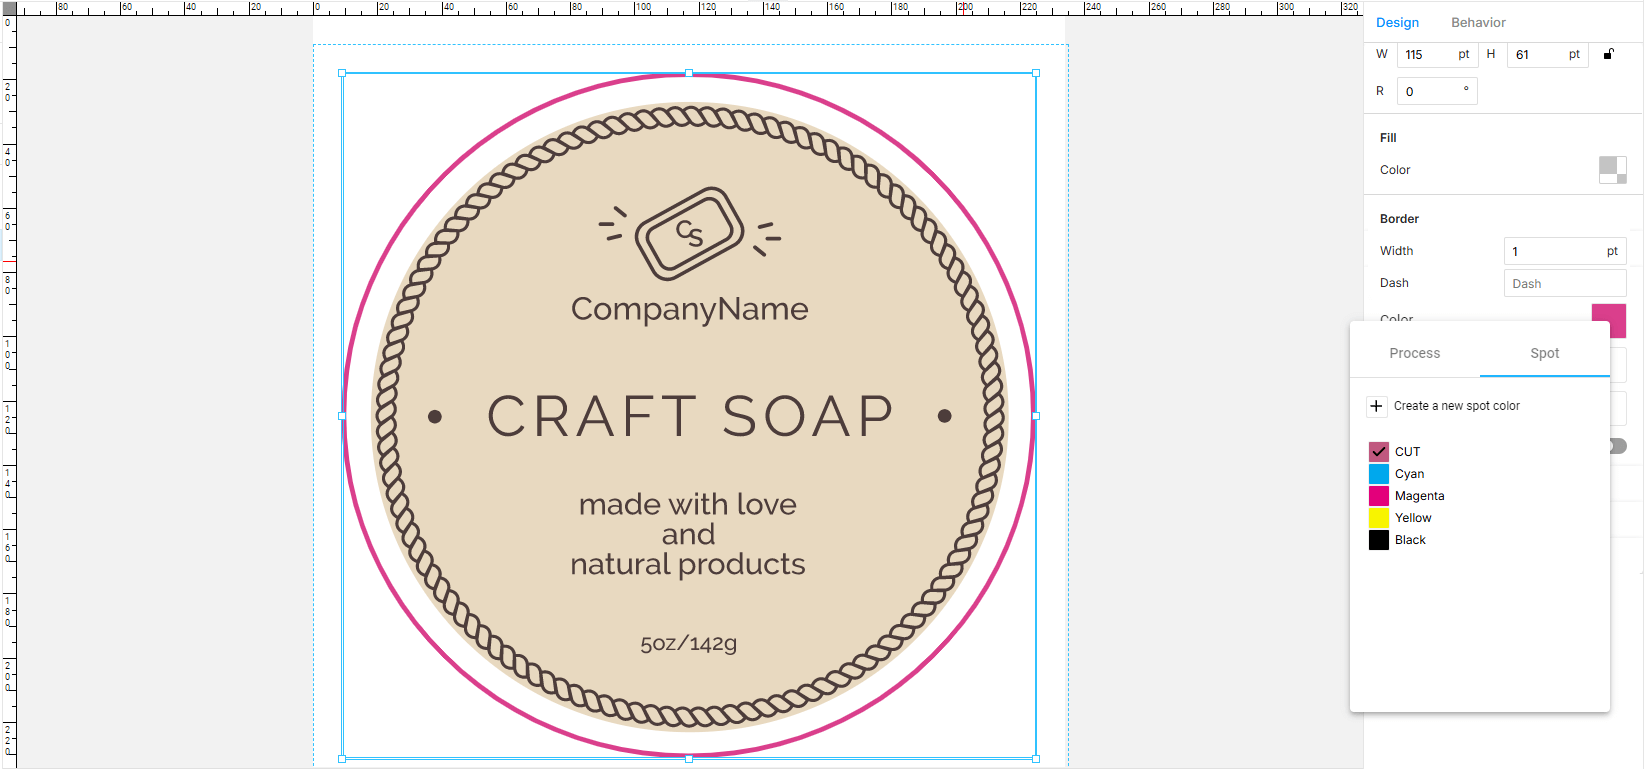
If necessary, configure the overprint.

If necessary, make the die-lines visible only on the print file. For more details, see Visibility.
Turning a shape into a placeholder
Sometimes, we need to create a non-rectangular placeholder for photos. One of the simplest ways to do this is to convert the shape into a placeholder. For example, if you want to make a circular placeholder:

- Create a circle and place it where you want.
- Go to the Behavior > Placeholder tab. Switch the shape to a placeholder.
- Now we have a placeholder, which, if needed, can be configured as described in the Image placeholder section.
Let's go further and learn how to create different types of barcodes.