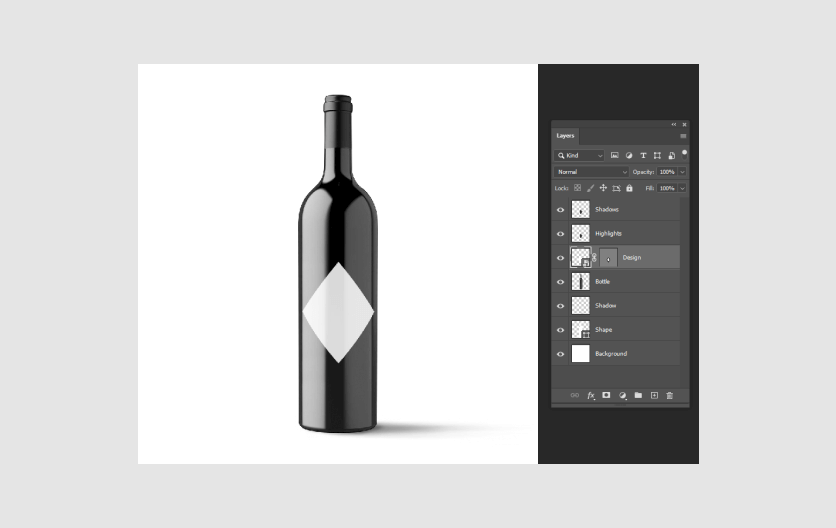

Mockup with mask
Your design may take different forms: round, rhomb, and so on. When you display such a design on a mockup, you need to hide unused areas. You can crop them with a vector mask.
In this article, you will learn how to hide a part of your design with a vector mask.
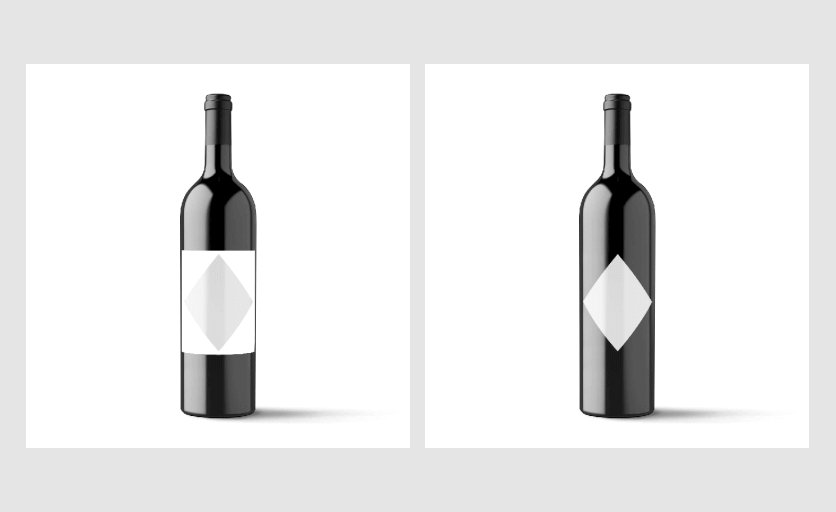
Let's see the example. This is a wine bottle mockup, where you display a wine label. This label is a rhomb, and you need to hide white areas.
This is how such a mockup looks without or with a vector mask.
Creating a shape
To create a vector mask, use the Pen tool. Make sure that you select Shape mode in the drop-down box. Draw the shape exactly along the part of your design that you want to create visible.
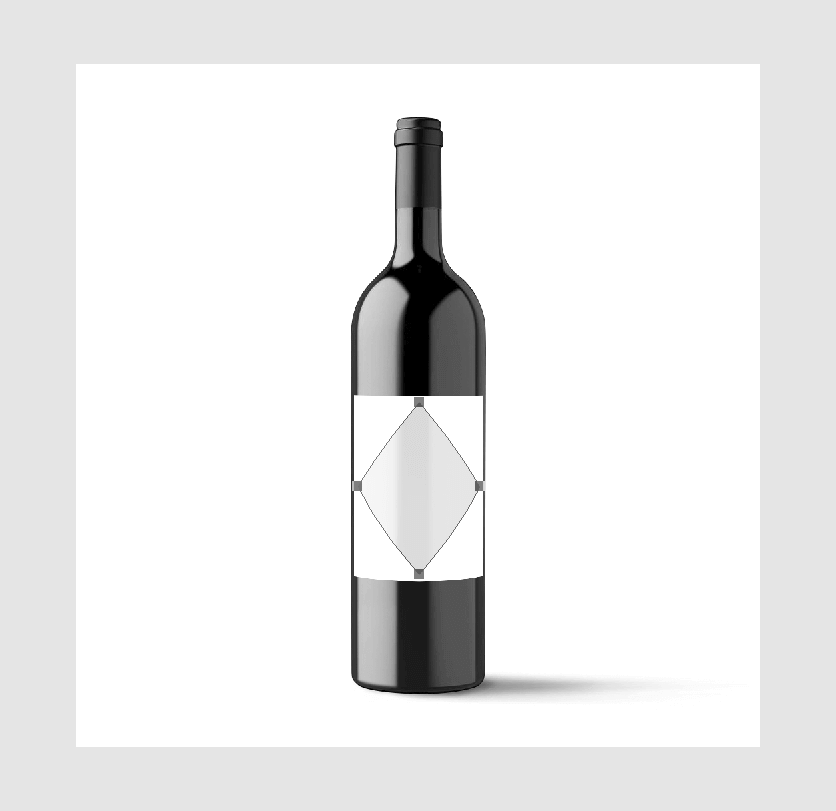
Creating a vector mask
To create a vector mask, do these actions:
- Make sure that you have selected the layer with the created shape.
- Go to the Path tab.
- Double-click the path and save this path with a new name. For example,
Shape. - Select the Shape path.

- Now, go back to the Layers tab and select the layer with your smart object.
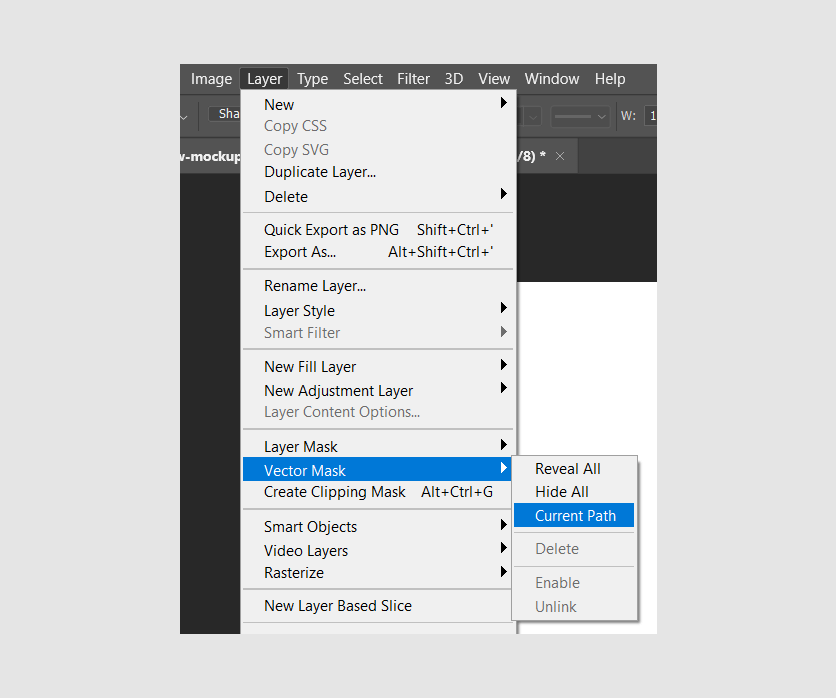
- Click Layer > Vector mask > Current path.
- Come back to the Layers tab and delete the layer with the vector shape.
This is how a mockup with a vector mask may look.