- Introduction
- What's New?
- Features
- Getting Started
- Integration with E-commerce
- Integration with Remote Asset Sources
- Printable Files and Proof Images
- Configuring Products
- Creating Product Templates
- Creating and Editing Templates in Customer's Canvas
- Elements for Creating Designs in Customer's Canvas
- Supported Markers
- Setting Markers Outside of Templates
- Defining Marker Shortcuts
- Text Elements in Customer's Canvas
- Image Placeholders
- Specifying the Image Source Folder
- Stroke and Shadow Effects in Customer's Canvas
- In-String Placeholders and Text Validation
- Text Wrapping in Customer's Canvas
- Barcode Placeholders
- Copyfitting
- Restricting Editing Designs to Certain Regions
- Product Themes
- Photoshop Templates
- Overview of Creating Templates in Photoshop
- Non-rectangular Image Placeholders
- Using Smart Objects in PSD Templates
- Placeholders with Frames
- Point and Paragraph Text
- Stroke and Shadow Text Effects
- Curved Text
- Multi-Column Text
- Typographic Designs
- Setting up Fields with Predefined Values
- Text Wrapping
- 3D Preview Mockups
- Sample PSD Files
- InDesign Templates
- User Interface
- Configuration Files
- API
- Visual Proofing Tool
- Variable Data Printing
- System Requirements
- Troubleshooting
- Licensing
- Copyright Notices
3D Preview Mockups
Applies to: Customer's Canvas On-Premises; Design Editor 4.4.25, 4.x (may differ) · Archived documentation
The task of creating preview images for personalized products is very popular. Sometimes it becomes a real challenge when a product has a complex shape like mugs, phone cases, etc. In this case, the solution is not so obvious as combining a simple product mockup with a design. Actually, there are several approaches to solving this problem that we are going to dwell on in this topic.
Make It Flat
The first and simplest approach is to draw a product as a two-dimensional image. For example, it may look like this:
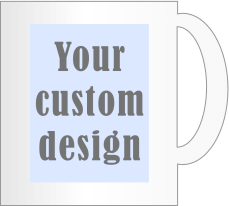
However, such a preview does not give a real feel of the product. To address this issue, we need to create 3D images.
Build a 3D Model
The first thing which comes to mind when creating a 3D image is to take some 3D graphics software and build a model there.
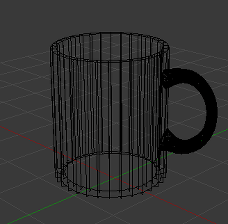
However, it is a problem to use such a model dynamically in server scripts (not to mention that 3D modeling requires specific knowledge from designers).
For a decent developer, it is possible to program models in source code without 3D modeling software. It may be a reasonable solution if only one model is needed. However, if you sell photo products on your site, you have to create hundreds of 3D models. Taking into consideration the cost of software engineers having knowledge in math and skilled enough for solving such problems, the models are going to cost far too much.
So, there is a need for an approach to creating 3D models in a more efficient way.
Emulate 3D Preview With 2D Software
What if we just take a product photo and put a design as an overlay on top? It may look not as realistic as a true 3D model, but good enough to give a user an idea of how a personalized product will look.
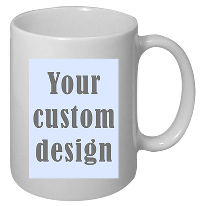
Also, with simple image transformations, we can emulate a warp effect.
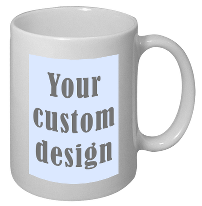
The question is, how can we create such images? Here is the good part: the best tool to build pseudo 3D preview models is Adobe Photoshop.
Create a Product Mockup in Photoshop
A pseudo 3D preview in Customer's Canvas includes at least two mockups: a blank mockup and a preview mockup. Both mockups are necessary for creating a 3D preview.
Create a Blank Mockup
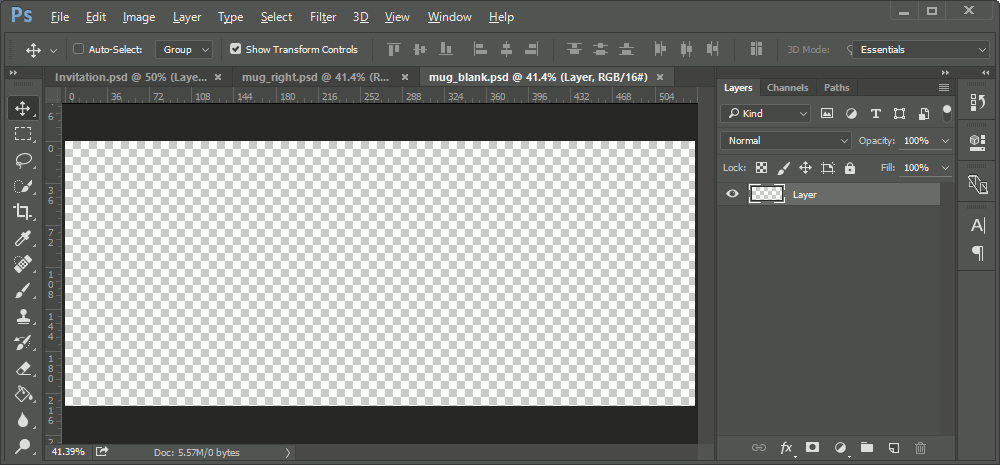
The blank mockup is really simple - it could be a product photo, product sketch, or just a shape of the print area.
For the mug, we will choose the latter variant. So, our blank mockup is a transparent rectangle.
Create a Preview Mockup
To create a preview mockup, we apply a non-linear transformation to a Smart Object.
The trick here is that the warp transformation and vector mask do not really change the image. Transformation settings and the mask are saved, and when you replace the placeholder image with a design, it will be warped and masked in the same way.
The process looks like this:
- Open a product photo you would like to put a design on.
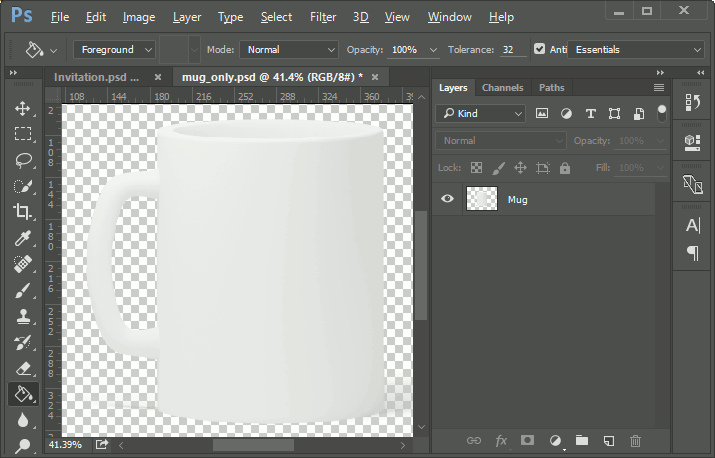
- Add a placeholder for the design as a separate layer and adjust its size.
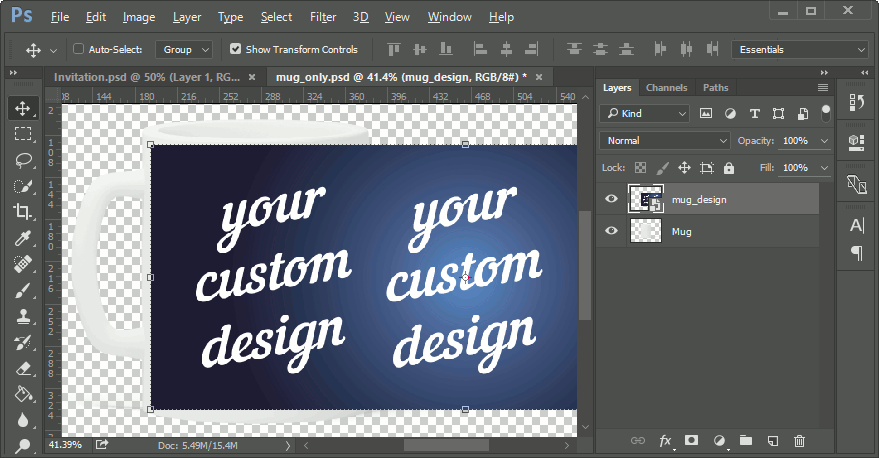
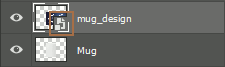
- The layer should be marked with the Smart object icon.
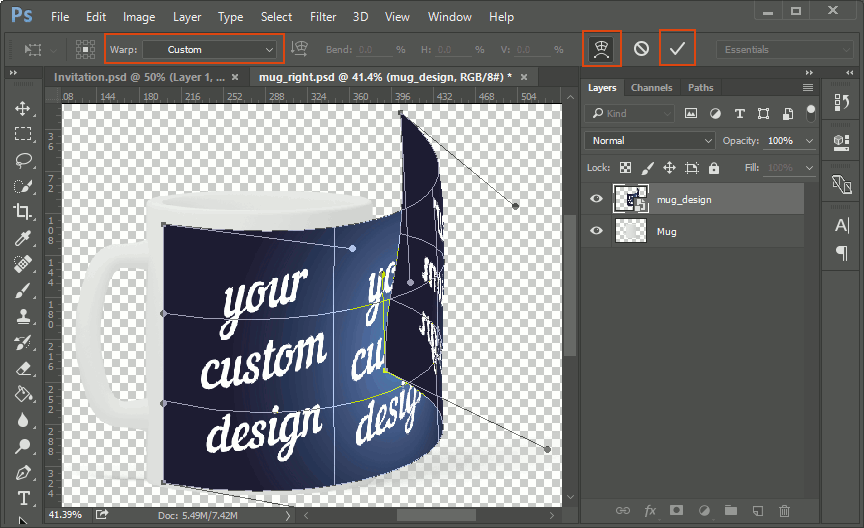
- Emulate the non-linear surface as follows:
- Switch the layer into the warp mode (Edit > Transform > Warp).
- Select the Custom warp type.
- Manually adjust the surface control points.
- Confirm the warping when you are all set.
- Cut the invisible part of the design with a vector mask.
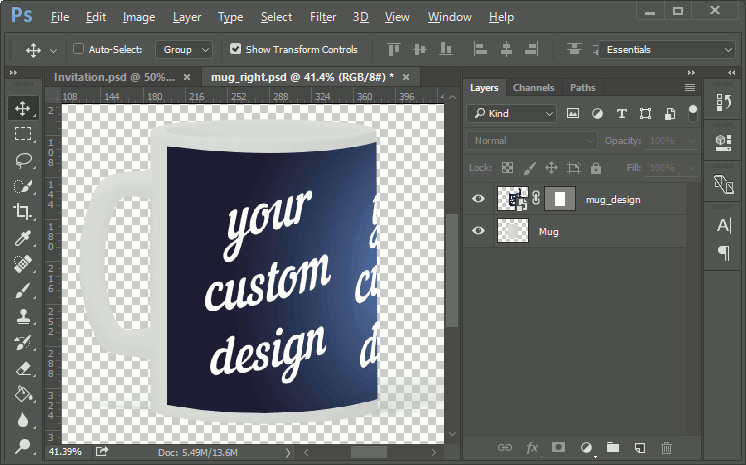
- Add the
<DPH>marker to the design layer name.
To generate image previews from different angles, as if the mug is observed from several points of view, we can create three preview mockups using the described algorithm.
If you face a loss of the image quality, use the same DPI and size for rendered images and smart objects in your mockups.
Displaying 3D Preview
Now, when we have created the blank mockup and the preview mockups, let us configure the mug product.
productDefinition = {
    surfaces: [
        {
            printAreas: [{ designFile: "mug_truck_design" }],
            mockup: {
                // The down mockup is a mockup that lays under the design.
                // Note, this 3D preview does not support foreground mockups yet.
                down: {
                    mockupFile: "mug_blank",
                    previewMockupFiles: ["mug_right", "mug_front", "mug_left"]
                }
            }
        }]
};
After the product is loaded into the editor, an image is added to the product and adjusted to the size of the print area.
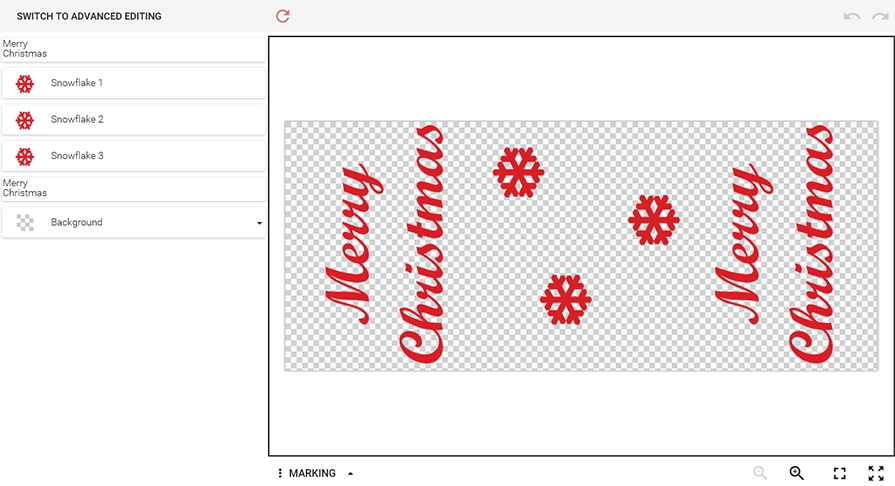
When the customization of the product is finished, the preview will look as follows:

The following code displays three proof images on a page.
<img class="previewImg" id="preview" />
<img class="previewImg" id="previewPage2" />
<img class="previewImg" id="previewPage3" />
The following snippet handles the data returned by Customer's Canvas and sets sources for proof images.
var previewElements = $("#approvePage .previewImg").attr("src", "");
// The total number of proof images.
var imgNum = 0;
// approveData contains the data returned by the editor.getProofImages.
// Cycle through each surface in the product.
for (var i = 0; i < approveData.proofImageUrls.length && imgNum < previewElements.length; i++) {
    // Cycle through each proof image in the surface.
    for (var j = 0; j < approveData.proofImageUrls[i].length && imgNum < previewElements.length; j++) {
        previewElements[imgNum].setAttribute("src", approveData.proofImageUrls[i][j]);
        imgNum++;
    }
}
For more details about mockups, you can refer to the Mockups topic.