- Introduction
- What's New?
- Features
- Getting Started
- Integration with E-commerce
- Integration with Remote Asset Sources
- Printable Files and Proof Images
- Configuring Products
- Creating Product Templates
- User Interface
- Simple and Advanced Web-to-Print Editor Modes
- Using the Image Gallery
- The Asset Manager
- The Image Editor
- Rich Text Editor
- Customizing the User Interface
- Customizing Widgets on a Per-page Basis
- Customizing the Toolbox
- Markings
- The Preflight Check
- Integration with Facebook and Instagram
- Localization of Customer's Canvas
- The Product Loading Screen
- Themes
- Watermarks
- Configuration Files
- API
- Visual Proofing Tool
- Variable Data Printing
- System Requirements
- Troubleshooting
- Licensing
- Copyright Notices
Integration with Facebook and Instagram
Applies to: Customer's Canvas On-Premises; Design Editor 4.4.25, 4.x (may differ) · Archived documentation
Integration with Facebook or Instagram allows your clients to use their Facebook or Instagram photos in customized print products. To integrate Customer's Canvas with Facebook, you should create a Facebook app and paste its ID as a value of the appKey property of the facebook tab in ~\Configuration\clientConfig.json or use the IConfiguration interface to set up this tab for a single product. Integration with Instagram is enabled in the same way. When integration is successful, you can see the additional tabs in the Image Gallery, as follows:
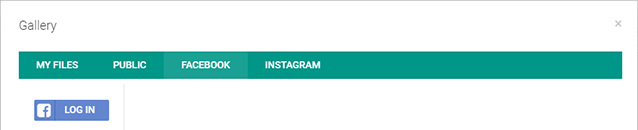
The Facebook and Instagram sections of this topic describe how you can create apps in Facebook and Instagram respectively. Also, you can find details on how to set up gallery tabs for these social networking services.
- Open Facebook Developers in a browser.
- Log in to Facebook with your developer account.
- Point to My Apps, then click Add a New App.

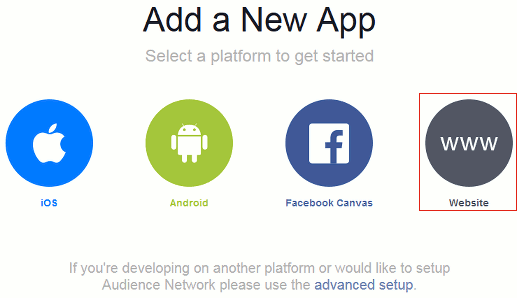
- Choose the type of application, website.
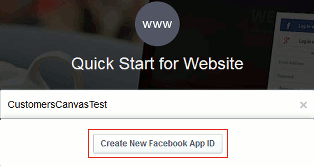
- Enter an application name and click Create New Facebook App Id.
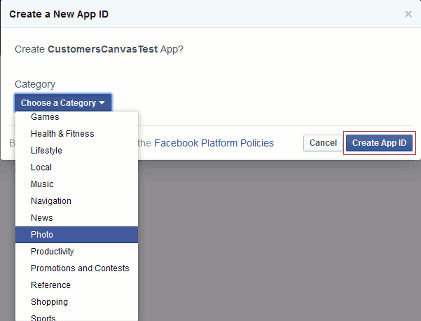
- Choose Photo as the application Category (categories are sorted in alphabetical order) and click Create App ID.
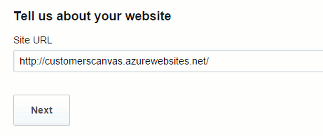
- At the end of the page, enter the URL of your website, and click Next.
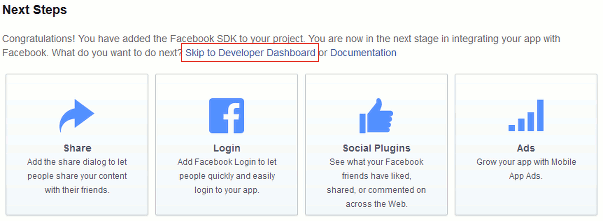
- Click the Skip to Developer Dashboard link.
- Copy the App ID and paste it into
clientConfig.jsonas a value of the appKey property of the facebook tab.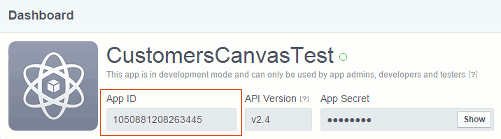
- Add your redirect links to the Valid OAuth redirect URIs list. The Redirect URI is formed by adding
Resources/SPEditor/Pages/SocialNetworkRedirect.htmlto the domain name where you get Customer's Canvas deployed. For example, if your IFrame API script has the following URL:
http://example.com/Resources/SPEditor/Scripts/IFrame/IframeApi.js
then your Redirect URI is
http://example.com/Resources/SPEditor/Pages/SocialNetworkRedirect.html
If you use the hosted version of Customer's Canvas, then your Redirect URI is as follows:
https://h2.customerscanvas.com/Users/xxxxxxxx-yyyy-xxxx-yyyy-xxxxxxxxxxxx/SimplePolygraphy/Resources/SPEditor/Pages/SocialNetworkRedirect.html
wherexxxxxxxx-yyyy-xxxx-yyyy-xxxxxxxxxxxxis the unique identifier of your Customer's Canvas instance.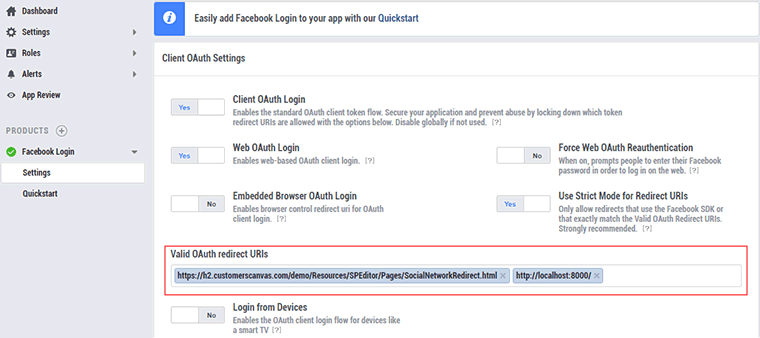
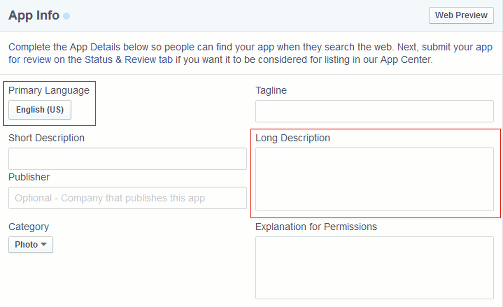
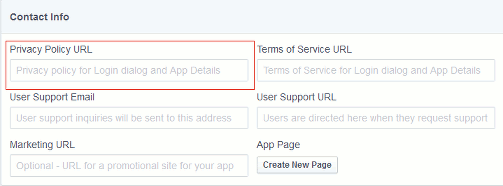
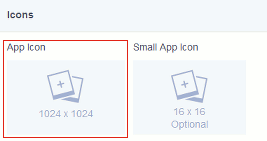
- Any Facebook app should go through review before it is made available to Facebook users. Before submitting your app to be reviewed, you need to provide the necessary information about the app. Go to App Details and fill out the following fields:
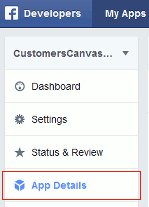
- Choose your Primary Language and enter the Long Description of your app. The long description is the explanation of what your app does and why you need the functionality that you are sending through to review.
- Enter an accessible website URL that hosts your privacy policy.
- Upload your app logo, a 1024 x 1024 high-resolution image.
- At the end of the page, click the Save Changes button.

- Choose your Primary Language and enter the Long Description of your app. The long description is the explanation of what your app does and why you need the functionality that you are sending through to review.
- Your app needs to access users photos. For this, you need to get the user_photos permission.
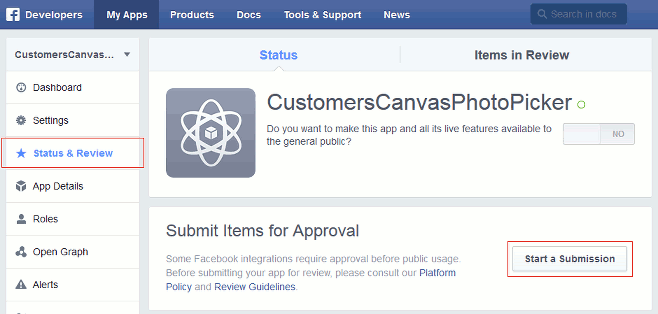
- Go to Status & Review and click Start a Submission.
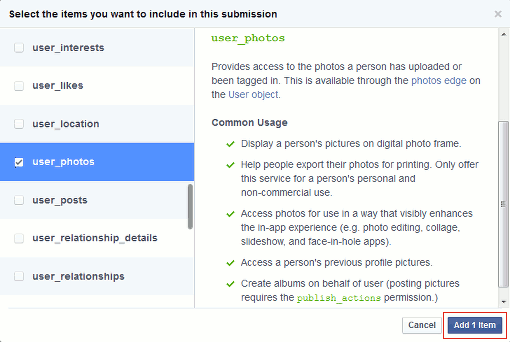
- Check user_photos and click Add 1 item.
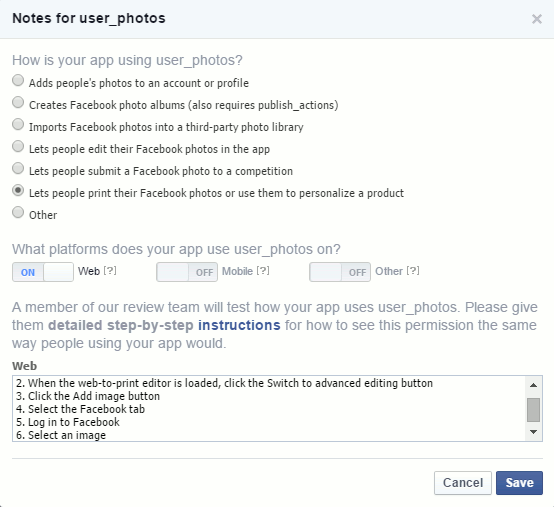
- Click Add Notes.

- Select the product personalization option, turn on the Web platform, add detailed instructions for how to test the application, and click Save.
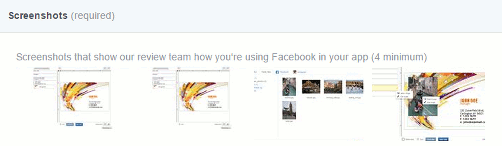
- Upload the required screenshots.
- Go to Status & Review and click Start a Submission.
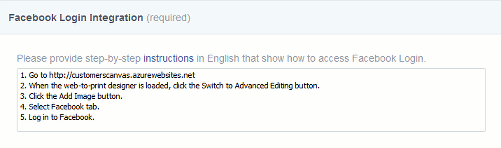
- Fill in the Facebook Login Integration field.
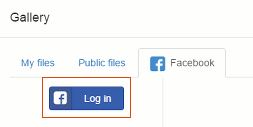
- Log in to Facebook through Customer's Canvas.
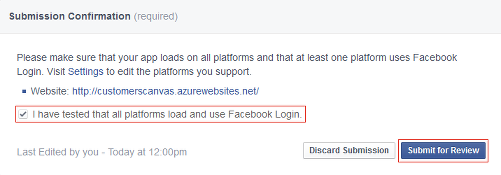
- Confirm that you have tested your app and click Submit for Review.
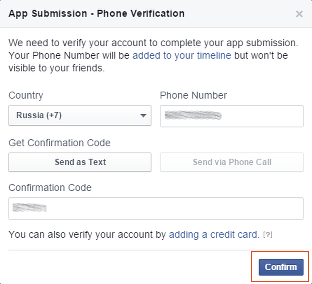
- Enter and verify your phone number, then click Confirm.
For more information about Facebook reviewing apps, please, see Facebook Review Guidelines.
- Open Instagram for Developers in a browser.
- Log in to Instagram with your developer account.
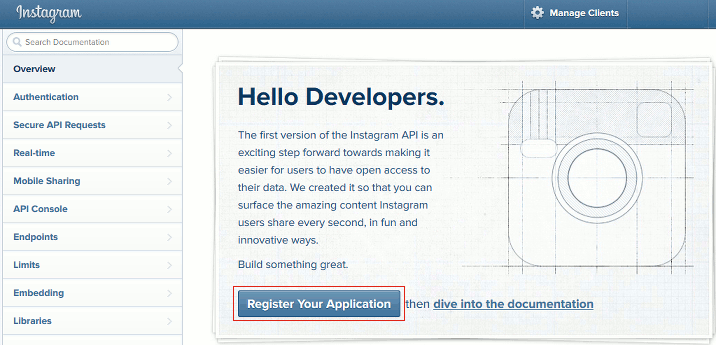
- Click Register Your Application.
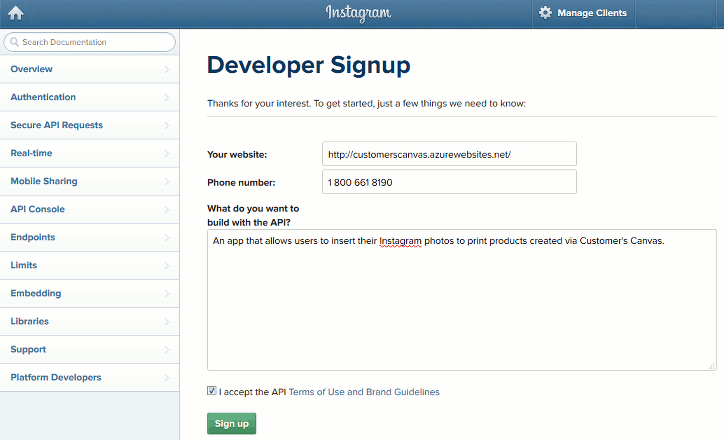
- If you have not signed up as a developer, you will be asked to fill out the following form. After the form is filled in, click Sign Up.
- Click Manage Clients.

- Click Register a New Client.

- Fill out the form and click Register.
- The Redirect URI is formed by adding
Resources/SPEditor/Pages/SocialNetworkRedirect.htmlto the domain name where you get Customer's Canvas deployed. For example, if your IFrame API script has the following URL:
http://example.com/Resources/SPEditor/Scripts/IFrame/IframeApi.js
then your Redirect URI is
http://example.com/Resources/SPEditor/Pages/SocialNetworkRedirect.html
If you use the hosted version of Customer's Canvas, then your Redirect URI is as follows:
https://h2.customerscanvas.com/Users/xxxxxxxx-yyyy-xxxx-yyyy-xxxxxxxxxxxx/SimplePolygraphy/Resources/SPEditor/Pages/SocialNetworkRedirect.html
wherexxxxxxxx-yyyy-xxxx-yyyy-xxxxxxxxxxxxis the unique identifier of your Customer's Canvas instance. - Uncheck Disable implicit OAuth.
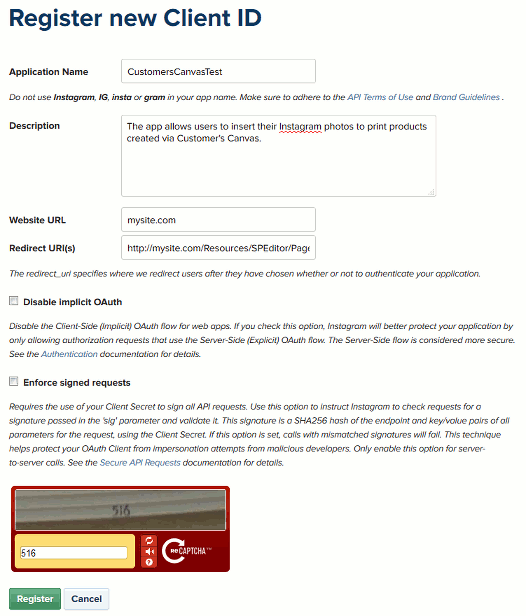
- The Redirect URI is formed by adding
- After the application is registered successfully, copy the Client ID to the
clientConfig.jsonfile as a value of the appKey property of the instagram tab.
Setting Up Tabs in the Image Gallery
To configure the Image Gallery:
- Open the
~\Configuration\clientConfig.jsonfile and find the definition of tabs in the GalleryDialog object. This tabs array defines all tabs, which Gallery contains. - Set the Facebook App ID and Instagram Client ID to the appKey properties of the facebook and instagram tabs. The definition may look as follows:
clientConfig.json
{
  "widgets": {
    "GalleryDialog": {
      "defaultTabName": "Public files",
      // The array of gallery tabs
      "tabs": [
        {
          "name": "User files",
          "type": "user",
          "translationKey": "GalleryDialog.TAB_USER",
          "canEdit": true,
          "canUpload": true
        },
        {
          "name": "Public files",
          "type": "public",
          "subFolderName": "",
          "translationKey": "GalleryDialog.TAB_PUBLIC",
          "canEdit": false
        },
        {
          "name": "Facebook",
          "type": "facebook",
          "canEdit": true,
          // The Facebook App ID
          "appKey": "123456789012345"
        },
        {
          "name": "Instagram",
          "type": "instagram",
          "canEdit": true,
          // The Instagram Client ID
          "appKey": "123456789012345"
        }
      ]
    }
  }
}