- Introduction
- What's New?
- Features
- Upgrading the Design Editor
- Breaking Changes in 6.0
- Getting Started
- Integration with E-commerce
- Integration with Remote Asset Sources
- Printable Files and Proof Images
- Configuring Products
- Creating Product Templates
- User Interface
- Configuration Files
- APIs
- Add-ons
- System Requirements
- Troubleshooting
- Migrating Your Applications
- Licensing
- Copyright Notices
Getting Started with the Packaging Application
Applies to: Customer's Canvas On-Premises; Design Editor 6.15.0, 6.x (may differ) · Archived documentation
This sample application demonstrates how you can use Customer's Canvas and Origami. The solution is distributed among two applications:
- Origami is in
OrigamiWeb.zip. - Customer's Canvas is in
CustomersCanvasIISBin.zip.
After you have unzipped the OrigamiWeb.zip file, you can find the sample application in the /example/ folder. This skeleton sample is for demonstration purposes only. You can modify the user interface of this application as well as configure the Customer's Canvas graphics editor.
This application demonstrates how you can implement the following basic operations:
- Loading a die-cut model and building a form with parameters.
- Selecting a style (the background) of graphics.
- Creating a 2D die-cut template and a 3D model based on the parameters provided.
- Editing graphics in the Design Editor.
- Displaying a 3D preview.
To run the Origami application, you need a working instance of Customer's Canvas. You can either use a cloud version on our servers or deploy an on-premises instance from the ZIP file.
How to Set Up Customer's Canvas
To use Customer's Canvas on your site, perform the following key steps:
- Link the editor's API on your webpage.
HTML
<script id="CcIframeApiScript" type="text/javascript" src="http://localhost:58102/Resources/Generated/IframeApi.js"> </script> - Specify an iframe element.
HTML
<iframe id="cc_frame" allowfullscreen></iframe> - Define a configuration and load the editor into this iframe.
JavaScript
var cnv = document.querySelector("#cc_frame"); CustomersCanvas.IframeApi.loadEditor(cnv, conf_product, conf_editor) .then(function (editor) { ... - When the graphics customization is finished, call the finishProductDesign method to render hi-res output files.
JavaScript
editor.finishProductDesign({fileName: "design", proofMaxWidth: 1191, proofMaxHeight: 3373})
How to Run the Application
First, define your settings of the Origami application in web.config.
<appsettings>
    <add key="Origami.CustomersCanvasMockupPath" value="..\CustomersCanvas\ProductTemplates\mockups" />
    <add key="Origami.CorsOrigins" value="https://customerscanvas.com,http://localhost:53469,http://localhost:36859,http://demo.aurigma.net" />
    <add key="GraphicsMillLicenseKey" value="XXXXX-XXXXX-XXXXX-XXXXX-XXXXX-XXXXXX" />
    ...
</appsettings>
After that, you can run Origami in the Visual Studio. When the editor opens, you can see the following page.
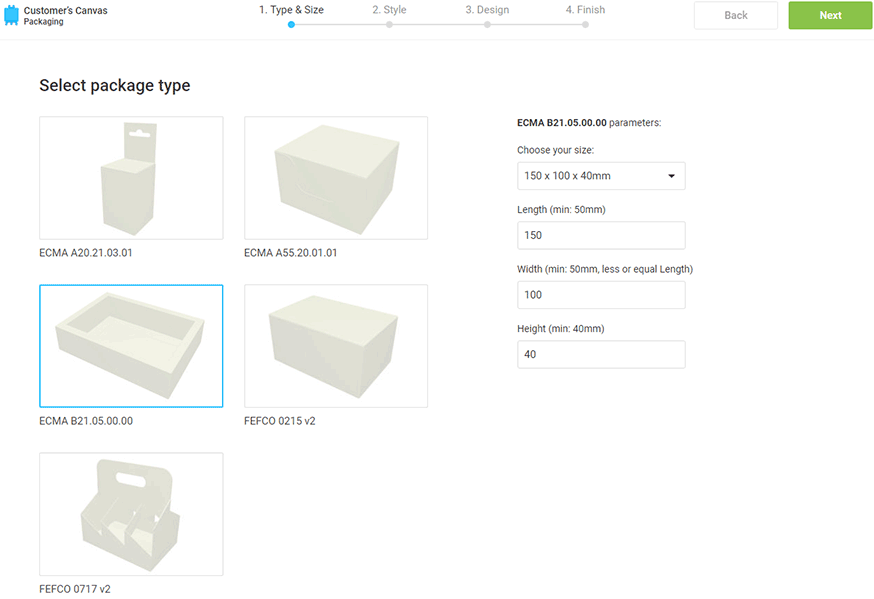
Here, you have to select a package type, then verify and edit the product parameters. Click Next to navigate to the next step to select a mockup.
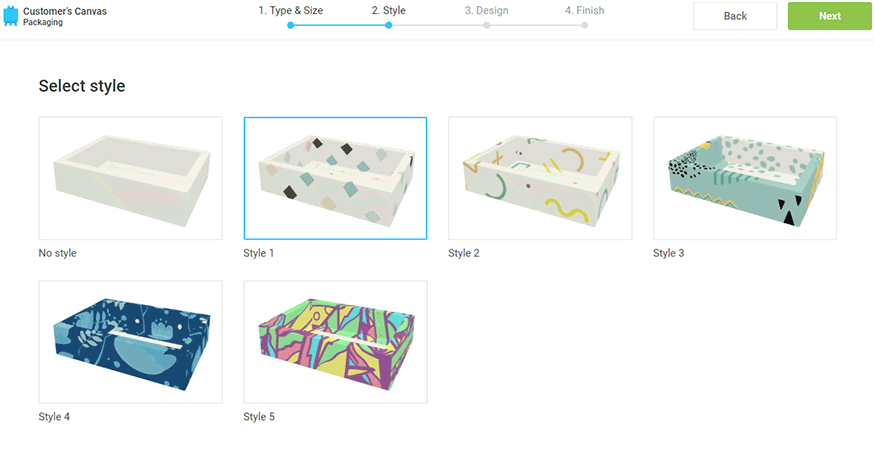
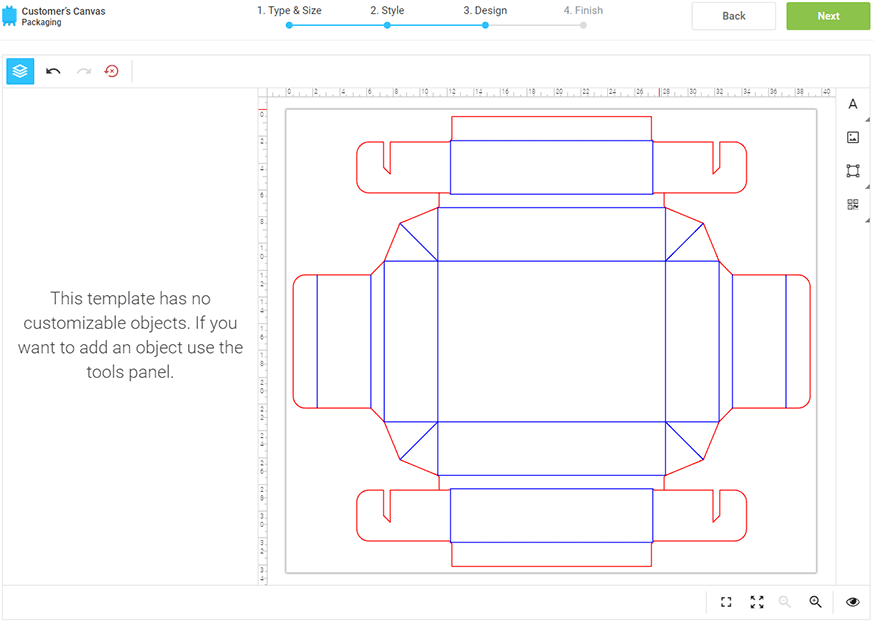
After you have selected a mockup, click Next to navigate to the design customization process.
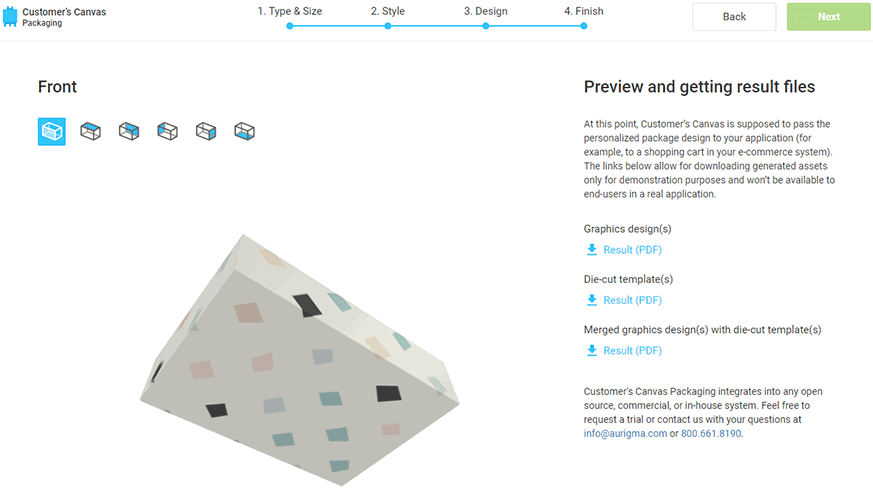
At the final step, you can preview the 3D model and download the resulting PDF files.