Tip 1: Use desktop publishing software to create templates.
An important question to ask yourself before choosing a web-to-print integration is how you can create templates for the products that you want to sell online. There are essentially two available options: utilizing a built-in template editor to create them, or by using third-party software.
No matter how advanced the editor provided by a web-to-print vendor is, it will never match the capabilities available in professional publishing software like Adobe Photoshop or InDesign. Adobe has spent so much time and resources perfecting its software that it’s tough to compete with them in this field.
If you need advanced design features but also want to avoid limiting the creativity of your designers when creating templates, the best option is to use third-party software that can handle Adobe files. Most of your in-house or outsourced designers already know how to use Photoshop, InDesign, or Illustrator, so you can utilize an existing library or easily create new templates without needing to learn a new tool.
Your web-to-print software must be able to import the Adobe files that you want to use as templates, and this requirement limits your options. However, the convenience of working with Adobe software is worth going after such a solution.

Tip 2: Embrace automation
Maintaining a template library for a small range of products is not a big deal, but it can become a real headache if you offer many different products of all shapes and sizes for online customization. You might eventually find yourself neck-deep in hundreds or even thousands of files. To avoid that, modern web-to-print systems offer different ways to automate design creation and management. Here are some examples:
Creating templates for different sizes
This may be a useful feature if you offer similar products with different sizes, such as brochures or signs. You can create a master template with all the necessary elements and define rules for how that template can scale – the rest is done automatically. When a customer chooses the size, the template is automatically generated from the master template. Not only does this avoid the routine of making lots of the same template for each size, but it also saves storage, as there is no need to store all of these templates on the server.

Connect design elements with a database
Some products like calendars or planners require continuous updates. Your designers have to update the grid each year, which can be pretty exhausting if you have lots of templates. Instead, you can connect these templates to an external database to update them automatically. This method is also helpful if you want to expand the reach of your online store by offering your products in different countries because it’s possible to adjust the templates to local holidays.

Tip 3: Add flexibility
Providing a high level of flexibility can increase your customers’ desire to buy your products. These are a few examples of how templates can help with that:
Color themes
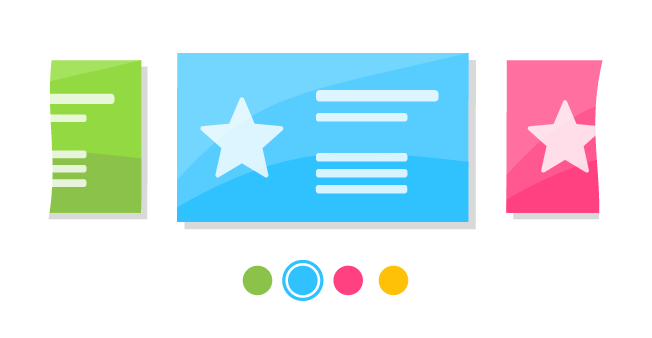
A simple color can change can dramatically impact the whole design of a product. Instead of creating separate templates for each color, you can add a few layers to choose from during the personalization process.
Combining styles with layouts
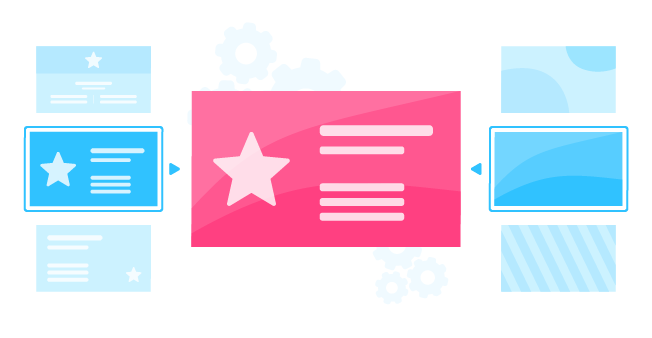
Giving customers a broad range of product styles can help them find what they need, but creating a diverse template library consumes resources. You can optimize this process by creating base elements of a design like layouts, styles, and backgrounds. By combining these elements, it’s possible to expand your library significantly without spending too much time on it.
Anchoring
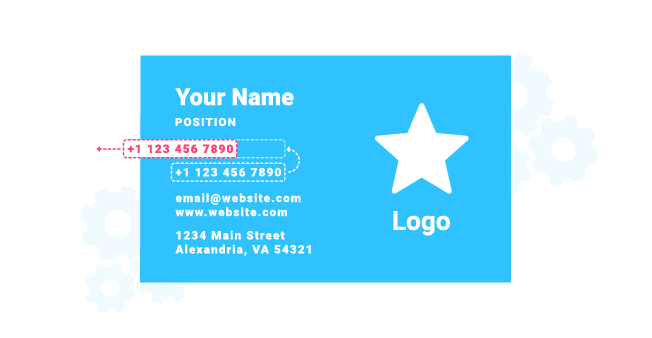
Imagine a personalized business card. The arrangement of contact information can vary depending on what information a customer wants to add to the card. To ensure the consistency of a design, some web-to-print solutions have a functionality called anchoring. This helps avoid the need to create different templates for each combination. It also guarantees an intuitive experience for the client since they only need to type in their information, which is positioned automatically on the design.
Tip 4: Make it easier for your clients
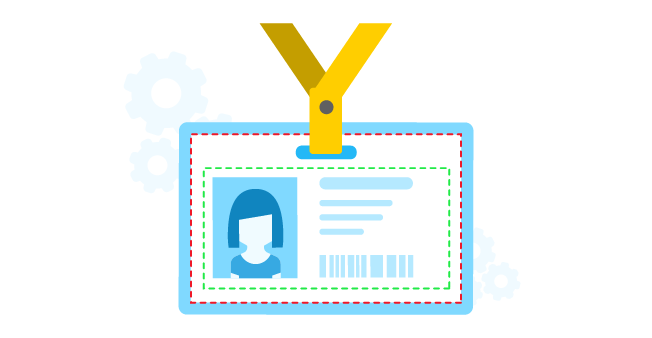
Printers aren’t always aware of or even ignore the capabilities they can take advantage of to provide visual references for the product during the personalization process. Templates used with modern web-to-print solutions can have layers that won’t be printed but simulate the tangibility of a finished product. A wall art template might have a simple placeholder that doesn’t give the customer much information. Adding different frame options can give them a better understanding of how the finished product will appear. The same effect can be achieved by adding a mockup of a lanyard and clips to a badge template.
Using additional layers to imitate the texture of canvas can make it even easier for the customer to visualize their product and increases the likelihood of a purchase. You can achieve the same effect by allowing customers to toggle between different paper stock options for business cards.
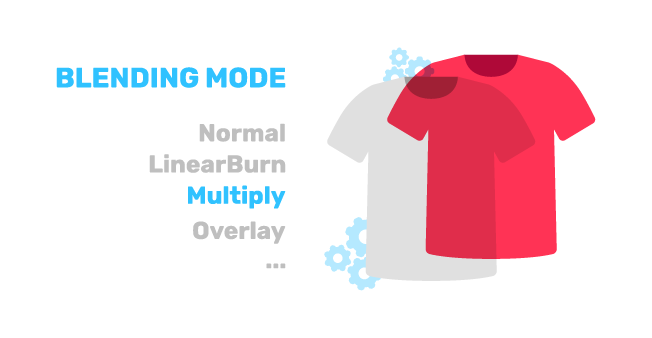
This and other simple methods can make the difference between a purchase and an abandoned cart.
Tip 5: Make it easier for production
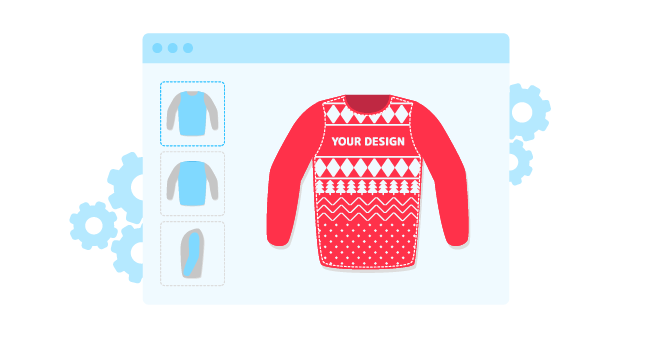
We’ve already discussed how you can make life easier for your customers, so let’s continue with that theme and talk about how you can do the same thing for your employees and fulfillment services. You can pass information that will help with the production process right within the template. For example, you can include crop marks for finishing, or in more complicated use cases like sweater templates, you can place information about the selected color, thickness, and other options.
Conclusion
Modern web-to-print software is capable of leveraging modern technologies and techniques to unleash the full potential of templates from the standpoint of management, usability, and production. Printers should prioritize their template strategy during the planning phase of their web-to-print integration to maximize their effectiveness.


