- Introduction
- What's New?
- Features
- Upgrading the Design Editor
- Breaking Changes in 6.0
- Getting Started
- Integration with E-commerce
- Integration with Remote Asset Sources
- Printable Files and Proof Images
- Configuring Products
- Creating Product Templates
- Creating and Editing Templates in Customer's Canvas
- Elements for Creating Designs in Customer's Canvas
- Supported Markers
- Setting Markers Outside of Templates
- Defining Marker Shortcuts
- Text Elements in Customer's Canvas
- Image Placeholders
- Specifying the Image Source Folder
- Stroke and Shadow Effects in Customer's Canvas
- In-String Placeholders and Text Validation
- Text Wrapping in Customer's Canvas
- Barcode Placeholders
- Copyfitting
- Restricting Editing Designs to Certain Regions
- Product Themes
- Product Layouts
- Group Elements in Customer's Canvas
- Photoshop Templates
- Overview of Creating Templates in Photoshop
- Non-rectangular Image Placeholders
- Using Smart Objects in PSD Templates
- Placeholders with Frames
- Point and Paragraph Text
- Stroke and Shadow Text Effects
- Curved Text
- Multi-Column Text
- Typographic Designs
- Setting up Fields with Predefined Values
- Text Wrapping
- 3D Preview Mockups
- Sample PSD Files
- InDesign Templates
- User Interface
- Configuration Files
- APIs
- Add-ons
- System Requirements
- Troubleshooting
- Migrating Your Applications
- Licensing
- Copyright Notices
Curved Text
Applies to: Customer's Canvas On-Premises; Design Editor 6.15.0, 6.x (may differ) · Archived documentation
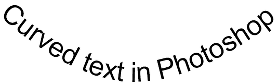
A crucial feature for many print products is an ability to display text on a curve. A good example of this is a seal.

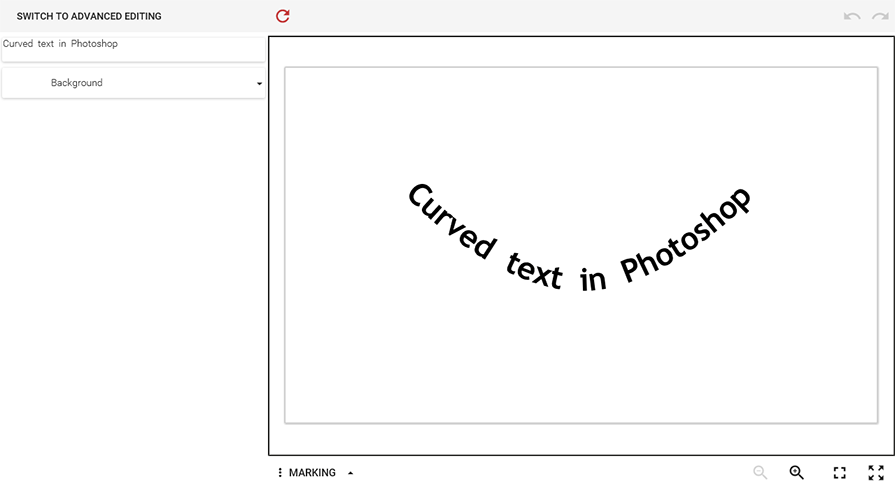
The Design Editor allows you to display and edit a text on a curve. However, this web-to-print designer cannot create curved text. This topic describes one of the possible ways to create curved text in Adobe Photoshop for further editing with Customer's Canvas.
The Sample
It is quite easy to create such designs in Photoshop, and Customer's Canvas will properly handle curved text and display it in the designer. Let us go through the process of creating a template with curved text.
- Create a new PSD file in Photoshop.
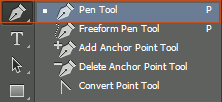
- Select the Pen tool from the toolbox or press P.
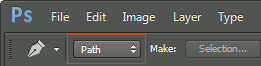
- Select the Path mode in the Top toolbar.
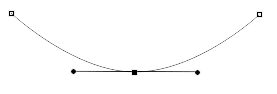
- Click where you want to place the text to create a starting point, and then click again for an endpoint. To bend a line, add anchor points on the line.

- Drag the anchor point to bend the line holding the Ctrl key (or the Cmd key on a Mac).
- To add the text, select the Type tool (or press T), click the point on the curve where you want to start a text string, and start typing.
- Save this template and open it in Customer's Canvas.
Copyfitting
In some designs, you may want to let the user provide a text string in a box of a fixed size with the font size automatically selected to fit this box. You can easily implement this behavior by using the curved text editor as explained above. Just create curved text on a straight line and it will work as expected.
Also, you can use the <TOS> and <TSM> markers to keep the bounds of the original text unchanged.
Rich Text Formatting
Customer's Canvas supports the rich format of curved text. You can apply either the <RT> marker or various formatting to the text layer to enable the rich format in the Design Editor.