Customization through multiple themes
One of the most important aspects for any software is the user interface and experience. Everyone is different and there is no one-size-fits-all solution, which is why Customer’s Canvas now supports multiple themes. We have improved the default theme, which now uses Material Design as its foundation, but there is also a Bootstrap-style theme available based on our old design. You can also create your own themes if you’d like more customizability.

Your project comes to life on high-density screens
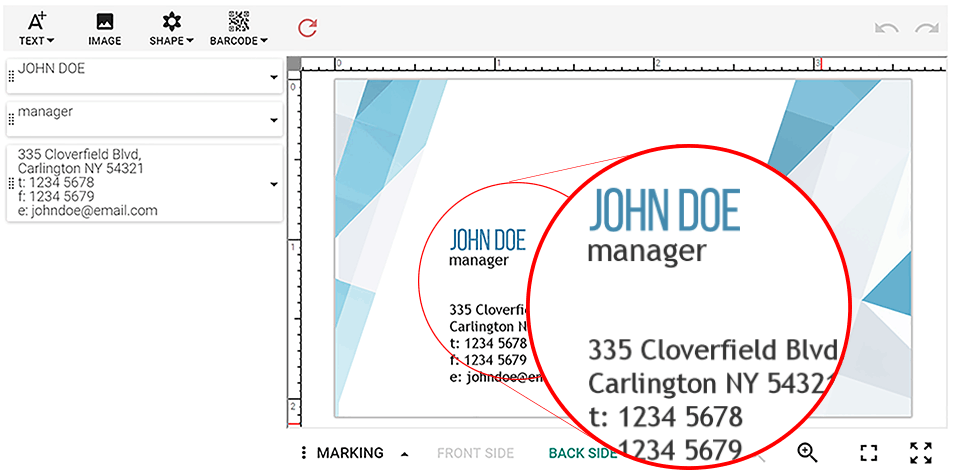
The future is now. Devices are getting smaller, storage is getting bigger and screens everywhere are becoming more detailed. That’s why we have made sure this version of Customer’s Canvas allows your products to shine through clearly on Retina and other high-density screens. You will find that all elements of your project are sharp and crisp, from screen to paper.
Easy precision with snap lines
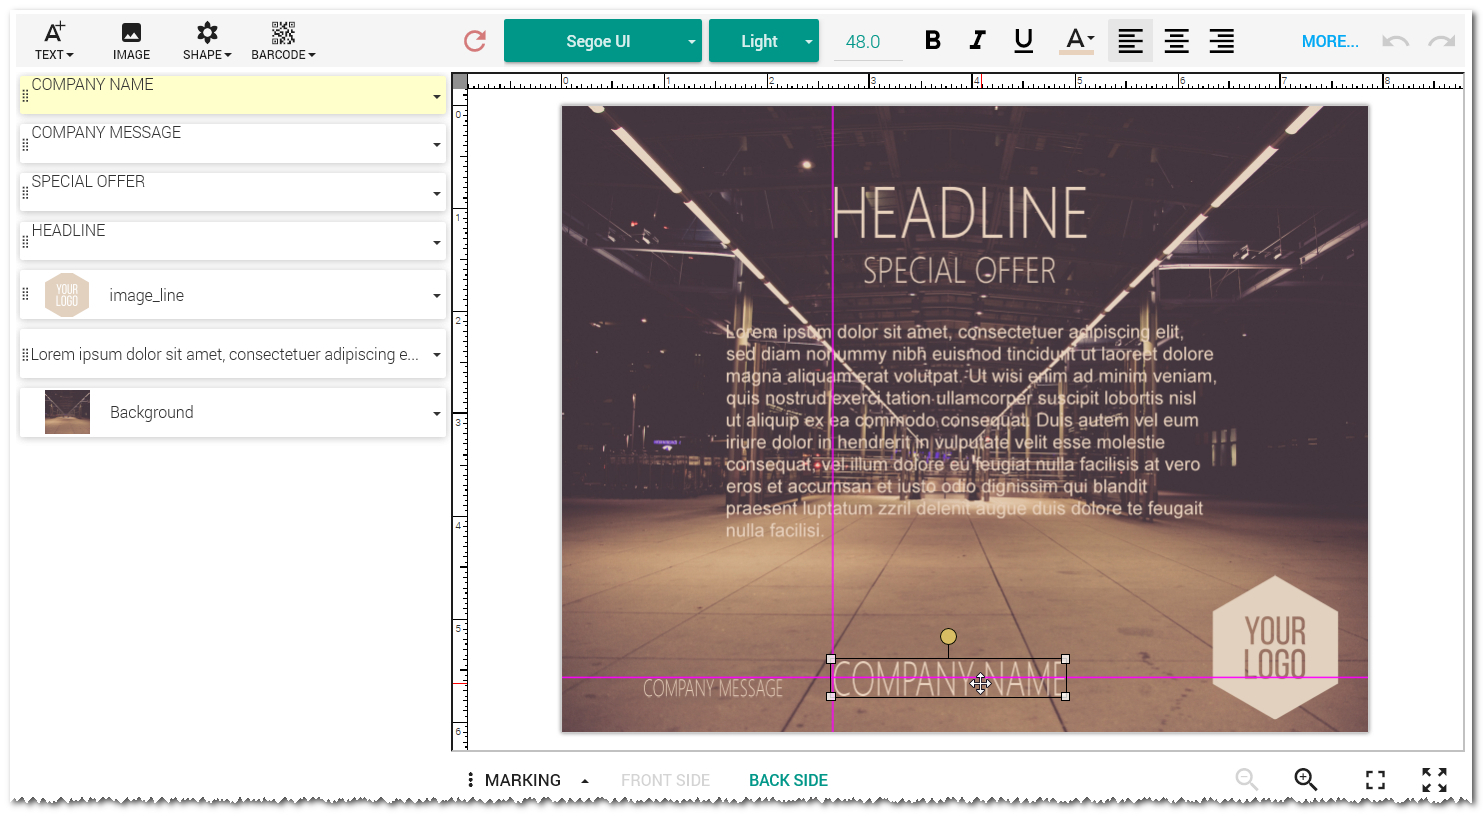
If you’re preparing a job that thousands of eyes will see, you shouldn’t have to eyeball the position of the elements. Nor do we want our clients hunched over calculators adding and subtracting points, pixels and picas to do simple movements within the editor. Allow our snap lines to help you easily arrange your elements relative to each other for a more precise, professional finished product.
Revamped image placeholders
One of the more exciting improvements in this version is that of our image placeholders. You will now have the freedom to create highly customizable templates with both non-rectangular and rotated photo placeholders.
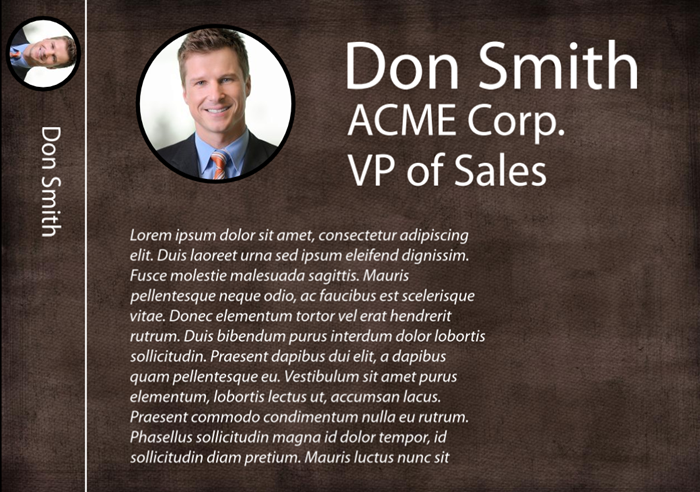
If your printing machine supports only black-and-white printing, then it’s a breeze to simply configure your placeholders to convert an uploaded image to a black-and-white image.
Another hallmark of this improved functionality is the ability to define linked placeholders. For example, the user can add a placeholder of a company logo to both the header and footer of a template, link the placeholders together and then only need to upload an image once to populate both locations. We believe in hard work, but sometimes working smarter is the answer.
Define detailed text placeholders
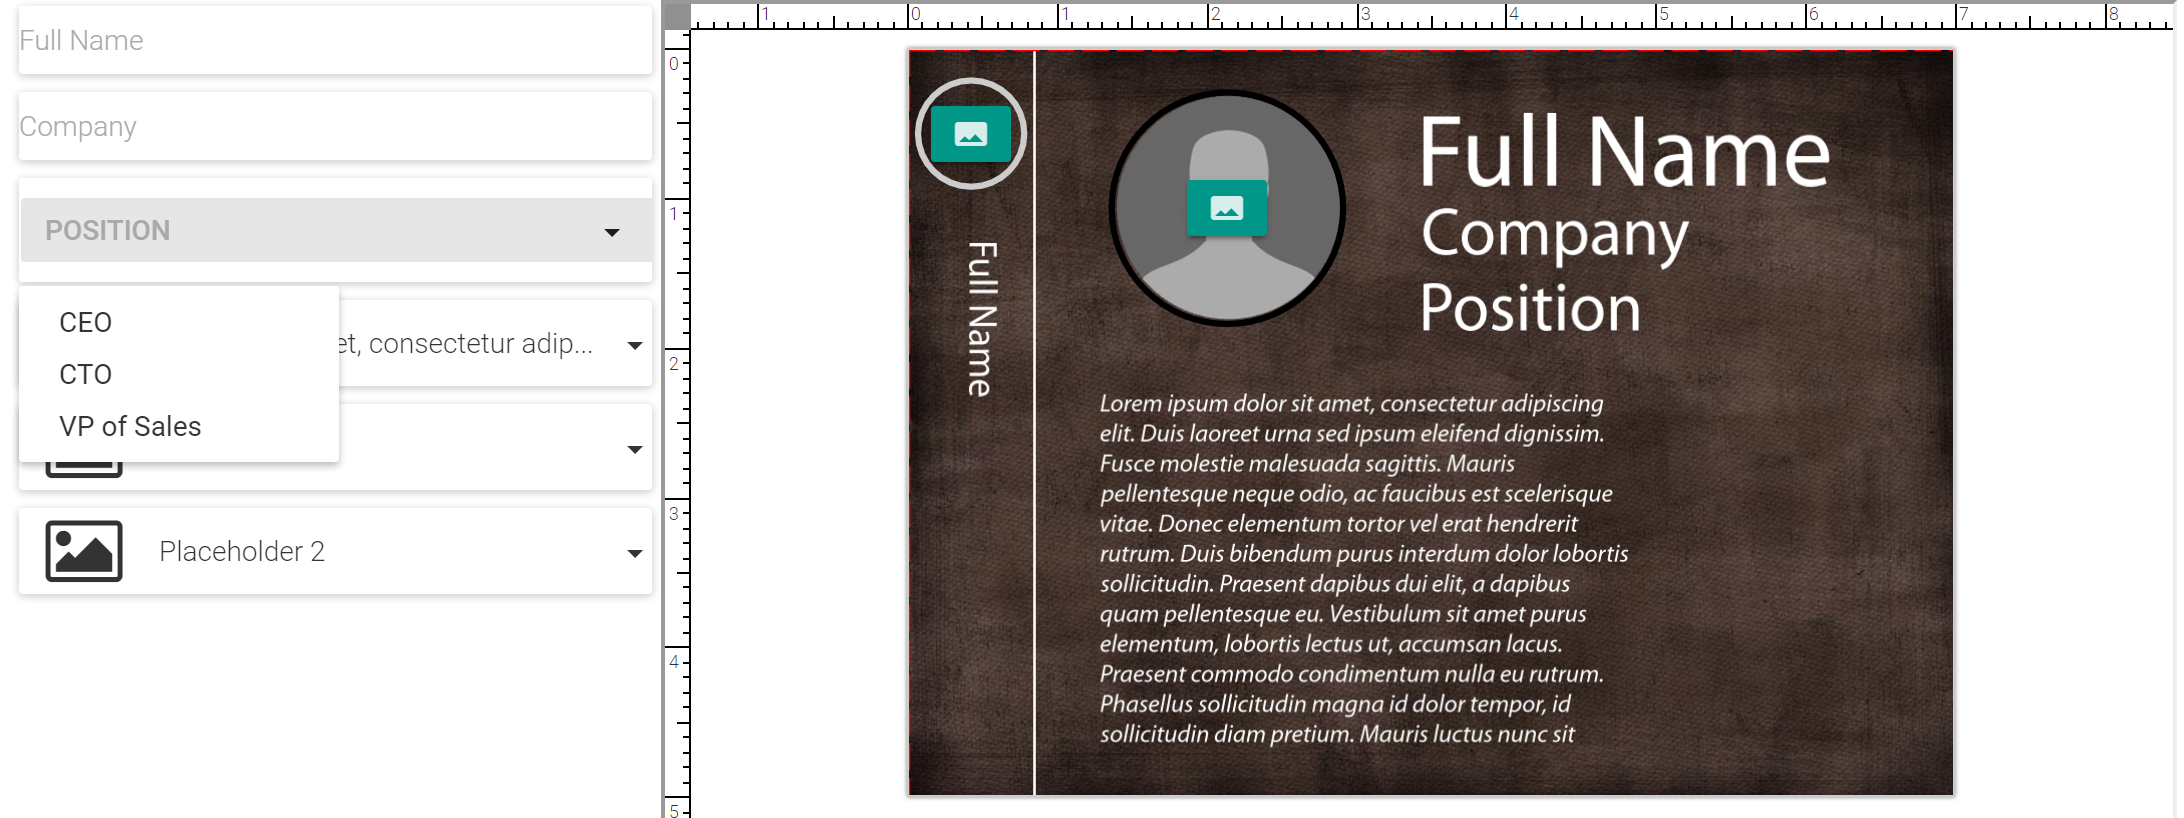
There’s nothing more embarrassing than accidentally running lorem ipsum sample text into a production, and now with the power to define text placeholders, you won’t have to worry about such a prepress faux pas. Through other text placeholder functionality, like masked inputs, generating lists of predefined values, and more, Customer’s Canvas is a powerful tool for building forms.
User-info API, now on the fly
Our clients who are familiar with Customer’s Canvas know that we already offered the ability to populate templates with your data, for example, a business card would have fields like name, position, company, phone number, etc. However, we want to get as close to perfection as possible and have overhauled this feature to bring you added flexibility. With 4.0, you can now manipulate this data at runtime, so no worries if it has been updated after loading up the editor.
Peace of mind with powerful maintenance features
Adrenaline levels can be high if you have a time-sensitive, high-loaded production in progress. Simply hoping that nothing goes wrong as your job nears completion is not very fun, and now, you don’t have to. Customer’s Canvas now allows you several avenues to control the application health while a job is in progress.
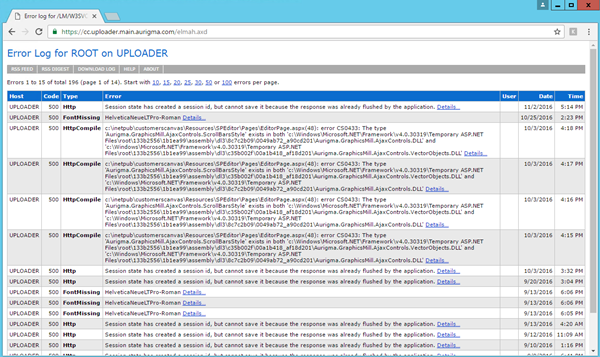
You can monitor your logs and squash bugs in real time with Elmah – an error logging facility that is plugged into our web application. We also provide an additional layer of maintenance through Application Insight, which is Microsoft’s answer to web app health monitoring. If anything goes haywire, it will send you the diagnostics through any channel you find convenient. These tools will help you find solutions quickly and get your job moving again – crisis averted!
Many more improvements!
If I mentioned every single improvement in Customer’s Canvas 4.0, then we’d be here all day. There are tons of additional minor improvements, such as a better top toolbar, the ability to display the object inspector on the right side of the editor, vertical text, line objects and…well, you’d be better off looking at the full list on the What’s New page in the documentation.
