- Determine a user interface.
- Plan the integration with other modules.
- Define a product range that you would like to support.
- Consider what hosting infrastructure you need for the project.
- Determine which typographic features you want.
- Plan workflows to create and manage design templates.
- Consider color management specifications.
- Evaluate the need to automate processes.
- Specify the requirements for output files.
- Consider which maintenance process best fits your setup.
Let’s take a closer look at each of these steps.
Determine a user interface.
Finding an intuitive, user-friendly interface is often an essential part of the buying process. Your choice of interface will depend on your specific use case. It is important to consider the types of customers who usually get in contact with your brand, the categories of products you sell, and the options you want to offer for personalization.
For example, if you mostly work with B2B customers, some of their top requirements will be private storefronts that conveniently save the entire order history and advanced template support capable of maintaining consistent branding. B2C customers prefer a user-friendly interface to advanced functionality as well as other useful tools that will increase your conversion rates like 3D previews, image galleries, and other features. Learn more here.
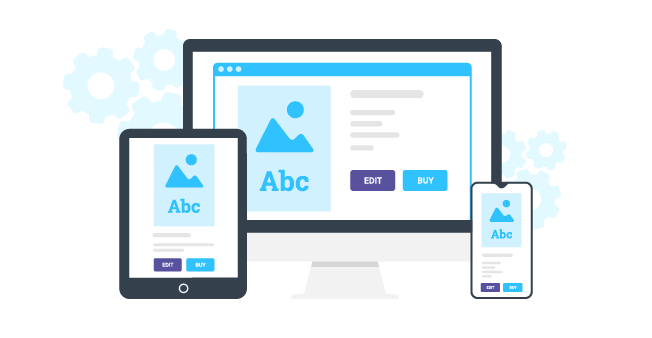
When choosing a W2P solution, you should pay special attention to the interface’s configurability, flexibility, and ease of editing. To avoid a situation where the interface of your solution will result in additional difficulties for your customer rather than intuitively guide them through the process, we suggest taking the following steps:
Checklist:
- Check if the software you are looking for supports HTML5 technology (this is important since mobile devices don’t support Flash);
- If you work with various product categories, for example, with t-shirts and photobooks, make sure that the interface will change depending on the product type;
- Think about the type of interface and decide which is most suitable for you: WYSIWYG, form-based, or another type. Learn more here;
- Decide whether or not mobile device support is important to you;
- Evaluate the need to add a preview feature for your project. If you require it, find out if the web-to-print solution is capable of doing that.
Plan the integration with other modules.
With the development of digital printing, many printing companies are moving online and using e-commerce platforms for sales. Integration of a web-to-print solution with any website, e-commerce system, or in-house system is a crucial part of a printing business. The more complex a project is to implement, the less likely it is to find all the necessary features in an out-of-the-box project. This means that you will likely have to integrate third-party services. To make the integration as painless as possible for your business processes, you will have to find a web-to-print solution that fits best with these third-party services. Read more about e-commerce integration here.
One of the most essential parts of product design personalization is the ability to download high-quality images. It’s a good idea to provide customers with a broad range of stock images by integrating a W2P editor with Depositphotos as well as the ability to connect with social media or Google Photos accounts.
Checklist:
- Find out if it’s possible to integrate the W2P solution with a preferable e-commerce software (for example, Magento, Shopify, or WooCommerce);
- If you have a custom application or MIS, make sure that the W2P solution can be integrated with it;
- If you need to enrich your ordering process with third-party integrations, check if the software you are looking for is capable of doing that.
Define a product range that you would like to support.
As mentioned earlier, the ideal choice of W2P solution depends on the products you want to sell. Make sure that the solution allows customers to personalize products from the range you carry, from multi-page products like two-sided business cards to large format products like fabric printing, signage, and more.
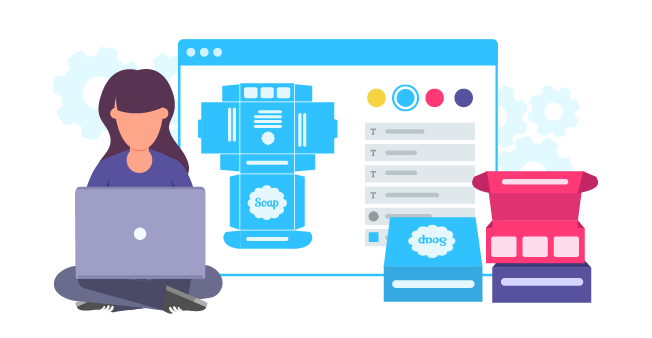
If you are working with packaging, confirm that the software you are considering supports FEFCO and ECMA standards, and can load custom parametric models. Standard mockups and 3D mockups for certain promotional products like mugs or T-shirts can be a valuable add-on to your setup. They play an important role in simplifying the editing process by giving your customers a chance to better understand how their final product will look.
Checklist:
- Make sure that the editor allows customers to personalize your products;
- If you are working with packaging, confirm that the editor supports the required standards;
- Evaluate the need to add mockups or 3D mockup add-ons. Check if the solution you are considering supports these features.
Consider what hosting infrastructure you need for the project.
Choosing the correct type of hosting for web-to-print applications is an essential step in implementing a W2P solution. There are many different hosting options to choose from that depend on the volume of your workload and desired uptime.
If your business experiences seasonal demand, you might want to consider running the web-to-print application in a cloud-hosting environment. If your web-to-print application needs to be up 24/7, then a scheme with two or more servers might be a better option to secure your application from sudden crashes. Learn more about Learn more about hosting for web-to-print applications here.
Checklist:
- Find out what type of hosting is offered by the W2P solution provider;
- Ask where the hosting is located (perhaps if the hosting is located far away from you, the software may work slower);
- Ask about the reliability of the hosting provider.
Determine which typographic features you want.
Typography is front and center on most print products. It’s the centerpiece of text-centric products like flyers, menus, and several others.
W2P solutions can cater to both plain and rich text scenarios. A single or multi-line text layer for basic layouts works well when users only need to enter a few lines of text. However, rich text allows users to enter text in a predefined area and supports advanced text formatting (alignment, cursive, bold text, and more), automatic hyphenation, and sophisticated text layouts (indentation, multi-column text, and so on).
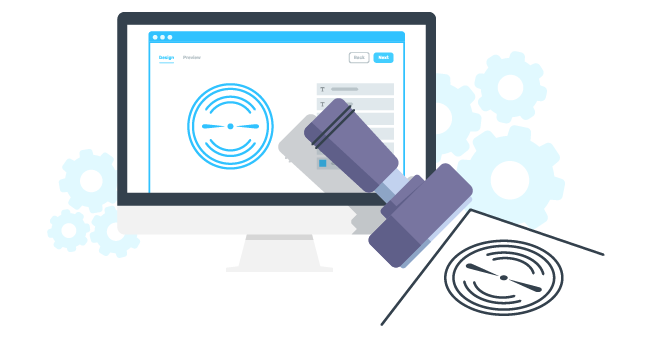
The de facto standard for today’s online editors is the in-place editing of text blocks. This feature increases usability for customers that use smartphones to personalize products. If you want to provide customers with a wide range of functionality when working with text, or your customers need something special like curved text (for some use cases, like stamps, curved text is a must-have), consider this before making a decision.
Checklist:
- Define requirements for working with text for your products;
- Ask if the W2P solution supports advanced text formatting;
- Find out if there is an option to create custom fonts;
- Check if the software you are considering enables customers to edit text content in-place;
- Determine which text effects are necessary for your products and check if the software is capable of implementing them (e.g. text wrapping, curved text, strokes, shadows, glow);
- Evaluate the need to set up predefined text field rules for phone numbers and addresses (masked text). Check if the solution supports this feature;
- Make sure if it’s possible to control the behavior of the entered text within the specified zone (copyfitting), if necessary.
Plan workflows to create and manage design templates.
End-users don’t always appreciate or even want to create designs from scratch. The availability and wide range of choices of templates help customers visualize the order they are editing as a product, thus increasing the conversion rates and usability of the W2P solution.
The manner in which you plan to use templates is one of the main tasks to address when working with web-to-print. Before you start implementing a W2P project, you must determine how you create and update template libraries. If you have already developed libraries, you may need to import them into a new system, which can be a time-consuming process, especially if there are a lot of templates.
You also need to consider the types of products you will sell and the personalization scenarios unique to your project. Can the solution support this type of product, or can the templates be configured to provide the required personalization process? Perhaps you need to configure your templates so that customers adhere to brand guidelines when editing a product.
Checklist:
- Find out if it’s possible to import pre-designed templates for your product type;
- Check whether you can create a library of templates and clipart;
- Decide whether you need to import templates from graphics editors, such as Adobe Photoshop, Adobe InDesign, or Adobe Illustrator, and confirm whether or not the W2P editor supports this;
- Ask if it’s possible to set up permissions for each template layer, if necessary.
Consider color management specifications.
Colors on the screen and colors on printed products are unlikely to match without some intervention. When implementing a W2P solution, you need to pay attention to this point in order to avoid a situation where your customer receives a postcard with dull colors compared to the bright and colorful proof they saw on their screen.
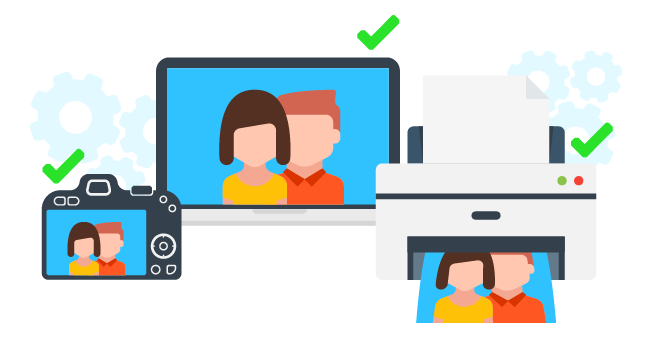
Color management prevents unwanted color variations. It’s important to take into account what color model your equipment uses - RGB, CMYK, or something else. Additionally, consider whether or not the software can apply your color profiles to maintain color consistency and accuracy after the product is printed.
Checklist:
- Define requirements for color management. Make sure that the software supports them;
- Check if it’s possible to upload your color profiles;
- Ask whether or not the software has the ability to create spot channels (convert text, vector elements, or any raster image to a spot channel);
- Find out if it’s possible to apply a finishing method to print products (foiling, UV-coating, embossing/debossing, varnishing, etc.), if necessary.
Evaluate the need to automate processes.
As web-to-print software continues to evolve, automation plays a growing role in product personalization. Today, product creation can be fully automated without a single human playing a role in the process.
For example, you can make it easier for your customers to create templates by adding automatic die line generation. This time-efficient functionality will allow your users to generate templates on the fly simply by entering their parameters. By implementing this feature, you can generate a truly unlimited number of templates of any size.
Another effective use of automation is pre-populating templates with user data. This function can be helpful when the customer needs to create several products with the same data.
You could also connect different data sources, which would enable your customers to load data from any source into the design. Instead of filling out this data manually, this can be done automatically, for example, via an MLS listing for real-estate templates.
Checklist:
- Define whether you need to automate processes and make sure that the software you are considering is able to connect them;
- Ask if it’s possible pre-populate templates with external data, if necessary;
- Determine which data sources you need and make sure that the software is able to connect them.
Specify the requirements for output files.
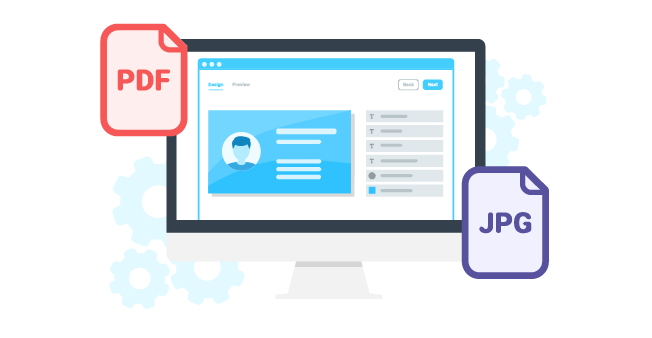
Exporting print-ready files is an important part of creating personalized products. Your customers may have different purposes and it’s important for you to take this into account when choosing an editor. For example, results can only be exported to PDF, or the editor must also support raster image formats such as JPEG, PNG, or TIFF.
Checklist:
- Find out if the format of exported files is supported by your equipment;
- Ask if the software can export designs to hi-res, print-ready PDF files;
- Make sure that the W2P solution supports raster image formats, if necessary;
- Define whether or not the print-ready files will contain additional information (fonts, layers for the post-press process, and so on).
Consider which maintenance process best fits your setup.
Before implementing a web-to-print solution, you should review what resources you have at hand. Evaluate what is realistically possible based on your technical setup and determine if you have the in-house team of technical specialists required for such a project or if you need to outsource a team.
Creating an online storefront with product personalization functionality is only the first phase of your new project. Once you set it up, maintaining the integration properly is crucial for guaranteeing business continuity and ensuring that your product range is constantly updated and available to your customers. These maintenance and support issues must be discussed before making a decision.
Checklist:
- Determine if it’s possible to add custom features as it becomes necessary (for example, you want to add a new category);
- Inquire about the times when tech support can be provided (24/7 or at certain hours);
- Ask if training and onboarding is provided for your staff;
- Discuss whether or not there is direct support from the development team.
Conclusion
Choosing a web-to-print solution that allows you to add personalization features to the ordering process requires an informed and responsible decision that is completely dependent on your unique business goals. The optimal solution that will meet your current objectives can increase your revenue, help you stand out among the competition, and take your business to the next level. To make the implementation of the web-to-print solution as painless as possible for your current business processes, we recommend that you pay special attention to the initial product requirements described above. If you want more information or need help with choosing the optimal web-to-print solution, don’t hesitate to reach out to our support team.
