When end-users click on the “Personalize product” button, they appreciate the helpfulness of quality pre-designed templates. Templates aren’t only there to look good. They’re extremely helpful in intricate personalization scenarios, for example, the ability to set up branding guidelines or show product previews. We cover these and other template customization options in a topical white paper.
The process of working on web-to-print templates can be divided into several stages:
- Fine-tune template parameters
- Create or upload design templates
- Set up the behavior of design elements
- Test the accuracy of template settings
Let's look at each stage in more detail.
Step 1. Fine-tune template parameters
The first task when creating a template is to fine-tune its parameters, like size. The built-in Template Editor allows you to select preset options for products as well as add custom sizes. This will help facilitate your workflow, especially if you offer a wide range of products for personalization.
The editor supports both single-page and multipage products, so the next task in the configuration stage is to set the number of required pages. You may also add or remove pages at any time during the design step.
When you create a design file, you can preconfigure bleed and safety lines to help customers navigate their artwork while ensuring all the crucial elements are printed.
Step 2. Create or upload templates
Our editor was tailor-made with web-to-print in mind and contains all the necessary tools for creating high-quality templates from scratch.
Professional desktop publishing software like Adobe Photoshop or InDesign offers extensive functionality, so if you prefer to work there, you can easily upload your previously created designs to our admin panel for further configuration.
The editor allows you to create all the necessary vector or raster elements for your printed products, including:
- Text elements
- Barcodes
- Placeholders
- Images
- Rectangles and ellipsis
- Backgrounds
Use cases of varying complexity will require templates with different elements that should be located in separate layers, so the ability to create layers is a must-have feature. The built-in Template Editor will allow you to create as many layers as you need.
The editor allows you to group design elements and manipulate them as a single object on the canvas. You can edit elements in a group, enable the auto-layout, and ungroup them if needed.
Experience for yourself the simplicity of the Template Editor and its wide range of tools by exploring our specially prepared tutorial.
Step 3. Set up the behavior of design elements
The option to configure an element’s behavior is an extremely valuable feature for your web-to-print customers.
Special template restrictions prevent end-users from ruining the final design and increase the chances of achieving a result they’re happy with. Adjusting the behavior of elements also enables companies to preserve their unique brand identity, follow industry standards, or prevent accidental changes by customers.
There are different ways to set up the elements’ behavior:
- You can manage restrictions using markers in Adobe Photoshop or InDesign.
- Alternatively, you can select the permission you want to apply to an element from the parameters in the Template Editor panel.
These are the available options for managing the behavior of design elements:
Make an element a placeholder
If your product requires the addition of a company logo or photo, as is often required for a business card or other collateral, then you will probably need to add and set up placeholders. A placeholder is an area on the design where end-users place their logo or image.
You can connect several placeholders to simplify the customization process. For example, your customers may upload their company’s logo and it will be automatically inserted into many different placeholders.
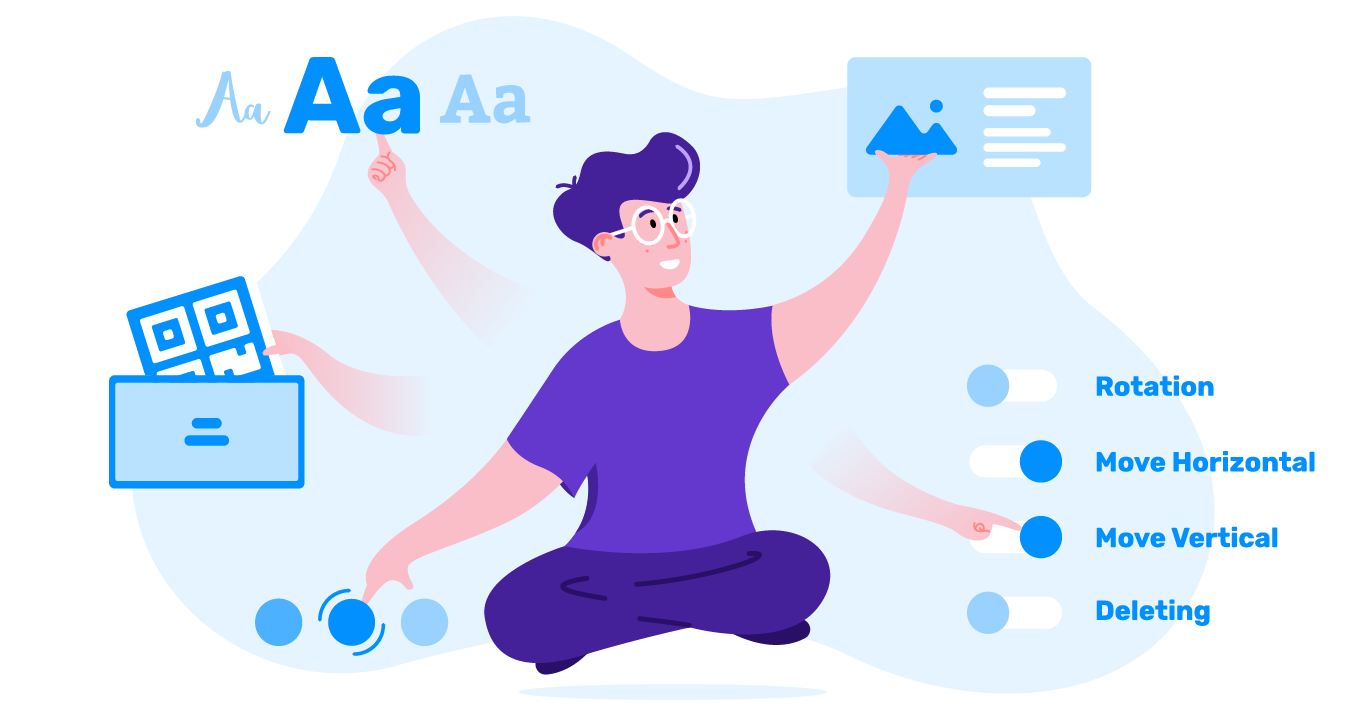
Allow or deny manipulations
You can configure manipulations for any design element, such as deleting, resizing, moving, or rotating. If your client has strict guidelines, then you can set up behavior that is based on their brand specifications. You can also manage the color and fonts, allow or prohibit the use of effects like drop shadow, and much more.

Manage auto-layout groups
As we mentioned in the previous step, the Template Editor allows you to group elements and enable auto-layout. You can configure these features so that when the end-user changes the default properties in the editor, the changes are applied to the group, and the elements are automatically rearranged.
Set up copyfitting settings for text elements
Text is often that core element that makes printed products like business cards or postcards unique. To guarantee customer satisfaction with such a crucial design element, it’s a good idea to provide some assistance to make the process as straightforward as possible.
Your clients may enter text strings of different lengths when they personalize their product designs. You can control the behavior of the entered text within the specified zone.
Configure the text length limit
If you don’t want the end-user to enter lengthy text, you can set limits on the number of lines and characters to preserve the integrity of the design concept.
Turn a text field or image into a variable for VDP applications
Highly detailed configurations for variable data printing products don’t require any extra effort. One click transforms any text or image layer into a variable element.
The Customer’s Canvas Template Editor comes packaged with the added value of our extensive tutorials and documentation, which we constantly work at keeping updated. You can check out how to configure the behavior of design elements in our separate tutorial.
Step 4. Test the accurate work of template settings
The best way to test all of your settings is to follow the path of your customers. You can check the editor’s work or progress through the entire ordering process to make a test purchase. We describe the testing process in detail in the step-by-step tutorial.
Wanna try Template Editor in action?
A library of professional-looking templates can drive the customer’s desire to make a purchase. The task of creating and configuring templates should not be put on the back burner. This process will usually require some additional effort on your part, but we’ve found a way to simplify it and improve your workflow. This new feature will help you streamline your business processes even if you offer a wide range of products that require thousands of high-quality templates. Stay tuned for more!
Next time, we'll go through the powerful admin panel that comes with the Template Editor and helps to store and manage all the design assets you need to successfully integrate the editor.
If you feel motivated to elevate your workflow with the built-in Template Editor, don’t hesitate to reach out to us for more information. We’re happy to help!